Bacon Baked Beans

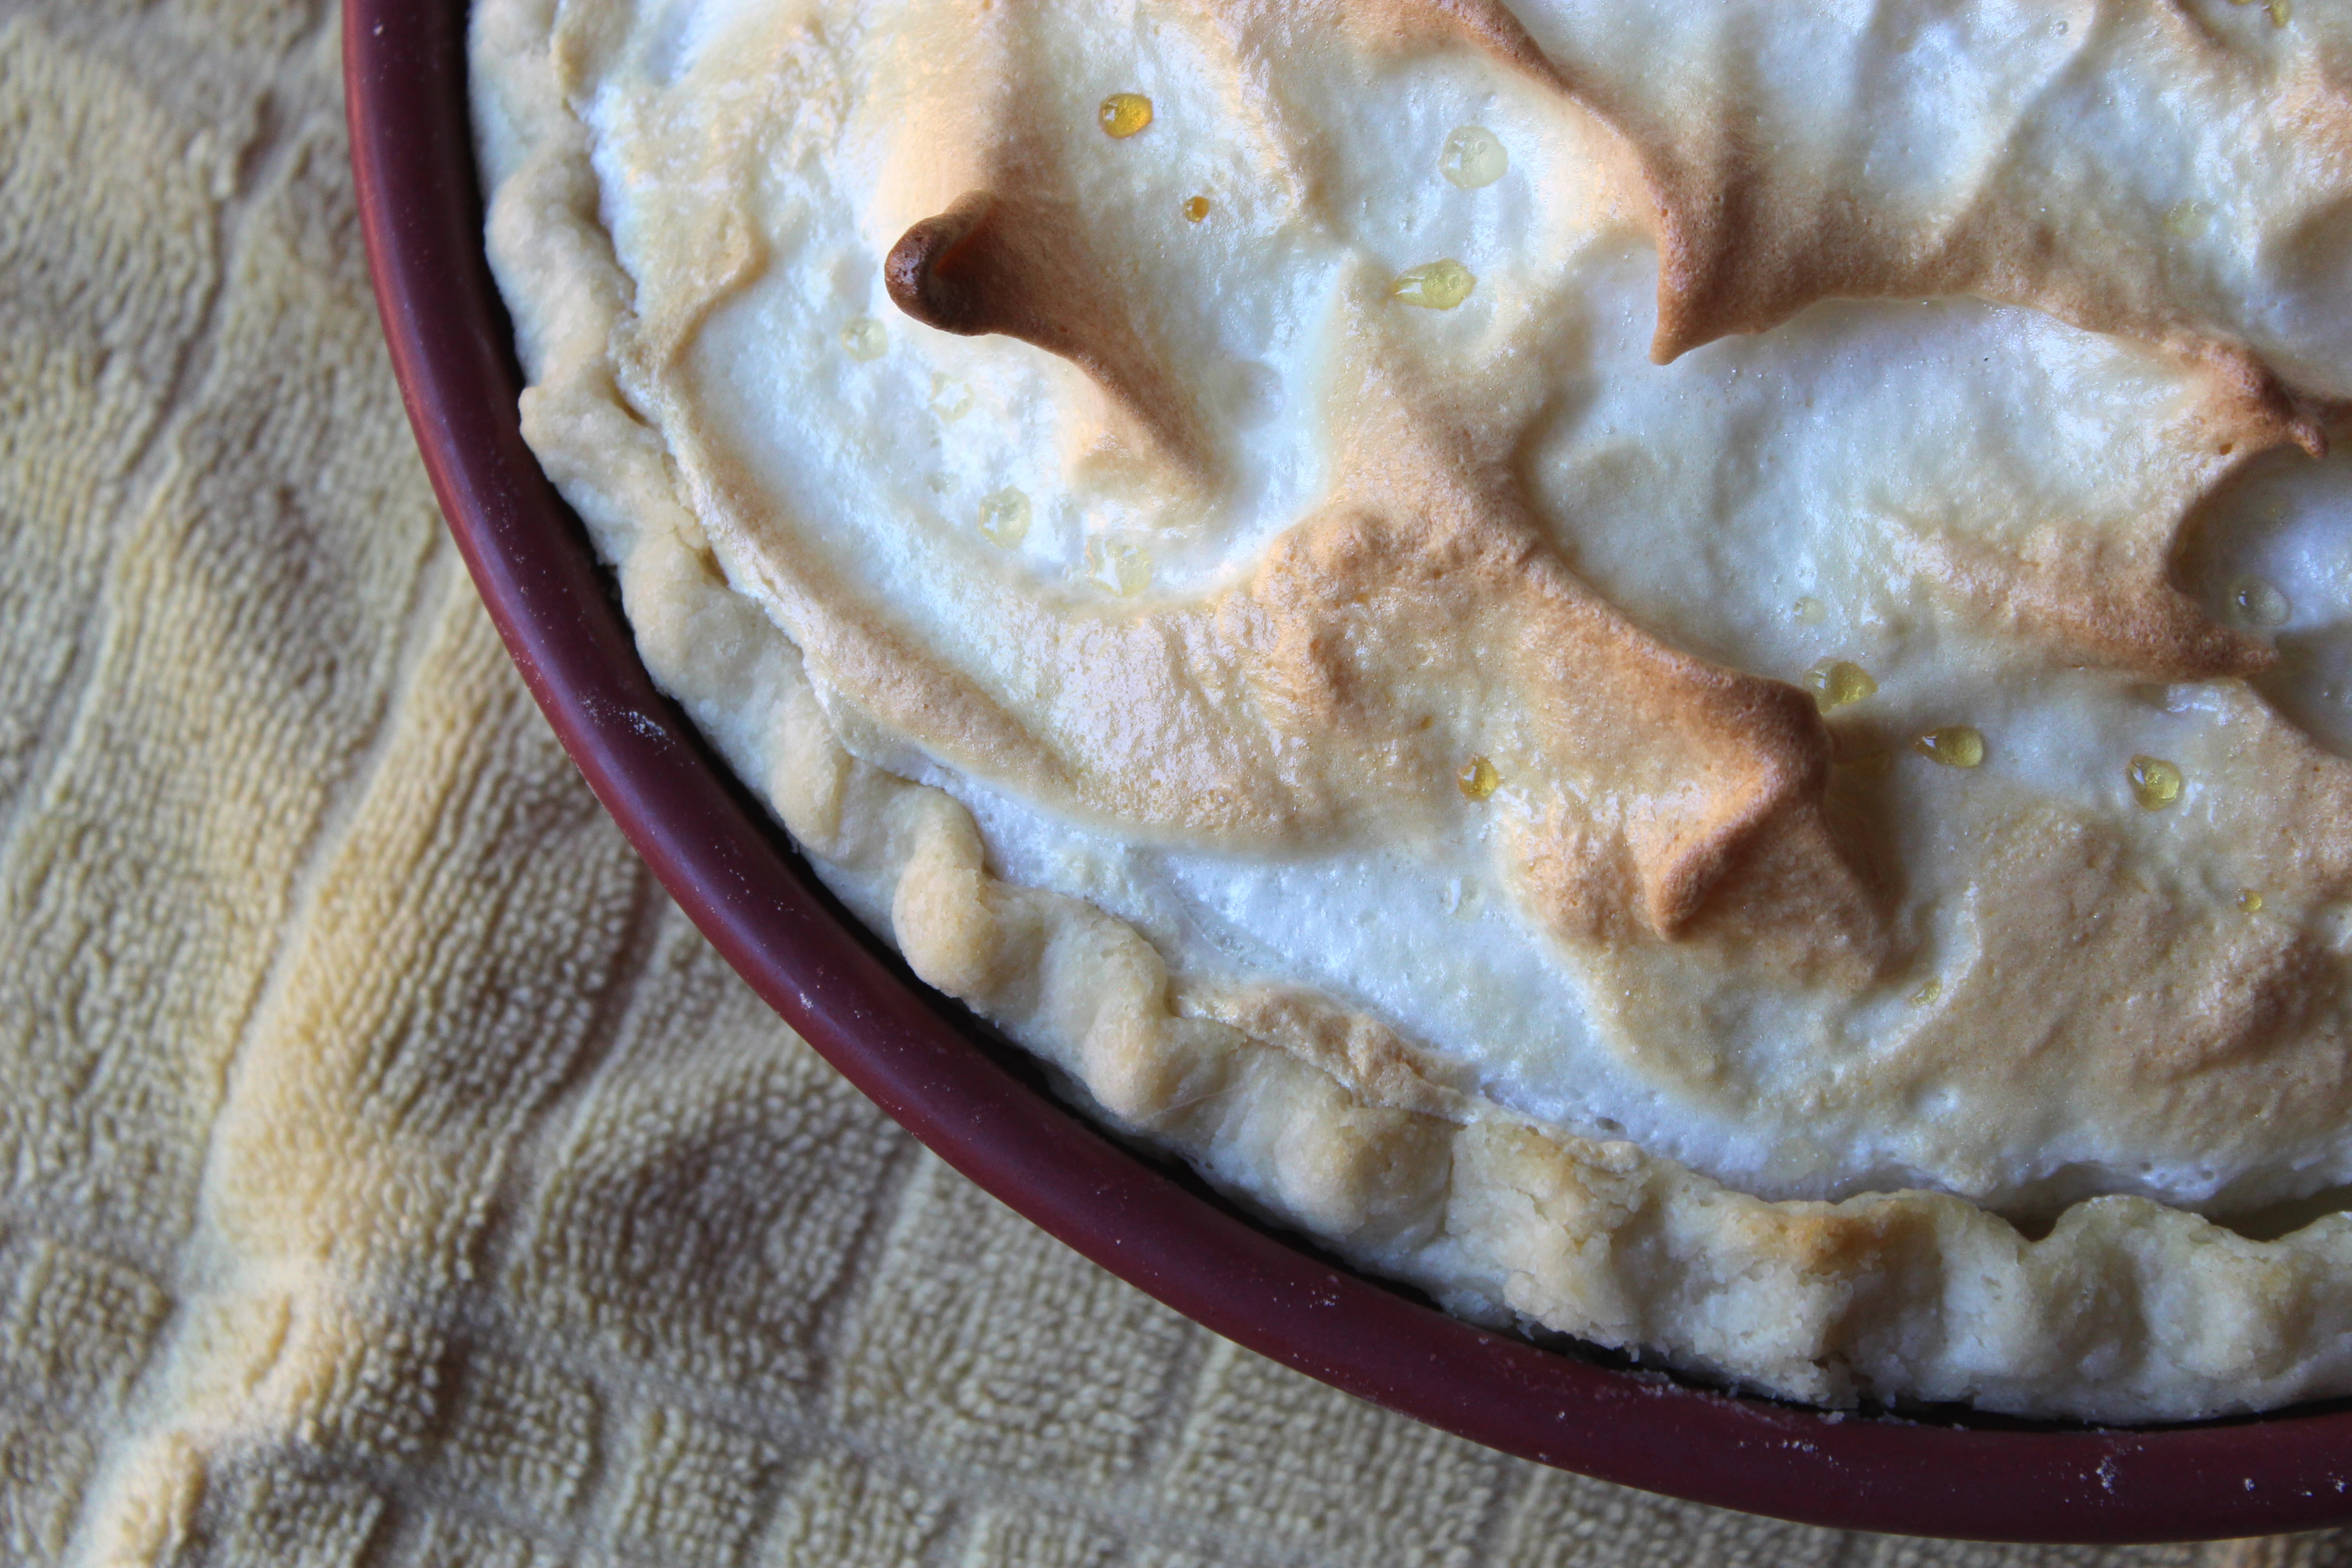
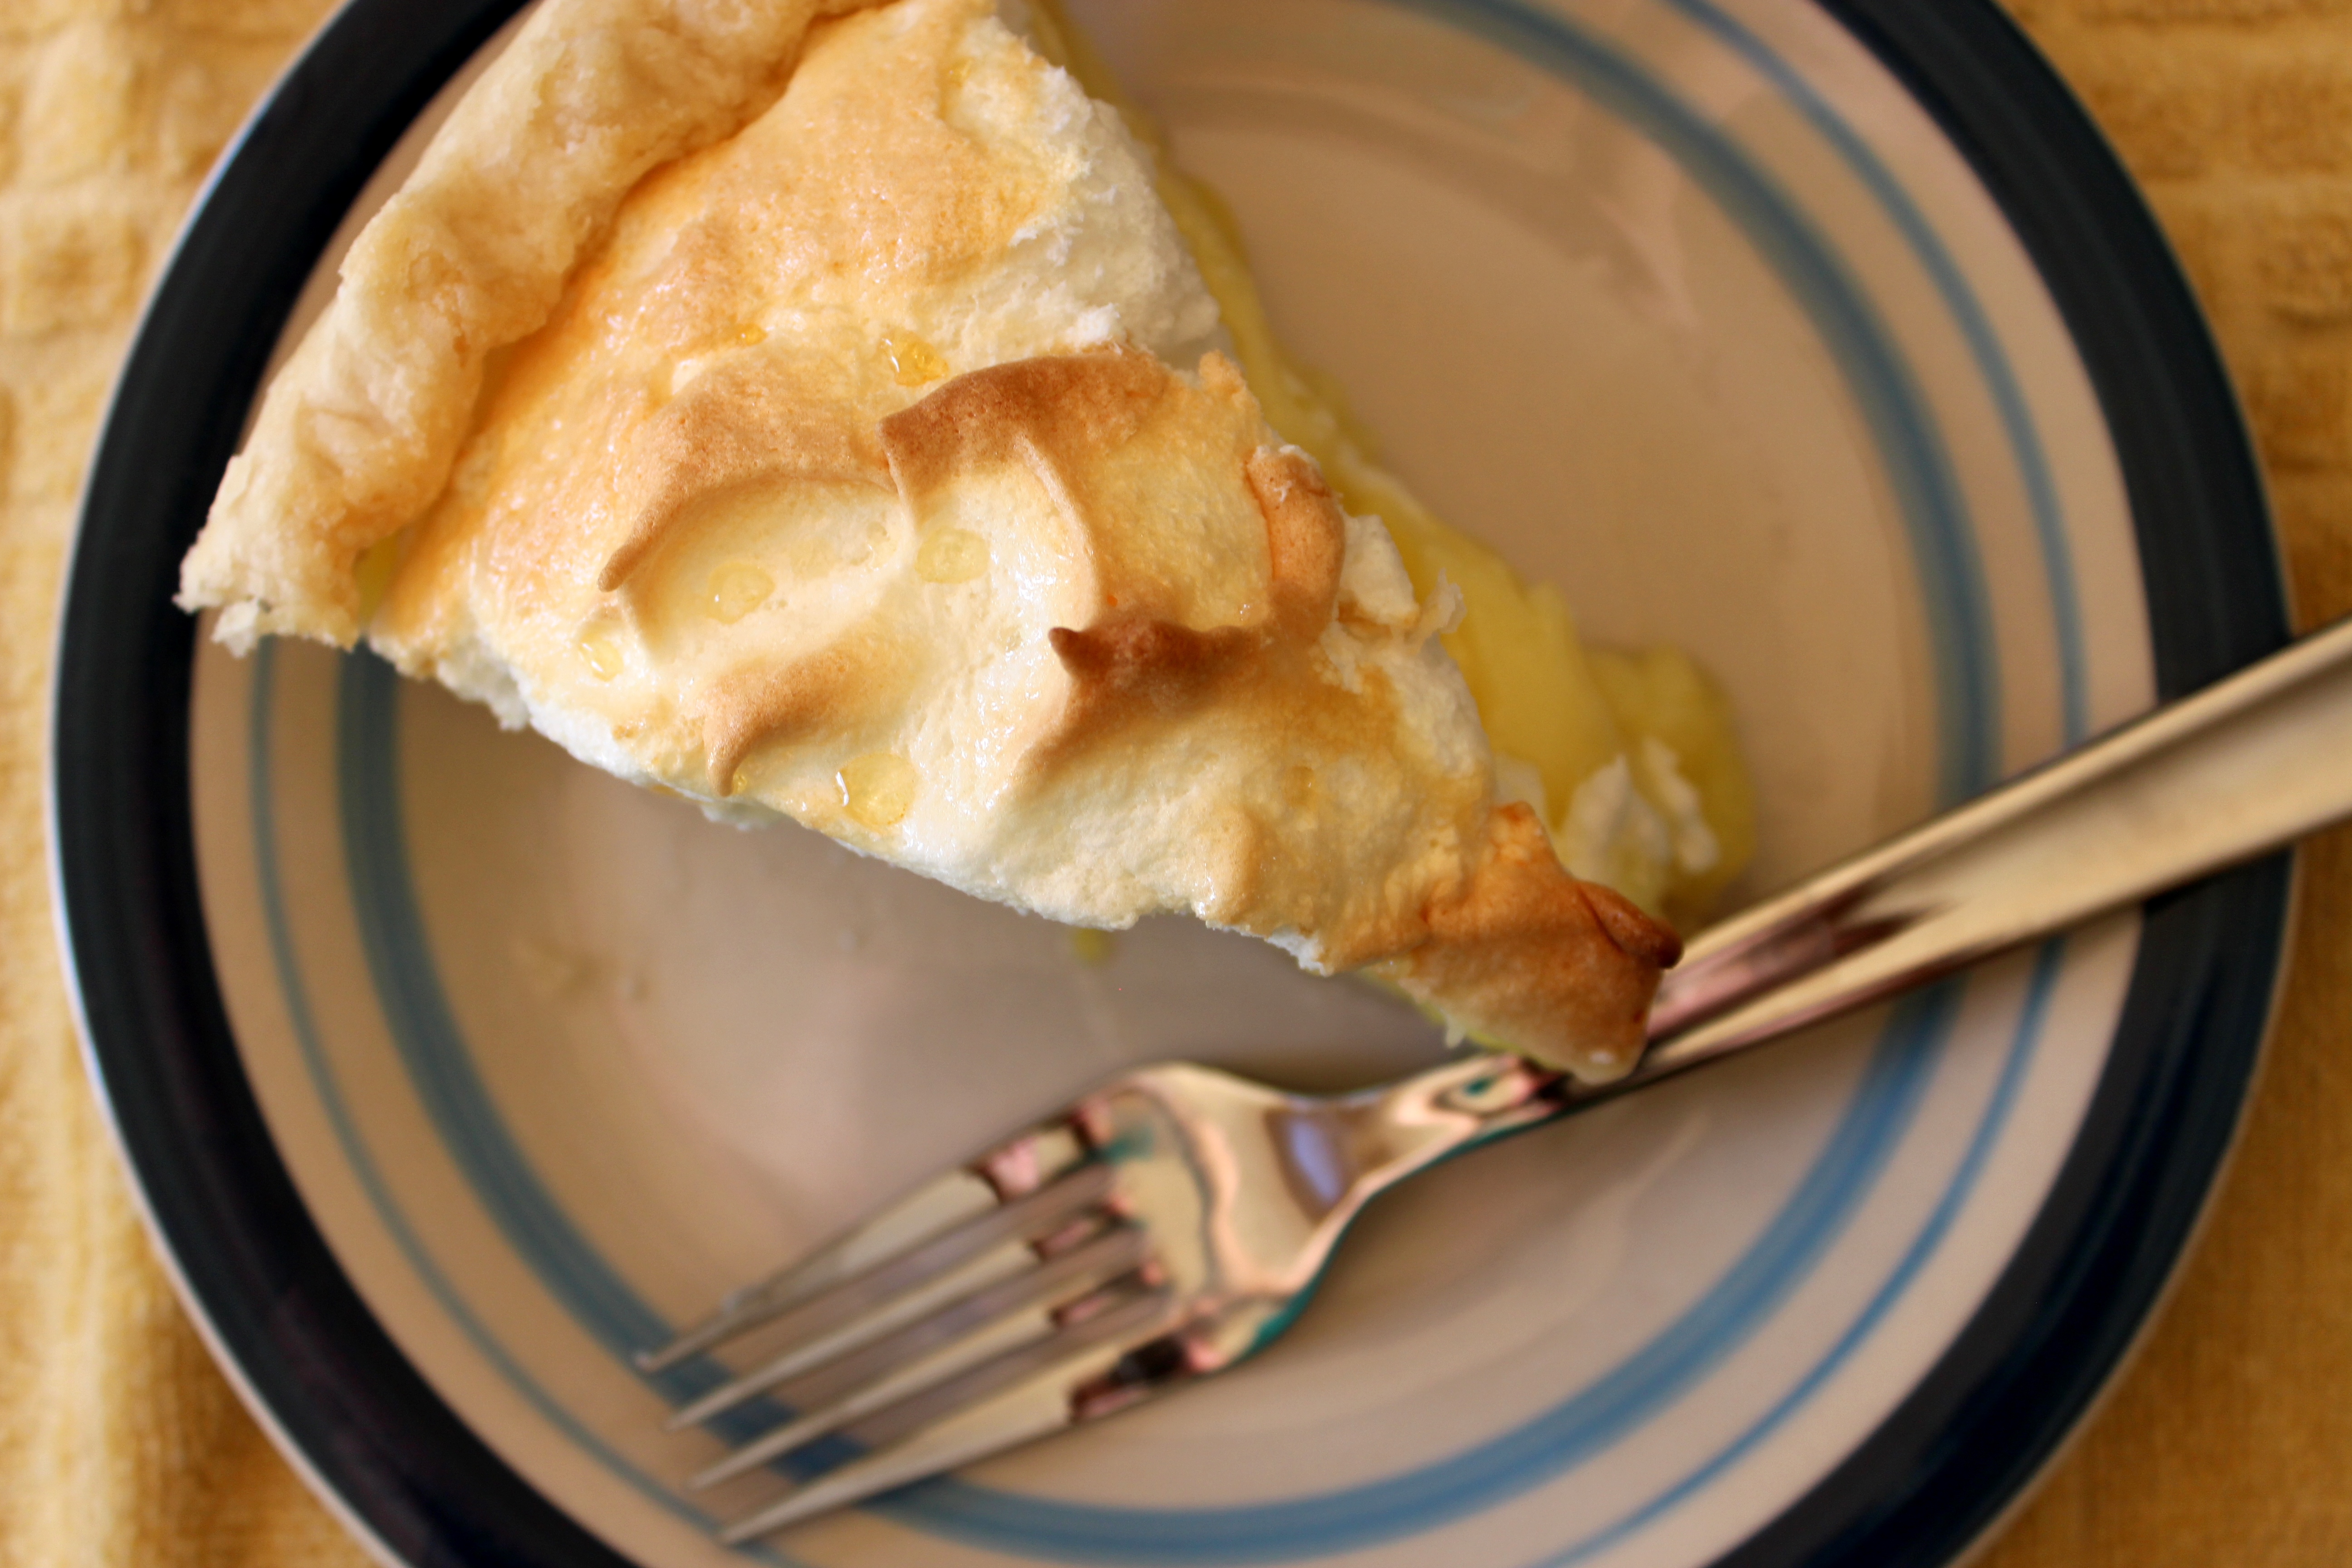
Okay everyone, don’t panic, but I didn’t make dessert this week. I know, I know. *GASP* But don’t worry, I’m sure next time we’ll return to our regular scheduled programming.

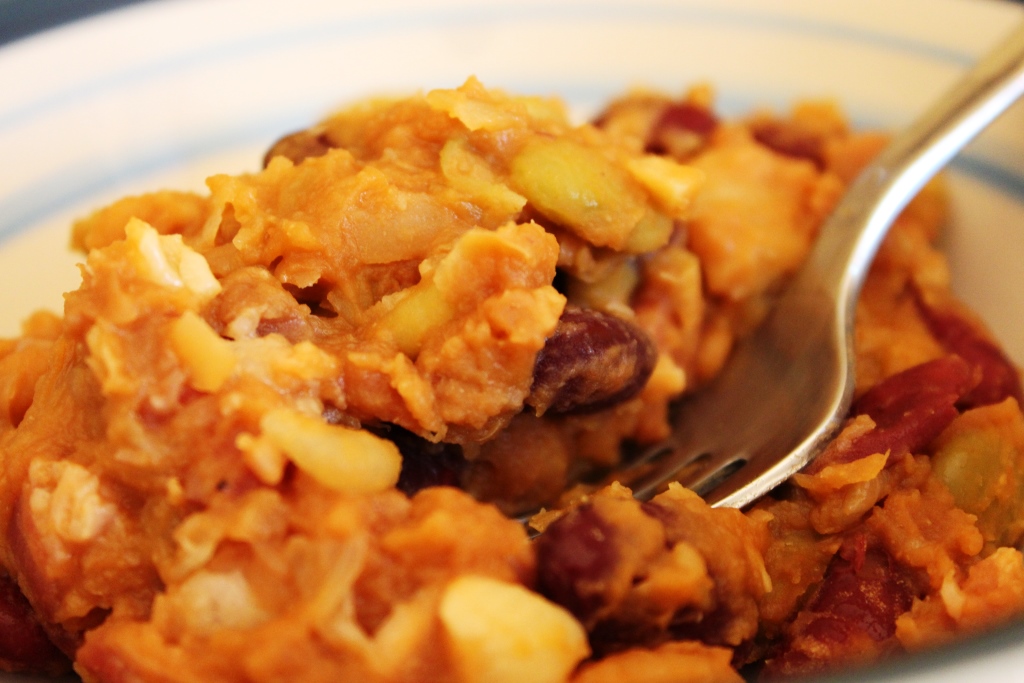
This week, however, I stepped slightly outside my forte into the world of real food and made baked beans. Granted, I still used the oven, and there was bacon involved, so I guess it wasn’t that far outside my comfort zone after all.

I’m still counting it.

This recipe comes from my mom, who got it from her mom, who got it from a friend of hers. It’s the family favorite for taking to potlucks and barbecues and my mom is asked for the recipe every time. A plethora of beans and bacon with the taste of brown sugar results in a fabulous and filling side dish sure to complement any barbecue.

Baked Beans

Admittedly, I did not like this dish as a kid. It wasn’t till a few years ago that I had another taste and suddenly understood why family friends always raved about my mom’s baked beans. This past weekend I took a pan to a pig roast and didn’t bring any home. In the words of my mom, this recipe is “too delicious not to share.” I’m definitely inclined to agree.

But don’t take our word for it. Make it yourself and let me know what you think. Your family will thank me.
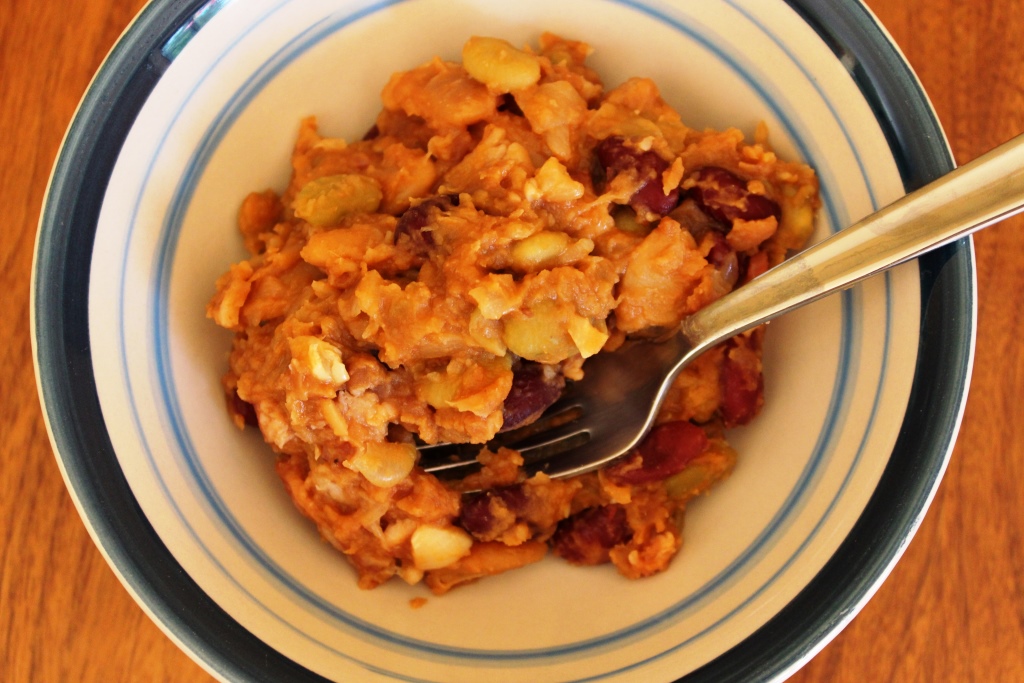
Baked BeansBaked Beans

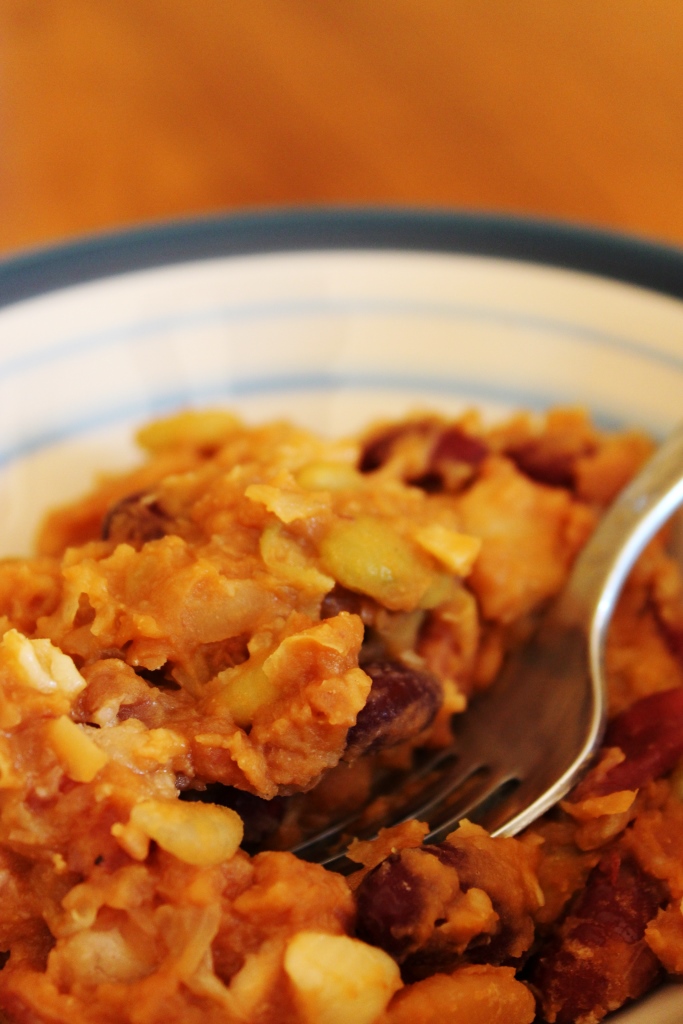
Makes a shallow 9″x13″ pan

Ingredients

1 can (15 oz) lima beans
1 can (15 oz) butter beans
1 can (15 oz) kidney beans
1 can (28 oz) pork ‘n’ beans

1/2 lb bacon
1 medium-large onion, diced
2 cloves garlic, minced

3/4 cup brown sugar
1/4 apple cider vinegar
1/2 tsp ground mustard

Directions

  1. Preheat oven to 325 degrees Fahrenheit.
  2. Drain lima, butter and kidney beans.
  3. Slice the bacon into roughly 1″ pieces.
  4. In a large bowl (at least 3 quarts), combine drained beans, pork ‘n’ beans, bacon, onion and garlic.
  5. In a small bowl, whisk together brown sugar, vinegar and mustard.
  6. Pour sauce into beans and mix gently, but thoroughly.
  7. Pour beans into a 9×13 baking dish, cover tightly with aluminum foil, and bake for two hours.
  8. Remove the foil, stir gently, and bake for another hour or so, stirring every
    15-20 minutes. Beans should be nicely browned and not too runny when done.
  9. Remove from the oven and allow to cool slightly before digging in.

Baked Beans

Notes

  • This is a very forgiving recipe. Likely it will look pretty runny when you remove the foil, but it will thicken up during the uncovered baking time. If it looks too thick, you can always stir in a little water.
  • If you double the recipe use a deep dish lasagna pan OR one 9×13 pan and one 8×8 pan. Bake them at the same time but switch sides of the oven after you remove the foil.
  • In a little bit of a hurry? Raise the temp up to 375 and cut the covered baking time to 90 minutes. Uncovered time will likely be closer to 45 minutes but keep an eye on them.
  • Taking them to a potluck? Use a slow cooker to keep them warm for serving.
  • If needed, you can use regular white vinegar, but apple cider vinegar is best.
  • I love bacon, so I used the thick cut variety.
  • You can easily make this vegetarian by getting the “vegetarian” labeled pork ‘n’ beans, and leaving out the bacon.

Lemon Meringue Pie

LemonsThis week we return to the lovely summery flavor of lemon, since I successfully created a lemon meringue pie this time. As both a citrus flavor and a chilled dessert, it makes for a great summertime treat, although it’s equally delicious any other time of year.

Lemon meringue pie was the favorite of my maternal grandmother, and I made it for her birthday a couple of the years I was there to celebrate with her. Her birthday conveniently falls on Pi Day, the day before my own birthday, which make a lovely two days of meringue pie (lemon for her, chocolate for me.) Although she passed away last year, I still intend to celebrate Pi Day with lemon meringue for many years to come.

Lemon Meringue PiePerhaps the most easily screwed-up pie I’ve ever made, lemon meringue can be a daunting task for even an experienced pie baker. The easiest way to screw it up is to not cook the filling long enough, causing it not to set correctly in the fridge. It’s extremely important to heat the filling to a full rolling boil and then cook and stir for another minute or so; if in doubt go an extra thirty seconds just to be safe.

The instruction list is fairly long, but I have laid it out in the order I find to be most successful for me. I recommend reading through the entire list before starting to make sure you have everything easily accessible. The success of this pie relies somewhat on timing, and taking too long (or not long enough) between certain steps can result in a liquid filling or the meringue completely separating from the crust.

Lemon Meringue Pie

Lemon Meringue Pie

Adapted from argostarch.com
Makes 1 deep dish pie

Ingredients

Pastry for single-crust pie

1 1/2 cups sugar
1/3 cup heaping corn starch
2 cups water
5 egg yolks, lightly beaten
1/2 cup lemon juice
1 tablespoon lemon zest
2 tablespoons butter

5 egg whites
1/2 cup sugar
1 tsp corn starch

Directions

  1. Preheat oven to 450 degrees Fahrenheit.
  2. Place pastry in pie dish being careful not to stretch the dough. Trim and crimp edges.
  3. Prick pastry GENEROUSLY with a fork, all over the bottom and sides of the pan.
  4. Bake for 8-10 minutes, or until golden brown, and then cool on a wire rack.
  5. Reduce oven heat to 375 degrees, and move oven rack to bottom third.
  6. Using an electric mixer on high speed, beat egg whites until soft peaks form.
  7. Gradually add the sugar and corn starch, mixing between each addition to medium peaks. Leave in mixer bowl and start the pie filling.
  8. In a medium saucepan, whisk together sugar, cornstarch, water and egg yolks.
  9. Heat over medium heat, whisking nearly constantly until mixture thickens and reaches a boil.
  10. Continue cooking, vigorously whisking until mixture is very thick and smooth, approximately 1 minute.
  11. Remove from heat and stir in butter, zest and lemon juice until smooth.
  12. Pour hot filling into pie crust, being careful to leave room for the meringue (it weighs more than you might think!)
  13. Return to your egg whites and beat on high speed until stiff peaks form. (Tips stay straight.)
  14. Gently place the meringue over the hot filling, carefully sealing the edges completely. Swirl the meringue into peaks using a spatula or the back of a spoon.
  15. Bake for 10 minutes or until peaks of meringue are lightly browned.
  16. Cool at room temperature for about thirty minutes, and then place in the fridge for at least 3 hours before serving.

Lemon Meringue PieNotes

  • I don’t like long strings of zest in things, so I generally chop it pretty fine before adding it to anything.
  • Pricking the crust before baking helps keep it from shrinking, so don’t be afraid to stab excessively.
  • Egg whites whip best at room temperature, and make VERY certain there is no water in the bowl or on the whisk/beaters before starting.
  • It is very important to cook the filling well. If you don’t, it will look thick when you pour it in the crust, but end up as liquid after it chills. Make sure to keep stirring and heating for another 60 seconds after it boils.
  • The sooner you can get the meringue onto the hot filling, the less likely separation will occur later. (Mine always separates which drives me insane.)
  • Unfortunately, this pie will not keep long so invite some people over to help you finish it the day of baking. (It will keep one day in the fridge alright but after that the meringue doesn’t keep its light and fluffy consistency.