Well folks we’ve yet again reached the last week of National Ice Cream Month. So far we’ve played with whiskey, chili peppers, and mint, and this week we venture further off the beaten path with some thoroughly nontraditional ice cream flavors.
If you’re even a vaguely consistent reader, you’ll be well aware of my love affairs with goat cheese and Olivelle products. I use both liberally in my salads, scrambles, and various entrees, sneaking them in whenever possible. M and I go through copious amounts of chévre, so fingers crossed Costco never stops carrying it. The Kirkland brand goat cheese is not only delicious but also extremely affordable. If you have a Costco nearby, definitely give it a try.
 For this week, the pièce de résistance if you will, I combined several of my favorite savory items into a brand new dessert adventure. This is one of those thoughts I had where I wasn’t sure if the end result would be spectacular or just strange. Fortunately for me, and subsequently all of you, spectacular was the general consensus.
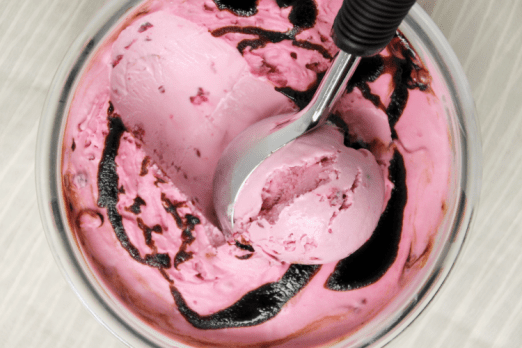
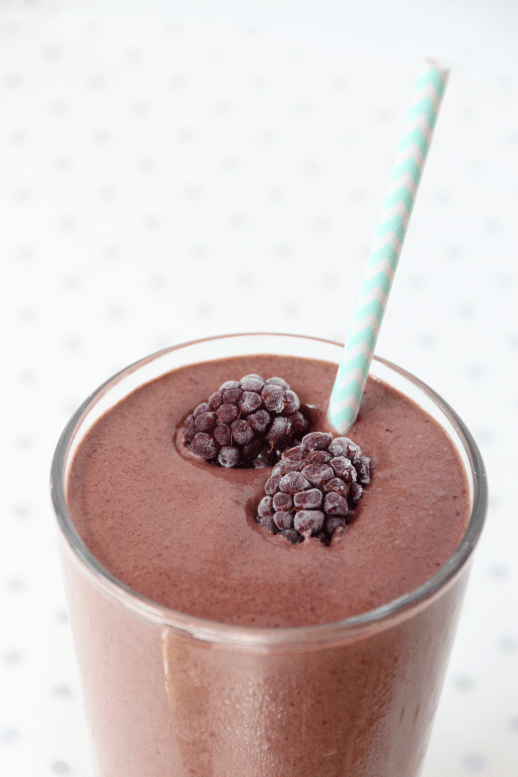
 Step one: blackberry. Starting with a tried-and-true recipe from my trusty ice cream cookbook, I borrowed the blackberry sauce from a recipe by Molly Moon. It’s just a typical blackberry compote but I trusted her to know how much of everything to use. I liked that she suggested straining out only half the pulp, which leaves the lovely texture without overwhelming you with seeds.
 Step two: chévre ice cream. Inspired by the delicious blueberry cheesecake ice cream from a couple of years ago, goat cheese ice cream seemed like the obvious 2018 twist. The recipes online varied greatly in the amount used, but I took a gamble on throwing a full eight ounces in the batch and was duly rewarded.
Combined into one delightful concoction, the tart but sweet blackberries blend perfectly with the tangy goat cheese. Somehow neither flavor overpowers the other but instead becomes one glorious experience: creamy, fruity, and tangy in every mouthful.
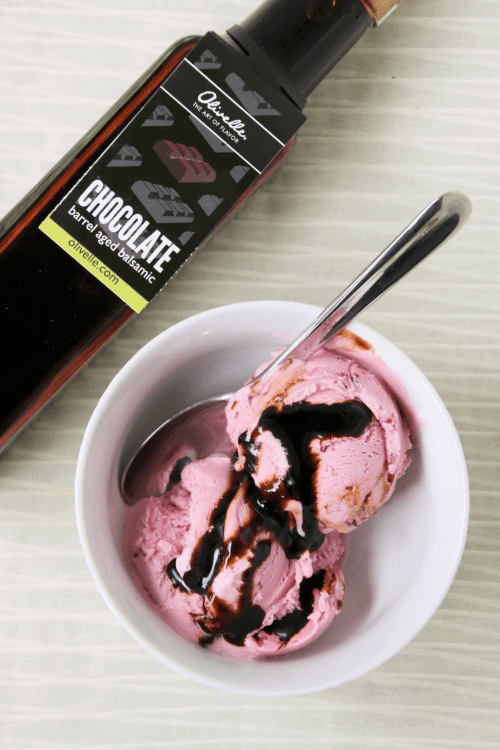
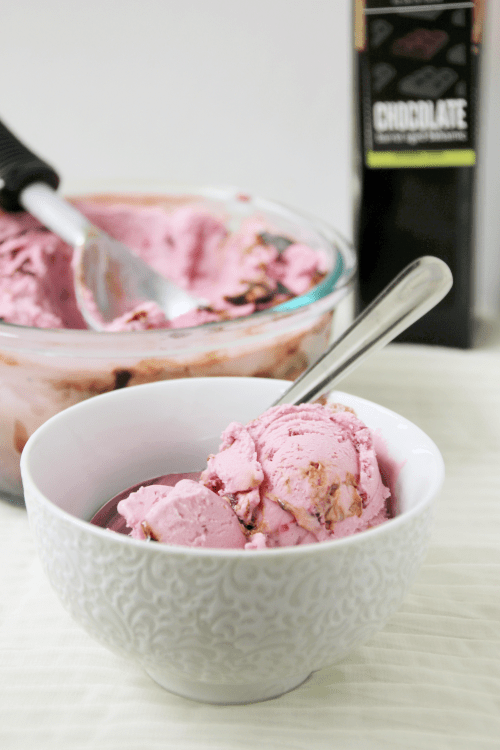 The last addition was a bit of risk, honestly, but oh so worth it. Olivelle carries several dessert vinegars, the chocolate balsamic being one of my favorites. I often drizzle it over a sliced banana or vanilla ice cream for dessert, and it’s also a delightful addition to brownies or chocolate cake. With the idea that it would be a slightly more sophisticated mix-in than standard chocolate sauce, I decided to give it a chance.
Best. Idea. Ever.
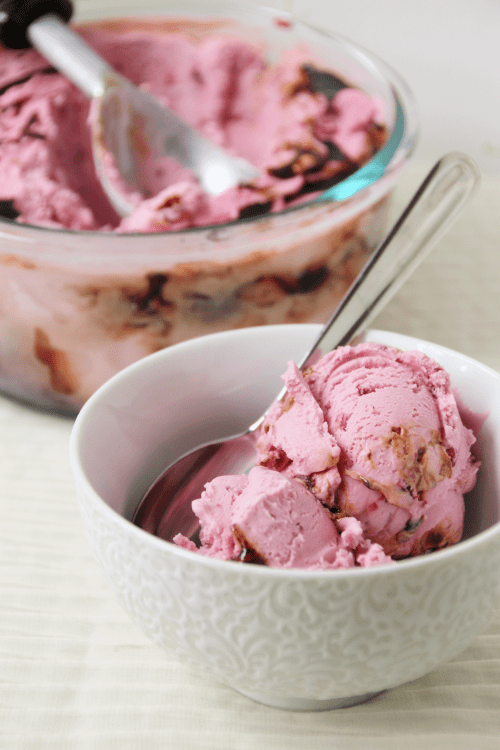
 Although M didn’t completely agree1, my other taste testers thought it was one of the most phenomenal ice creams they’ve ever had, and I think it’s easily one of the top five flavors I’ve ever made (not that I’m biased.) The blackberry goat cheese ice cream is truly fantastic on its own, but the balsamic addition adds a depth of flavor and a hint of chocolate without overwhelming anything else.
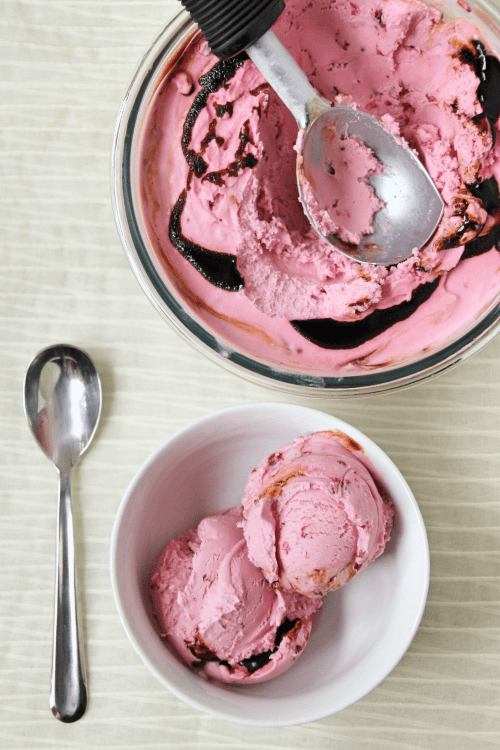
A swirl or a drizzle (or both) of balsamic vinegar takes this ice cream up several levels in both uniqueness and amazingness, and if you’re feeling a bit adventurous I truly hope you give it a try! It’s admittedly a bit more time-consuming with the various steps, and you might have to wait for an order of chocolate balsamic vinegar to arrive (although definitely check if any of your local stores are a sister of Olivelle – they are all over the nation), but I promise it is oh so worth it.
 I hope you enjoyed the serious and found at least one new flavor to add to your repertoire. If you give one a try, be sure and share how it went!
Blackberry Chévre Ice Cream with Chocolate Balsamic Swirl
Adapted from Molly Moon‘s Blackberry Sage Ice Cream
Makes 6+ cups
Ingredients
Blackberry Sauce
12 oz blackberries (about 3 cups)
1 cup sugar
1/4 cup lemon juice
Blackberry Chévre Ice Cream
2 cups heavy whipping cream
1 cup half and half
1/3 – 1/2 cup sugar2
8 oz chévre (goat cheese)3
1 recipe blackberry sauce (above)
1/2 cup egg substitute
1/4 – 1/2 cup Olivelle chocolate balsamic vinegar4
Directions
- In a small saucepan, combine the blackberries, 1 cup sugar, and lemon juice.
- Simmer over medium heat, stirring regularly. Mash the berries and bring to a light boil. Remove from heat and let cool about 10 minutes.
- Strain through a fine mesh sieve, pressing on the berry pulp to retrieve as much of the juice as possible. Scoop about half of the pulp back into the juice, and stir to combine. (The remaining pulp can be tossed, but it is delicious stirred into plain Greek yogurt! Keeps well in the fridge for at least a couple of weeks.)
- Chill the blackberry sauce completely, or until ready to use.
- Place the goat cheese in medium a heatproof bowl.
- Meanwhile, in a medium saucepan over medium heat, bring the cream, half and half, and remaining sugar to a light simmer.
- When the sugar is completely dissolved, pour the mixture over the goat cheese and whisk vigorously until mixture is smooth – it will be somewhat thick.
- Chill the cream mixture completely, or until ready to use. Place a lidded freezer-safe bowl in the freezer to chill.
- When everything is completely chilled, whisk the blackberry sauce and 1/2 cup egg substitute into the cream – mixture will be fairly thick.
- Churn according to your ice cream maker’s directions.
- Retrieve your bowl from the freezer and drizzle with 1-2 tablespoons chocolate balsamic vinegar.
- Gently add about 1/4 of the ice cream mixture, and drizzle with another 1-2 tablespoons of the vinegar. Repeat with remaining ice cream (you may not use all the vinegar).
- Return to the freezer until completely firm, or overnight.
- Serve solo, with a fudgy chocolate brownie, or an extra drizzle of balsamic vinegar.
Notes
1 He thought the ice cream itself was “pretty good”, he just didn’t care for the vinegar aspect. He suggested regular chocolate sauce, which is definitely an option you can utilize too.
2 I used a half cup, but I think with all the mix-ins 1/3 cup or even 1/4 cup might be plenty, and I intend to reduce it next time. Adjust according to how sweet you like your ice cream and how much you love goat cheese. Alternatively, I think honey would make a great substitute here!
3 If you are not a huge goat cheese lover, you can reduce this amount to six or even four ounces, but I personally loved the tanginess of having all eight ounces in there. Anti-chévre completely? Feel free to sub cream cheese for a more cheesecake like experience.
4 If you are skeptical but typically like balsamic vinegars, I highly encourage you to try it! Error on the side of too little; you can always drizzle more on top later. If you think this is the grossest sounding thing you have ever heard, either you’ve never tasted Olivelle’s balsamic vinegars or you just aren’t a vinegar person. It’s okay, we can still be friends. Feel free to substitute regular chocolate sauce instead (as M suggested), but know that the vinegar adds a truly unique flavor that will definitely be lost.


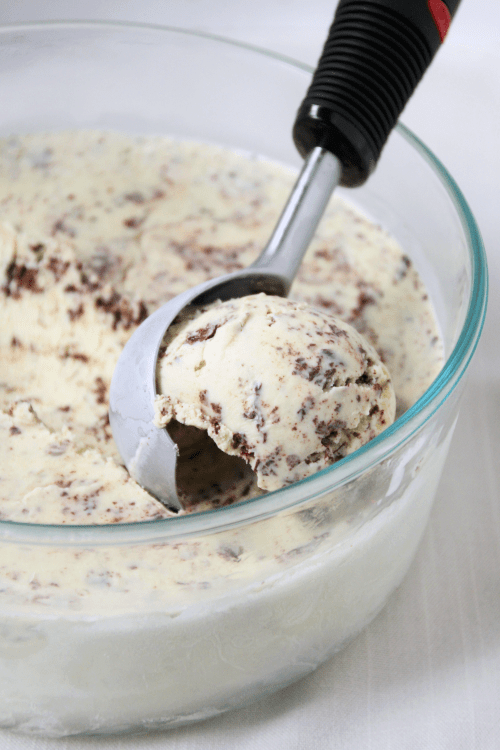 Recently I came across a recipe using fresh mint, and with an overly bountiful mint plant taking over my garden it seemed a prime opportunity to give it a try. Using my standard recipe but steeping plenty of fresh mint leaves resulted in exactly what I was looking for: a strong mint flavor without the somewhat fake-seeming taste that comes from an extract.
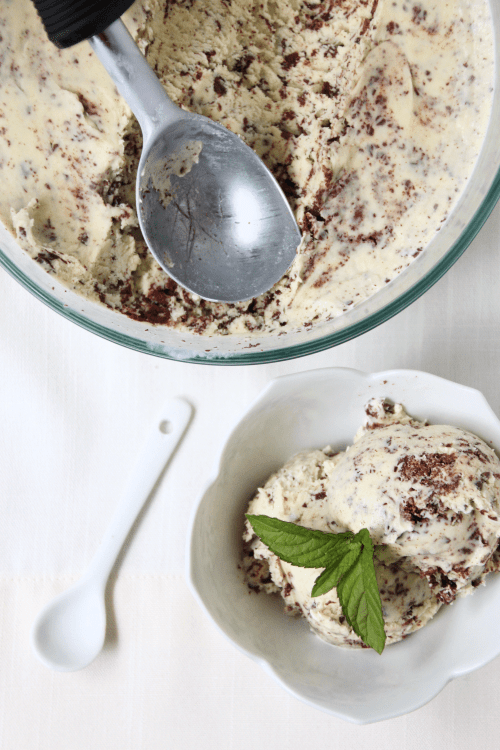 Herbier than your standard grocery store variety, this one reminds me a bit of the lemon basil from last year in that there is no doubting the fresh herbs involved. Mine turned a vaguely pale green, but your mileage may vary. I am not a fan of food coloring but will not begrudge you adding a few drops if you feel the need. Minty and creamy with the lightness that only fresh herbs can bring, the flavor is definitely one of my new favorites.
 The last bit to solve during my mint chip adventure was the “chip” aspect. I considered using chocolate chips but I prefer my mix-ins smaller even than mini chips, and the flakier chippy ice creams have always been my favorites. Conveniently, I attended a fantastic
  This chocolate process was shockingly easy and super delicious, and I’m confident I’ll be incorporating it into other flavors in the future. Regardless as to whether you add in the chocolate, give this fresh mint ice cream a try and let me know what you think!