Peppermint Mocha Ice Cream

With pumpkin spice latte season behind us we are fully in the throes of peppermint mochas. Although I love a good pumpkin spice anything as much as the next BWG, there’s something about a peppermint mocha that can’t be replaced by any other holiday beverage. Creamy, chocolatey, and pepperminty are three of my favorite dessert adjectives and adding espresso is rarely a mistake in my book. Armed with this information and my previously created peppermint crunch recipe, I set out to create the ice cream duplicate of my dreams.

Peppermint Mocha Ice Cream {{Baking Bytes}}

Chocolate ice cream, in some form or another, is a relative staple around here and I started with that basic recipe. The addition of espresso powder and pre-crushed peppermint candy took it from yes to yes and even writing this makes me wish I still had some in my freezer. Weekend plans, anyone?

Peppermint Mocha Ice Cream {{Baking Bytes}}

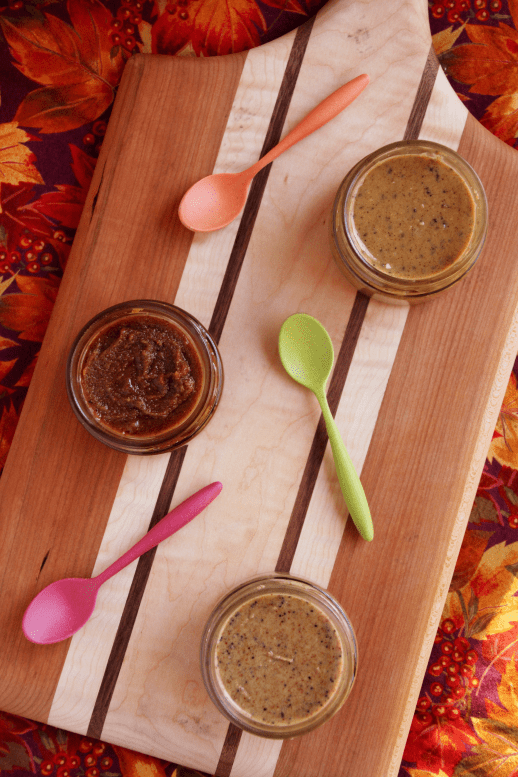
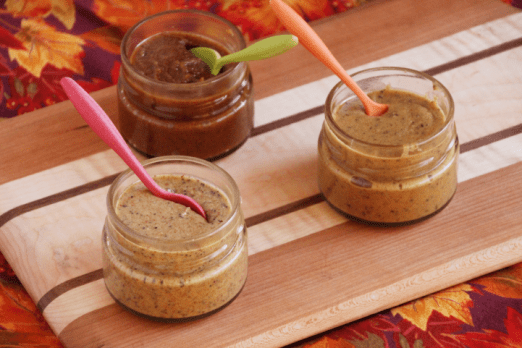
Although I love depth created by the brewed method found in my maple latte ice cream, using espresso powder here is not only easier, but it creates a more traditional mocha flavor. It’s also superbly easy to add more if you’d like to adjust the peppermint to coffee ratio a bit more in favor of the latter. Plus, the little speckles created from espresso and vanilla bean powders always speak to my aesthetic.

peppermint_mocha_ice_cream_5

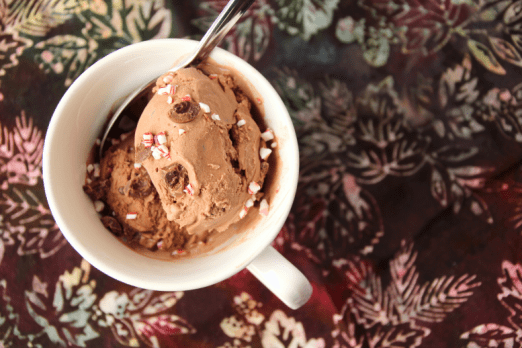
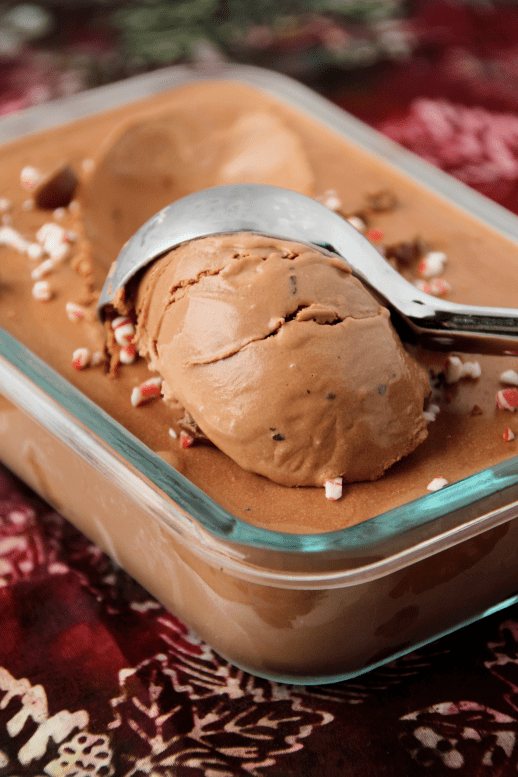
I melted some of the candy into the base and stirred in the remainder for a little crunch. And honestly, because it looks more fun that way. As a general PSA, the pieces eventually dissolve even in the freezer, should you accidentally forget its in there for two months. Fortunately you can always just sprinkle on more and no one will be the wiser.

Peppermint Mocha Ice Cream {{Baking Bytes}}


Treat yourself to a seasonal delight in a new form and I promise you won’t be disappointed. Or if you’re one of those people that doesn’t do ice cream when it’s cold, hang onto this recipe for summer and celebrate Christmas in July, just like JoAnn.

Peppermint Mocha Ice Cream

Makes about 6 cups

Ingredients

2 cups cream
1 cup half and half
5oz chocolate, chopped
1/4 cup sugar
2 tsp espresso powder

1/2 cup egg substitute
1/3 cup crushed peppermint candy, divided1
1 tsp vanilla
1/2 tsp peppermint extract

Directions

  1. Add chocolate, espresso powder, and sugar to a heatproof bowl and set aside.
  2. In a medium saucepan, heat cream and half and half until simmering. Immediately pour over chocolate mixture and whisk until chocolate is melted and sugar is completely dissolved. Let cool on the counter about 10 minutes, or until not too hot to touch.
  3. Whisk in egg beaters, vanilla, extract, and 1/4 cup crushed peppermint candy. Refrigerate until completely chilled, at least four hours. Place a lidded freezer-safe container in the freezer to chill.
  4. When the mixture is ready, churn according to your ice cream maker’s directions. Add an additional 2 tablespoons of crushed peppermint candy during the last minute of churning.
  5. Immediately transfer ice cream to the pre-chilled bowl and sprinkle with remaining candy. Freeze at least 4 hours, or until ready to eat. Extra delicious with chocolate sauce or chopped chocolate-covered espresso beans!

Notes

I was lazy and bought it pre-crushed, but it’s a great way to use up any candy canes you have laying around!

Over time all the candy will dissolve into the ice cream even in the freezer. If, like me, you forget it’s in there and find in a while later, don’t be alarmed if there’s no solid pieces left!

Advertisement

Nut Butter Trio

Last year I borrowed a food processor a few times because I had been concerned I wouldn’t use it enough to make the storage space worth it. After the third time in as many weeks that particular hesitation seemed downright silly and I promptly put it on my Christmas wish list (thanks Mom!)

Nut Butter Trio {{Baking Bytes}}

My initial interests were hummus and pesto, which I made regularly throughout the summer and fall. Thoroughly sold on food processors, I adventured into the world of nut butters. Starting with an amazing one from my favorite cookbook, Run Fast, Eat Slow, I quickly caught the bug and tried other types as well. The recipes here are all small batches so you can test them out, but I usually double them now. (If you have extra, I am pretty sure your friends will help you out – mine always do.)

nut_butters_4

The first one (top/right, in my photos) is a minor adaptation from the RFES cookbook. Vanilla and espresso come together in a sweet and creamy peanut butter that is perfect for your morning toast or an afternoon pick-me-up. The espresso kick means it pairs perfectly with coffee and a hint of vanilla never goes wrong. I especially liked it on banana or pumpkin bread, but found I preferred the regular version with apples.

nut_butters_3

After peanuts I moved onto almonds (bottom/left). While I personally do not see the appeal of standard almond butter as a spread (unless you are allergic to peanuts), I do enjoy it in oatmeal and on yogurt parfaits on occasion. This iteration, however, is lovely on all your favorite morning carbs and especially so on oatmeal pancakes. Lightly sweetened and with plenty of poppyseed flavor, it’s a lovely twist on a peanut-free variety. For some springtime fun you could even add some lemon flavor via zest or infused olive oil to brighten the whole thing.

Nut Butter Trio {{Baking Bytes}}

Lastly, I gave walnuts a try (the dark one, clearly). The texture of this butter turned out a little grainier (although perhaps they just weren’t roasted/processed long enough) but the flavor is possibly my favorite. Hearty walnut balanced with a chai spice blend is a match made in fall heaven and definitely needs to grace your table soon. I make my own chai spice, but it is easily tailored to fit your preferences. I enjoyed this one on toast (obviously) and waffles; a light drizzle of maple syrup only adds to the experience.

Nut Butter Trio {{Baking Bytes}}

Whichever nut butter speaks to you the most, I hope you find a new favorite in this collection. There’s something for everyone here and I hope you use it as a starting point for all sorts of experimenting in the future. These butters would also make amazing gifts for the holiday season, a small 4oz jar of each flavor would be both adorable and delicious. (If you’re wondering about the super cute jars in my photos, they are upcycled Olivelle sea salt containers, so I’m not sure where to purchase them – sorry!)

Vanilla Espresso Peanut Butter

Modified from Run Fast, Eat Slow
Makes about 1.5 cups

Ingredients

2 cups roasted, salted peanuts

1 Tbsp brown sugar, to taste
1/2 Tbsp espresso powder
1/2 tsp vanilla bean powder
1 tsp vanilla extract

1 Tbsp chia seeds, optional
avocado or olive oil, optional1

Directions

  1. Add peanuts to a food processor and process until smooth, scraping the sides as necessary. This can take several minutes but the mixture should go from grainy to clumpy to a ball and finally, to creamy.
  2. Add in sugar, espresso powder, vanilla bean powder, and vanilla extract and blend until combined.
  3. If desired, add in avocado oil (for extra creaminess) and/or chia seeds (for a protein boost) and process again until incorporated.
  4. Let cool to room temperature, then transfer to a glass jar and store in the refrigerator until ready to use. Should keep at least one month.

Poppyseed Almond Butter

Makes about 1.5 cups

Ingredients

2 cups almonds2

1 tsp almond extract
2 Tbsp sugar, to taste
2-4 tsp poppyseeds, to taste
1 tsp salt

avocado or olive oil, optional1

Directions

  1. Preheat oven to 350 degrees Fahrenheit.
  2. Spread nuts on a large rimmed baking sheet and toast about 10 minutes, or until fragrant. Do not burn!
  3. Let the nuts cool for about 10 minutes, then add to a food processor and process until smooth, scraping the sides as necessary. This can take several minutes but the mixture should go from grainy to clumpy to a ball and finally, to creamy.
  4. Add extract, sugar, poppyseeds, and salt, then blend again until completely incorporated.
  5. If a smoother texture is preferred, drizzle in avocado oil to taste.
  6. Let cool to room temperature, then transfer to a glass jar and store in the refrigerator until ready to use. Should keep at least one month.

Chai Walnut Butter

Makes about 1.5 cups

Ingredients

2 cups walnuts2

2 Tbsp brown sugar
1/2 Tbsp chai spice
1/2 Tbsp vanilla
1/2 tsp salt

avocado or olive oil, optional1

Directions

  1. Preheat oven to 350 degrees Fahrenheit.
  2. Spread nuts on a large rimmed baking sheet and toast about 10 minutes, or until fragrant. Do not burn!
  3. Let the nuts cool for about 10 minutes, then add to a food processor and process until smooth, scraping the sides as necessary. This can take several minutes but the mixture should go from grainy to clumpy to a ball and finally, to creamy.
  4. Add sugar, spice blend, vanilla, and salt, then blend again until completely incorporated.
  5. If a smoother texture is preferred, drizzle in avocado oil to taste.
  6. Let cool to room temperature, then transfer to a glass jar and store in the refrigerator until ready to use. Should keep at least one month.

Notes

Depending on how much fat/water is still in your nuts and how chunky you like your nut butters, you may not need any oil. I found I liked some of them (almond butter especially) with oil in it just to smooth it out, but it’s totally up to you! Also a great place to try an infused olive oil for a different punch of flavor.

You can certainly buy pre-roasted and salted nuts here, just skip the additional salt in the recipe. However, I found the ones I tried to be too heavily salted for my preferences. If you have access to roasted unsalted nuts then that’s even better!