
Happy July, folks! Halfway through the year and super psyched for the last round of posts for National Ice Cream Month! Are you excited? I’m excited. Each Frozen Friday of July will feature a new flavor, and I hope at least one of them leaves you with a new project for the weekend. (I’ll be breaking from the norm and posting the ice cream recipes in the morning, in case you need to make a grocery stop on your way from from work.)
You might be wondering how salad fits in here. For my regularly scheduled Wednesday programming, I’ll be featuring a salad series to balance a decadent month of dessert. Lots of different flavor profiles to look forward to and there should be a little something for everyone.
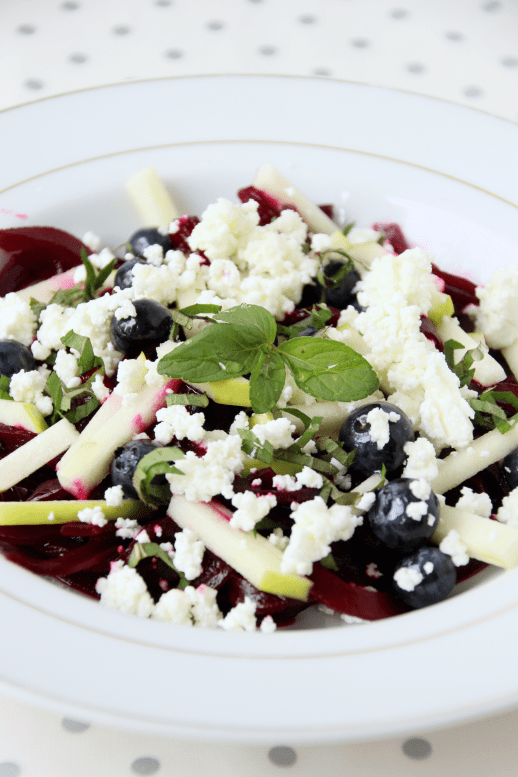
First up is this red, white, and blueberry salad. This salad is served chilled which makes it easy peasy to make a couple of hours ahead (just pop the whole bowl in the fridge) and you’re all set. With no lettuce to wilt it’s great for potlucks and barbecues and a festive addition to your holiday parties that isn’t completely full of sugar.
Roasted beets are something I love immensely but rarely make because they’re a bit messy. I promise you the the pink hands and counters and bowls are all worth it here. Earthy and sweet, beets are wonderful chilled and warmed alike, which makes them extremely versatile across many dishes, including my favorite breakfast hash and sandwich at Jam. I nearly always order one or the other there, depending on if I want eggs or bread with my beets.
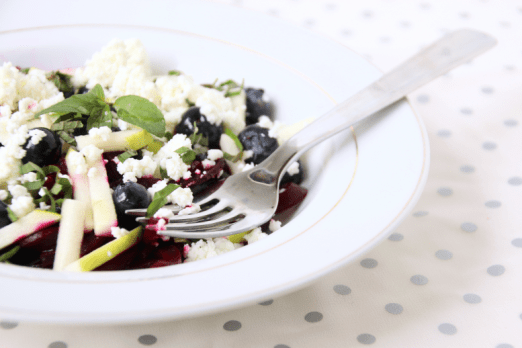
Complementing the beets is some tart apple and fresh blueberry. I love apple in salads for the crunch, and using a green one here is a delightful juxtaposition from the sweetness of the beets and blueberries. A simple white balsamic vinegar adds a lovely tang without the heaviness of a proper vinaigrette and a little bit of mint brings a summery freshness to the whole ordeal. As it stands this recipe is vegan, but if you want to include the creamy factor, goat cheese is always the answer in my world. (For the anti-goat cheese crown, Feta or parmesan are great substitutes.)
Pop some beets in the oven this evening so they’re ready to go tomorrow, and you’ll be all set for a lovely holiday side dish in no time!

PS – If you are one of those people that can’t stand beets, I forgive you. Make it a fun fruit salad by substituting watermelon instead!
Red, White, and Blueberry Salad
Serves 4-6
Ingredients
3 large beets, roasted1, chilled, and spiralized or diced
1 medium green apple, cut into matchsticks
1 cup fresh blueberries
1/4 cup (Barrel Aged) white balsamic vinegar, to taste
4-6 oz goat cheese (or Feta or parmesan), crumbled or shaved
large handful fresh mint leaves, chiffonade cut
Directions
- In a medium bowl, toss beets with 2 Tablespoons balsamic vinegar until well coated. Transfer to serving bowl(s).
- Rinse bowl (so it’s not pink) and toss apple and blueberries with 1 Tbsp balsamic vinegar until well coated. Spread evenly over the beets.
- Crumble cheese and mint atop the salad and drizzle with remaining balsamic vinegar, or more to taste.
- Serve promptly or chill until ready to eat.
Notes
1 If you’ve never roasted beets before, this is the method I use!
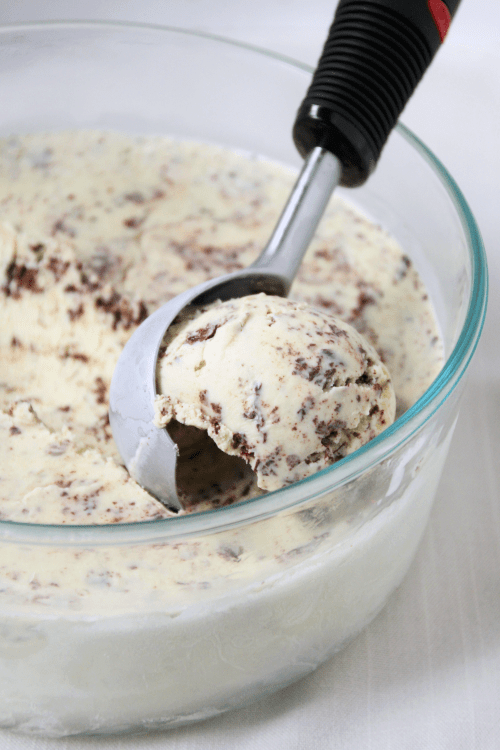 Recently I came across a recipe using fresh mint, and with an overly bountiful mint plant taking over my garden it seemed a prime opportunity to give it a try. Using my standard recipe but steeping plenty of fresh mint leaves resulted in exactly what I was looking for: a strong mint flavor without the somewhat fake-seeming taste that comes from an extract.
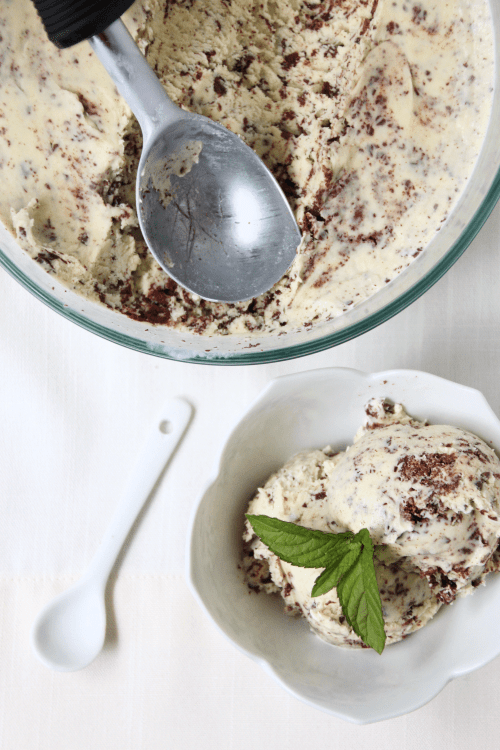 Herbier than your standard grocery store variety, this one reminds me a bit of the lemon basil from last year in that there is no doubting the fresh herbs involved. Mine turned a vaguely pale green, but your mileage may vary. I am not a fan of food coloring but will not begrudge you adding a few drops if you feel the need. Minty and creamy with the lightness that only fresh herbs can bring, the flavor is definitely one of my new favorites.
 The last bit to solve during my mint chip adventure was the “chip” aspect. I considered using chocolate chips but I prefer my mix-ins smaller even than mini chips, and the flakier chippy ice creams have always been my favorites. Conveniently, I attended a fantastic
  This chocolate process was shockingly easy and super delicious, and I’m confident I’ll be incorporating it into other flavors in the future. Regardless as to whether you add in the chocolate, give this fresh mint ice cream a try and let me know what you think!
 In any case, one thing they did great was dessert. In particular, mint brownies. These were hands down the favorite of M and he used to watch the menu for Mint Brownie Day (as he called it) so he could be sure to have as many as possible. I will admit they were quite delicious even though I’m not normally a fan of frosted brownies.
 Two weeks later, after searching Pinterest high and low, I Frankensteined together my own recipe from three separate ones. Dense chocolatey brownie, creamy mint frosting, and that same shiny ganache come together in a delightful combination with no stove required. The lazy baker in me is thrilled about that last bit.
 Grasshopper Brownies