 Hello hello. Hope your year is going splendidly. So far January has been pretty good and I’m looking forward to February. Hopefully winter will come back as our ski area could definitely use some more snow. But it’s open so I’m not complaining too much. Last week I ran in shorts which is a little strange for January in Montana, so I wouldn’t mind if it cooled down a bit.

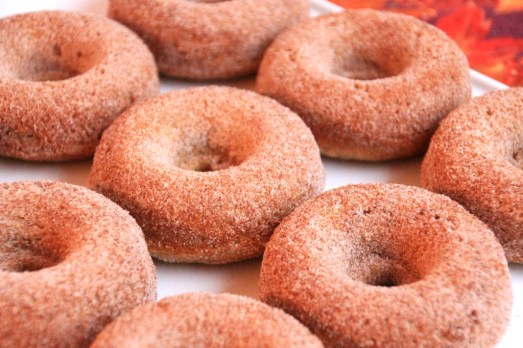
Apple cinnamon muffins with crumb topping
In any case, I’ve been in an apple mood the last couple weeks and while I was deciding what to make I recalled the muffins I made during a semester abroad in Scotland. All I could remember is that the recipe was on allrecipes.com and there was a crazy amount of apple in it. And it took forever to chop it all by hand. After some dedicated searching, some slight modifications, and two batches of muffins, I have the recipe here to share.

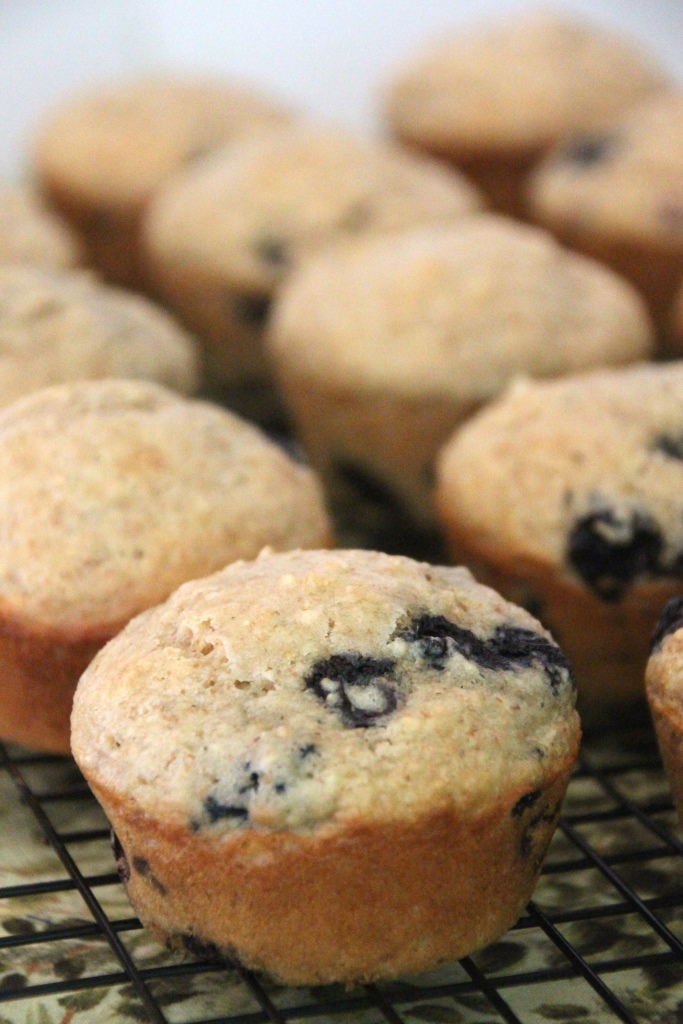
Apple cinnamon muffins with raw sugar topping
These muffins are moist and bursting with apples. A sweet topping (if you want) and the addition of cinnamon make these a lovely treat or breakfast for any time of the year. Chopping the apples will be very quick if you employ the use of a corer/peeler contraption, but even by hand it’s definitely worth the effort.

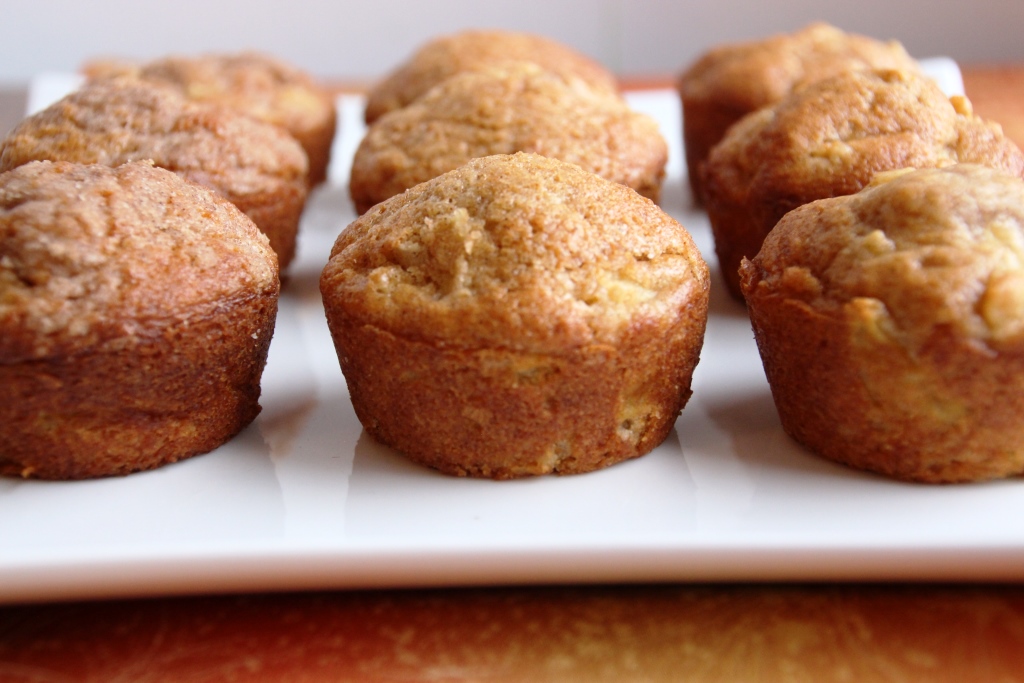
Apple cinnamon muffins sans topping.
The original recipe calls for a sugar crumb topping which is excellent, but the muffins are also great with just a dusting of raw sugar or just plain. I imagine they’d also be great with some regular cinnamon and sugar on top although I haven’t tried this. I promise to do so next time.

Whatever weather has graced your corner of the world, these muffins will be a delicious addition to your day.
Note: This is not a recipe to use up old apples. The apple is VERY prominent so make sure you pick good ones that you’d be fine eating plain.
Cinnamon Apple Muffins
Adapted from AllRecipes
Makes 12-15 muffins
Ingredients
Muffins:
1 1/2 cups all-purpose flour
2/3 cup sugar
2 tsp ground cinnamon
2 tsp baking powder
1/2 tsp salt
1/3 cup vegetable oil
1/3 cup milk
1 egg
2 apples1
Topping:
1/4 cup butter, cubed
1/3 cup all-purpose flour
1/3 cup sugar
2 tsp ground cinnamon
Directions
- Preheat oven to 400 degrees Fahrenheit. Liberally grease a muffin pan or line with paper liners.
- In a large bowl, whisk together dry ingredients until well blended. Set aside.
- In a small bowl, whisk together wet ingredients until well blended. Set aside.
- Peel, core, and chop the apples into small pieces. Set aside.
- If desired, mix the topping ingredients with a pastry blender or your hands until the mixture comes together. It should be well mixed but crumbly.
- Make a well in the dry ingredients, pour in the wet ingredients, and gently mix with a spatula until moistened. Batter will be thick.
- Gently stir in the apples until they are evenly distributed. Apple to batter ratio will look very high, but this is normal.
- Fill muffin wells 2/3 – 3/4 full and sprinkle with topping mix, raw sugar, or leave plain.
- Bake for 20-25 minutes, until a toothpick inserted near the center comes out clean.
Notes
1 I used jazz apples because that’s what I had on hand, but any green or pinkish variety should be great.