
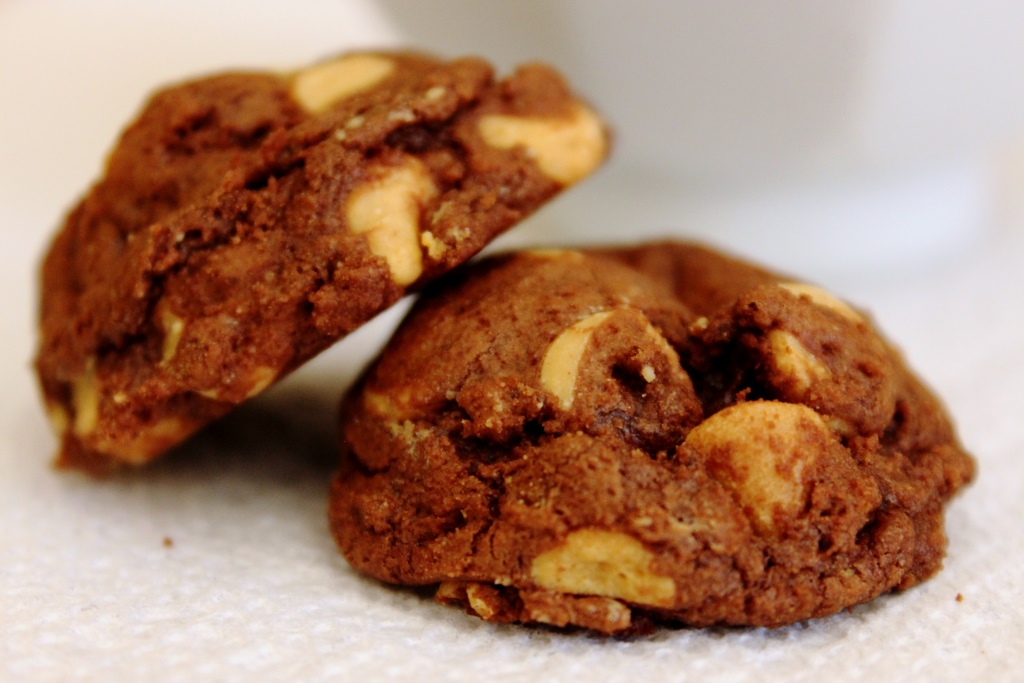
How is your January going? I still haven’t started going through my vacation pictures, but I am nearly caught up with the house cleaning. I’m considering that a win. I’ve also dived right back into my training schedule so I can hopefully be ready for a half marathon in March, and been baking up a storm to make up for lost time over the holidays. Baked beans, pumpkin pie, banana bread, and cookies have been gracing my counters for the last few weeks.

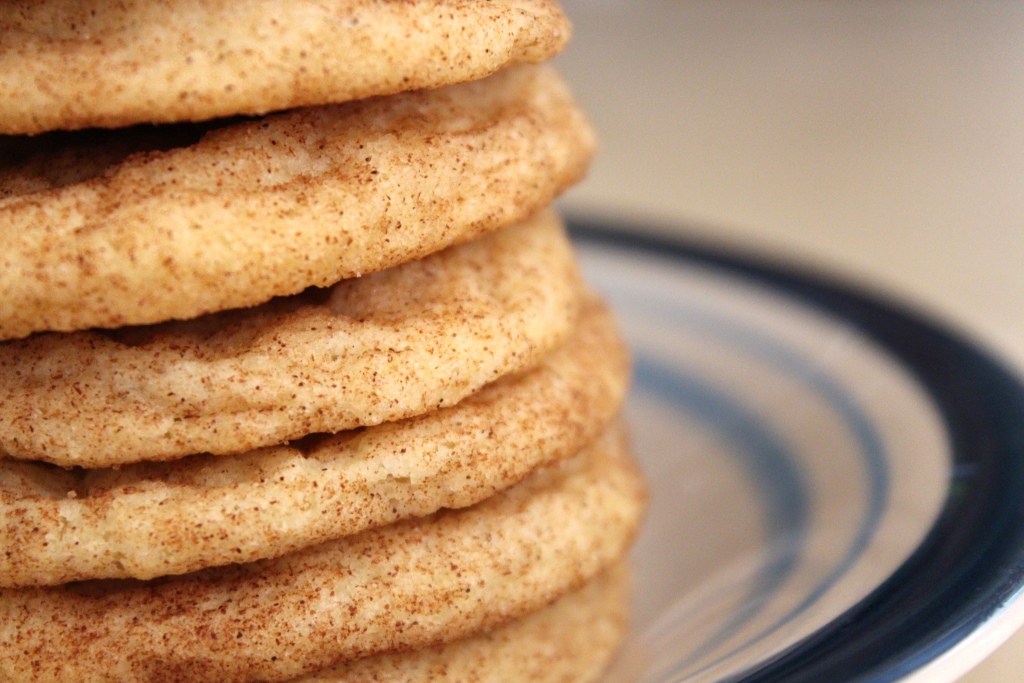
Mmm cookies. When M is in town I make them nearly every week for his lunches, but with him gone the last four months I didn’t bake a single batch. This weekend I had a craving for gingersnaps so I pulled out my grandmother’s recipe. When I was a kid she was always baking cookies, and going to her house was like Christmas when opening the cookie jar: you know there’s something good in there, you just don’t know what yet. She passed away in 2012 and I inherited that cookie jar; it makes me smile every time I walk into the kitchen.

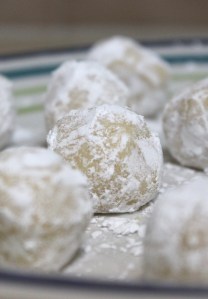
This is a traditional gingersnap recipe which I’ve modified slightly. I use brown sugar instead of white because I love the flavor and it keeps the cookie nice and soft. Instead of flattening the tops with a glass dipped in sugar, I roll them like snickerdoodles or leave them plain entirely. The sugar coating is more traditional and definitely delicious, but as I wasn’t feeling like a super sweet cookie this time I left them plain. These cookies bake beautifully round which makes them extra nice for sharing.
I give a range for the molasses measurement because it’s a very strong flavor and not everyone loves it. Although I always use the larger amount, they taste delightful with the lesser amount and have a much more mild flavor.
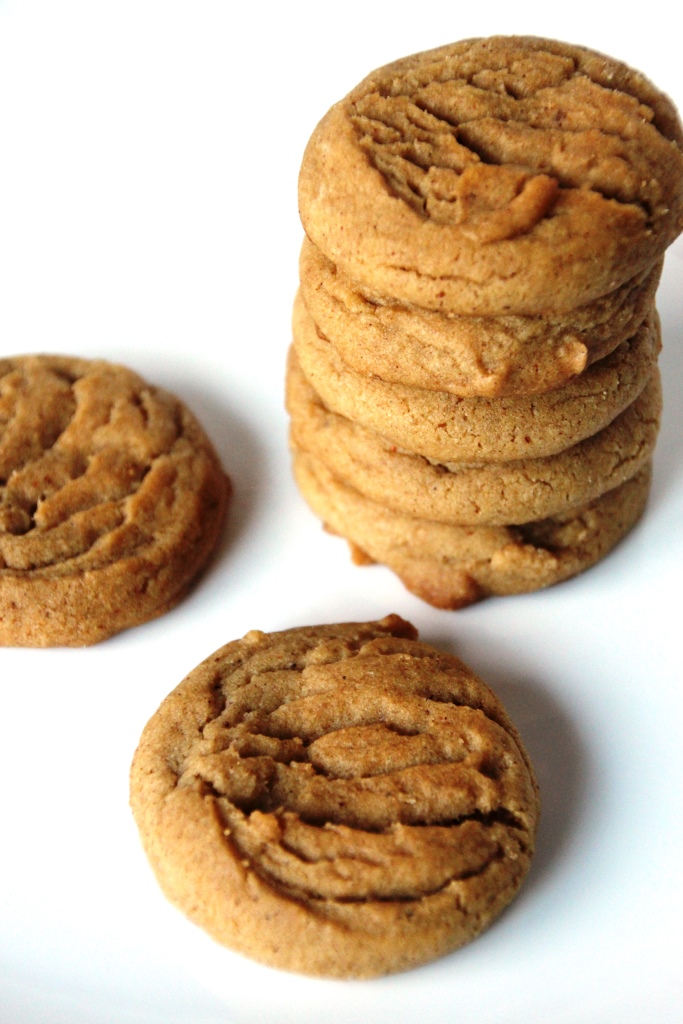
Gingersnaps are spiced for winter but aren’t nearly as heavy as so many of the chocolate and peppermint confections that dominate the season. I like them best with a mug of cider or hot chocolate (so you can dip them in the whipped cream) in front of the fireplace. Add a blanket and a good book for optimal enjoyment.
Gingersnaps
Adapted from my grandmother’s recipe
Makes approximately 30 2″ cookies
Ingredients
1 cup brown sugar
3/4 cup shortening
1 egg
1.5 or 2 Tbsp dark molasses
2 cups flour, divided
1 tsp cinnamon
1 tsp ginger
1/2 tsp nutmeg
1 1/2 tsp baking soda
1/2 tsp salt
extra sugar for rolling (optional)
Directions
- Preheat oven to 375 degrees Fahrenheit. Line two baking sheets with parchment paper or silicon baking mats.
- Combine sugar and shortening in the bowl of an electric mixer and beat until light and fluffy.
- Beat in egg and molasses until well mixed.
- Add half the flour and all remaining dry ingredients and mix until combined.
- Gently stir in remaining flour.
- Optional: Roll 1 Tbsp dough balls in white sugar before placing on the baking sheet.
- Drop 1 Tbsp balls onto baking sheets and bake for ten minutes. Let cool for a few minutes on cookie sheet, then remove to wire rack to cool completely.

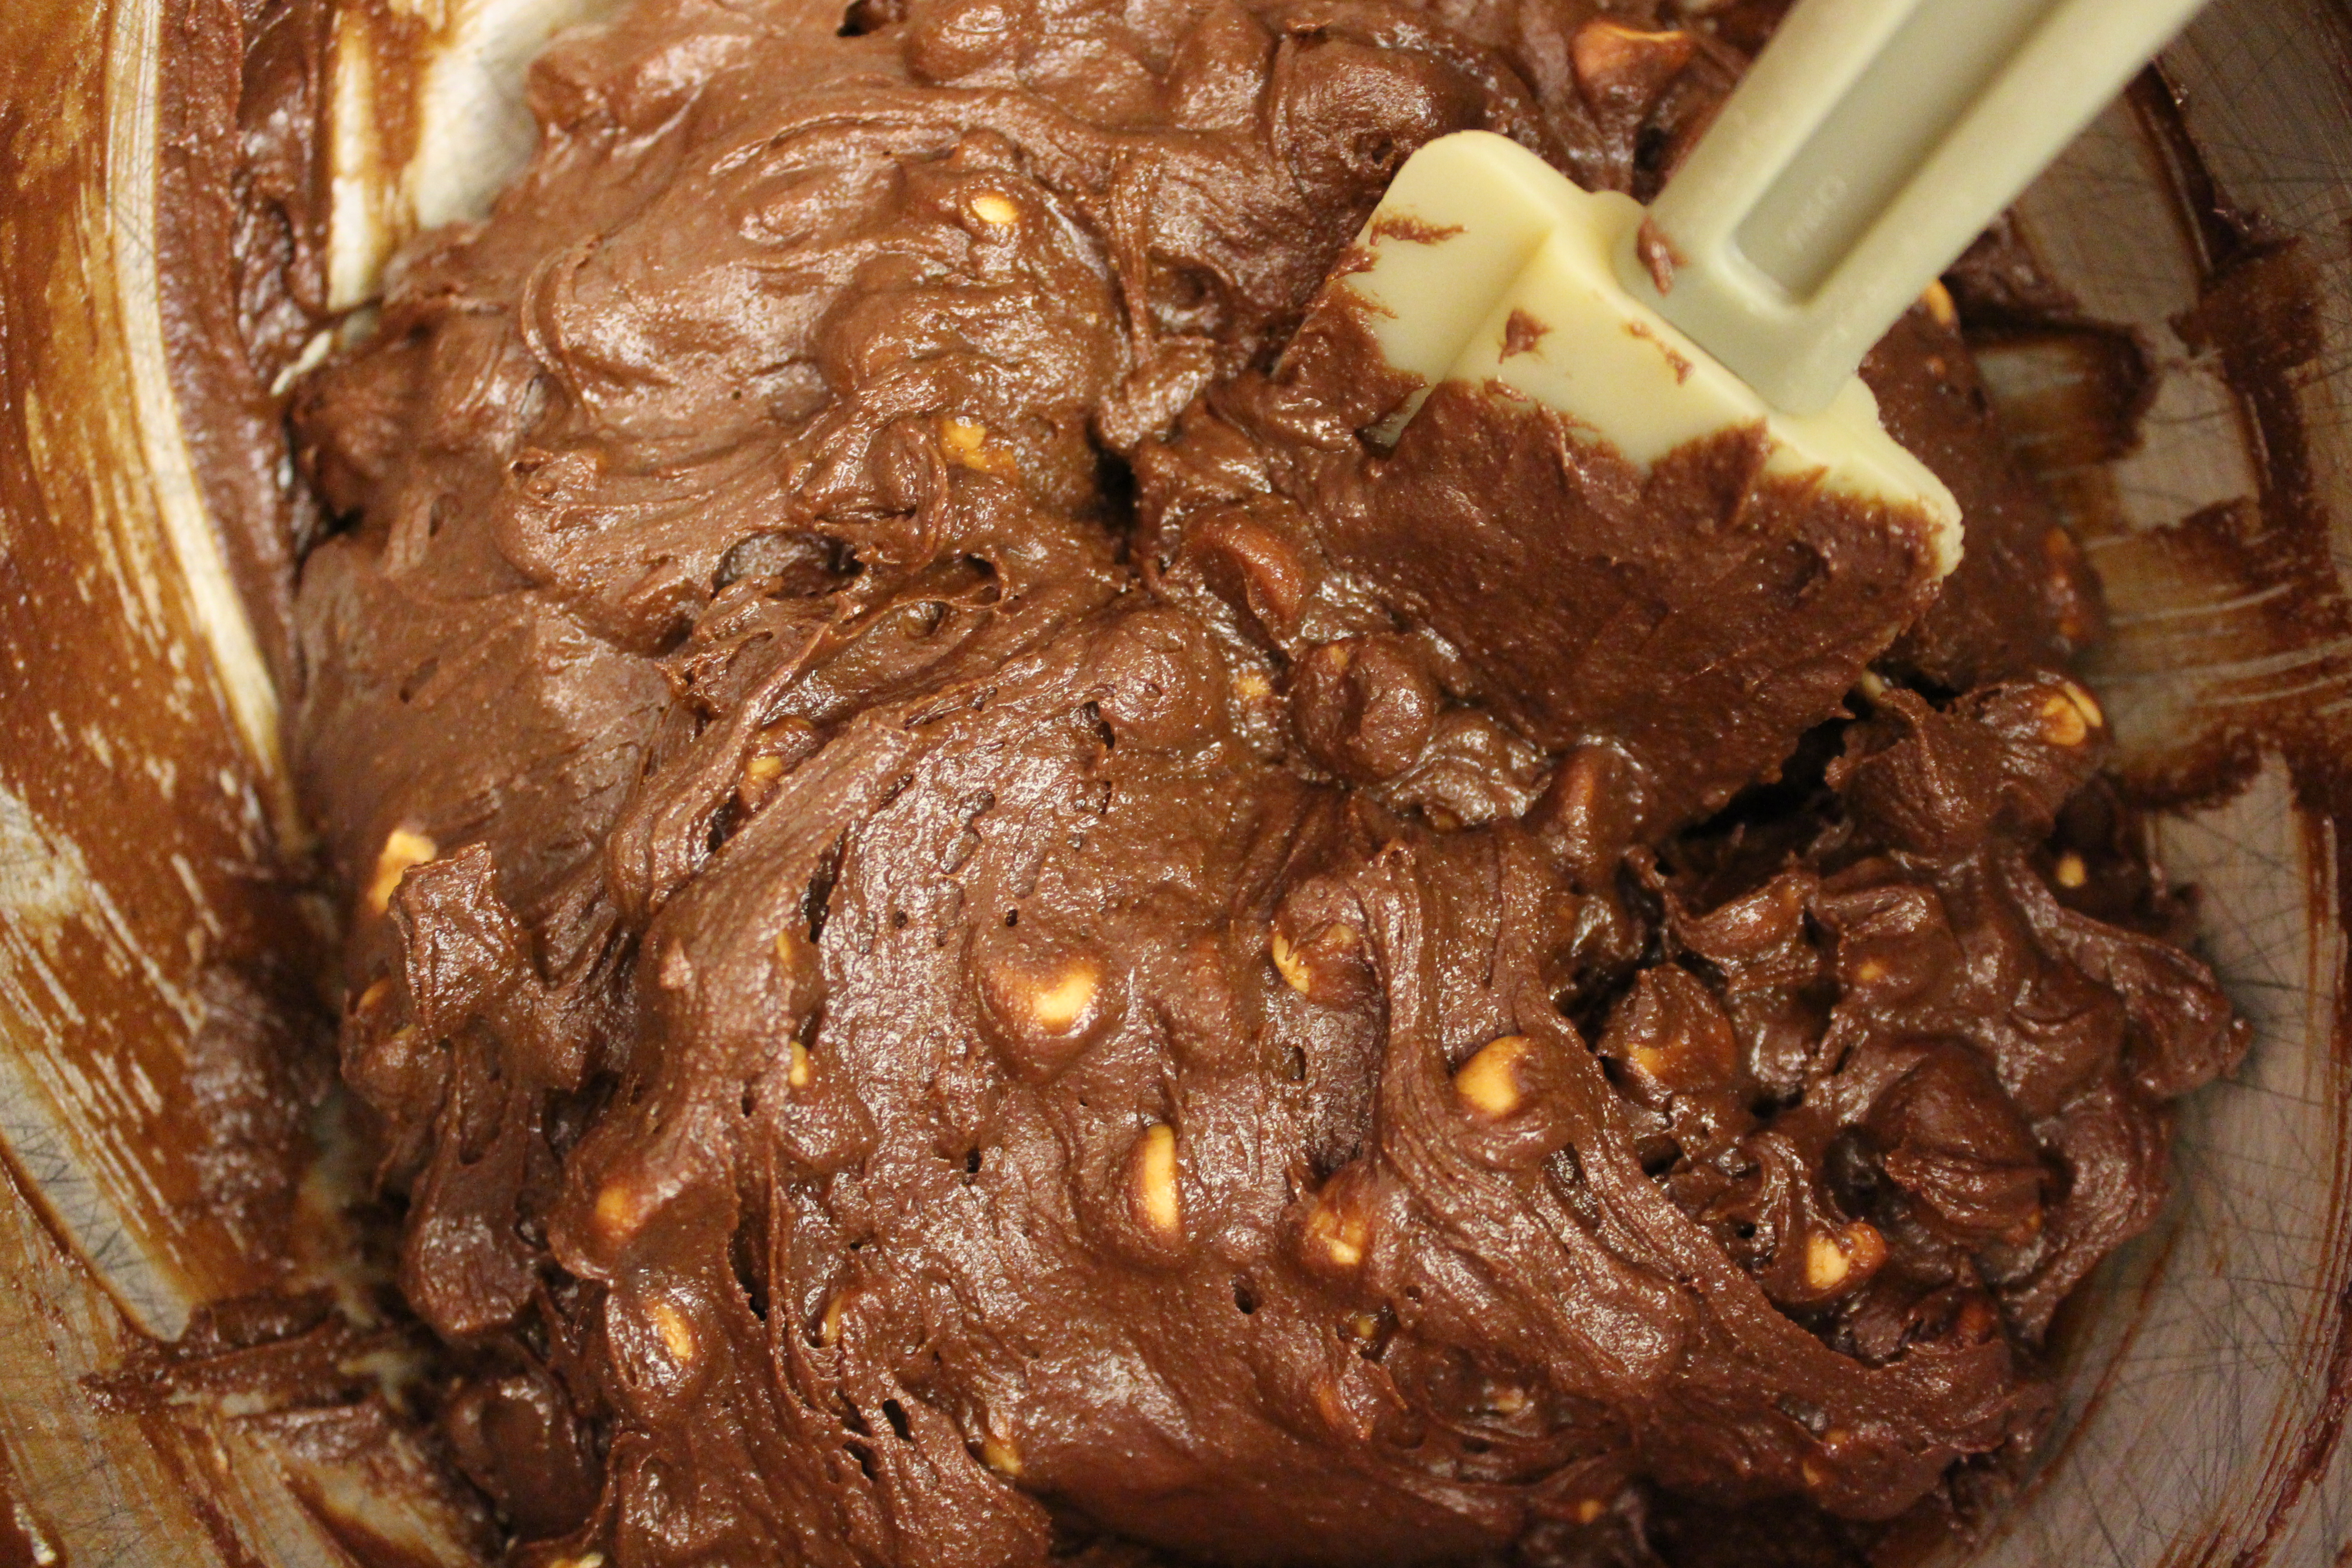


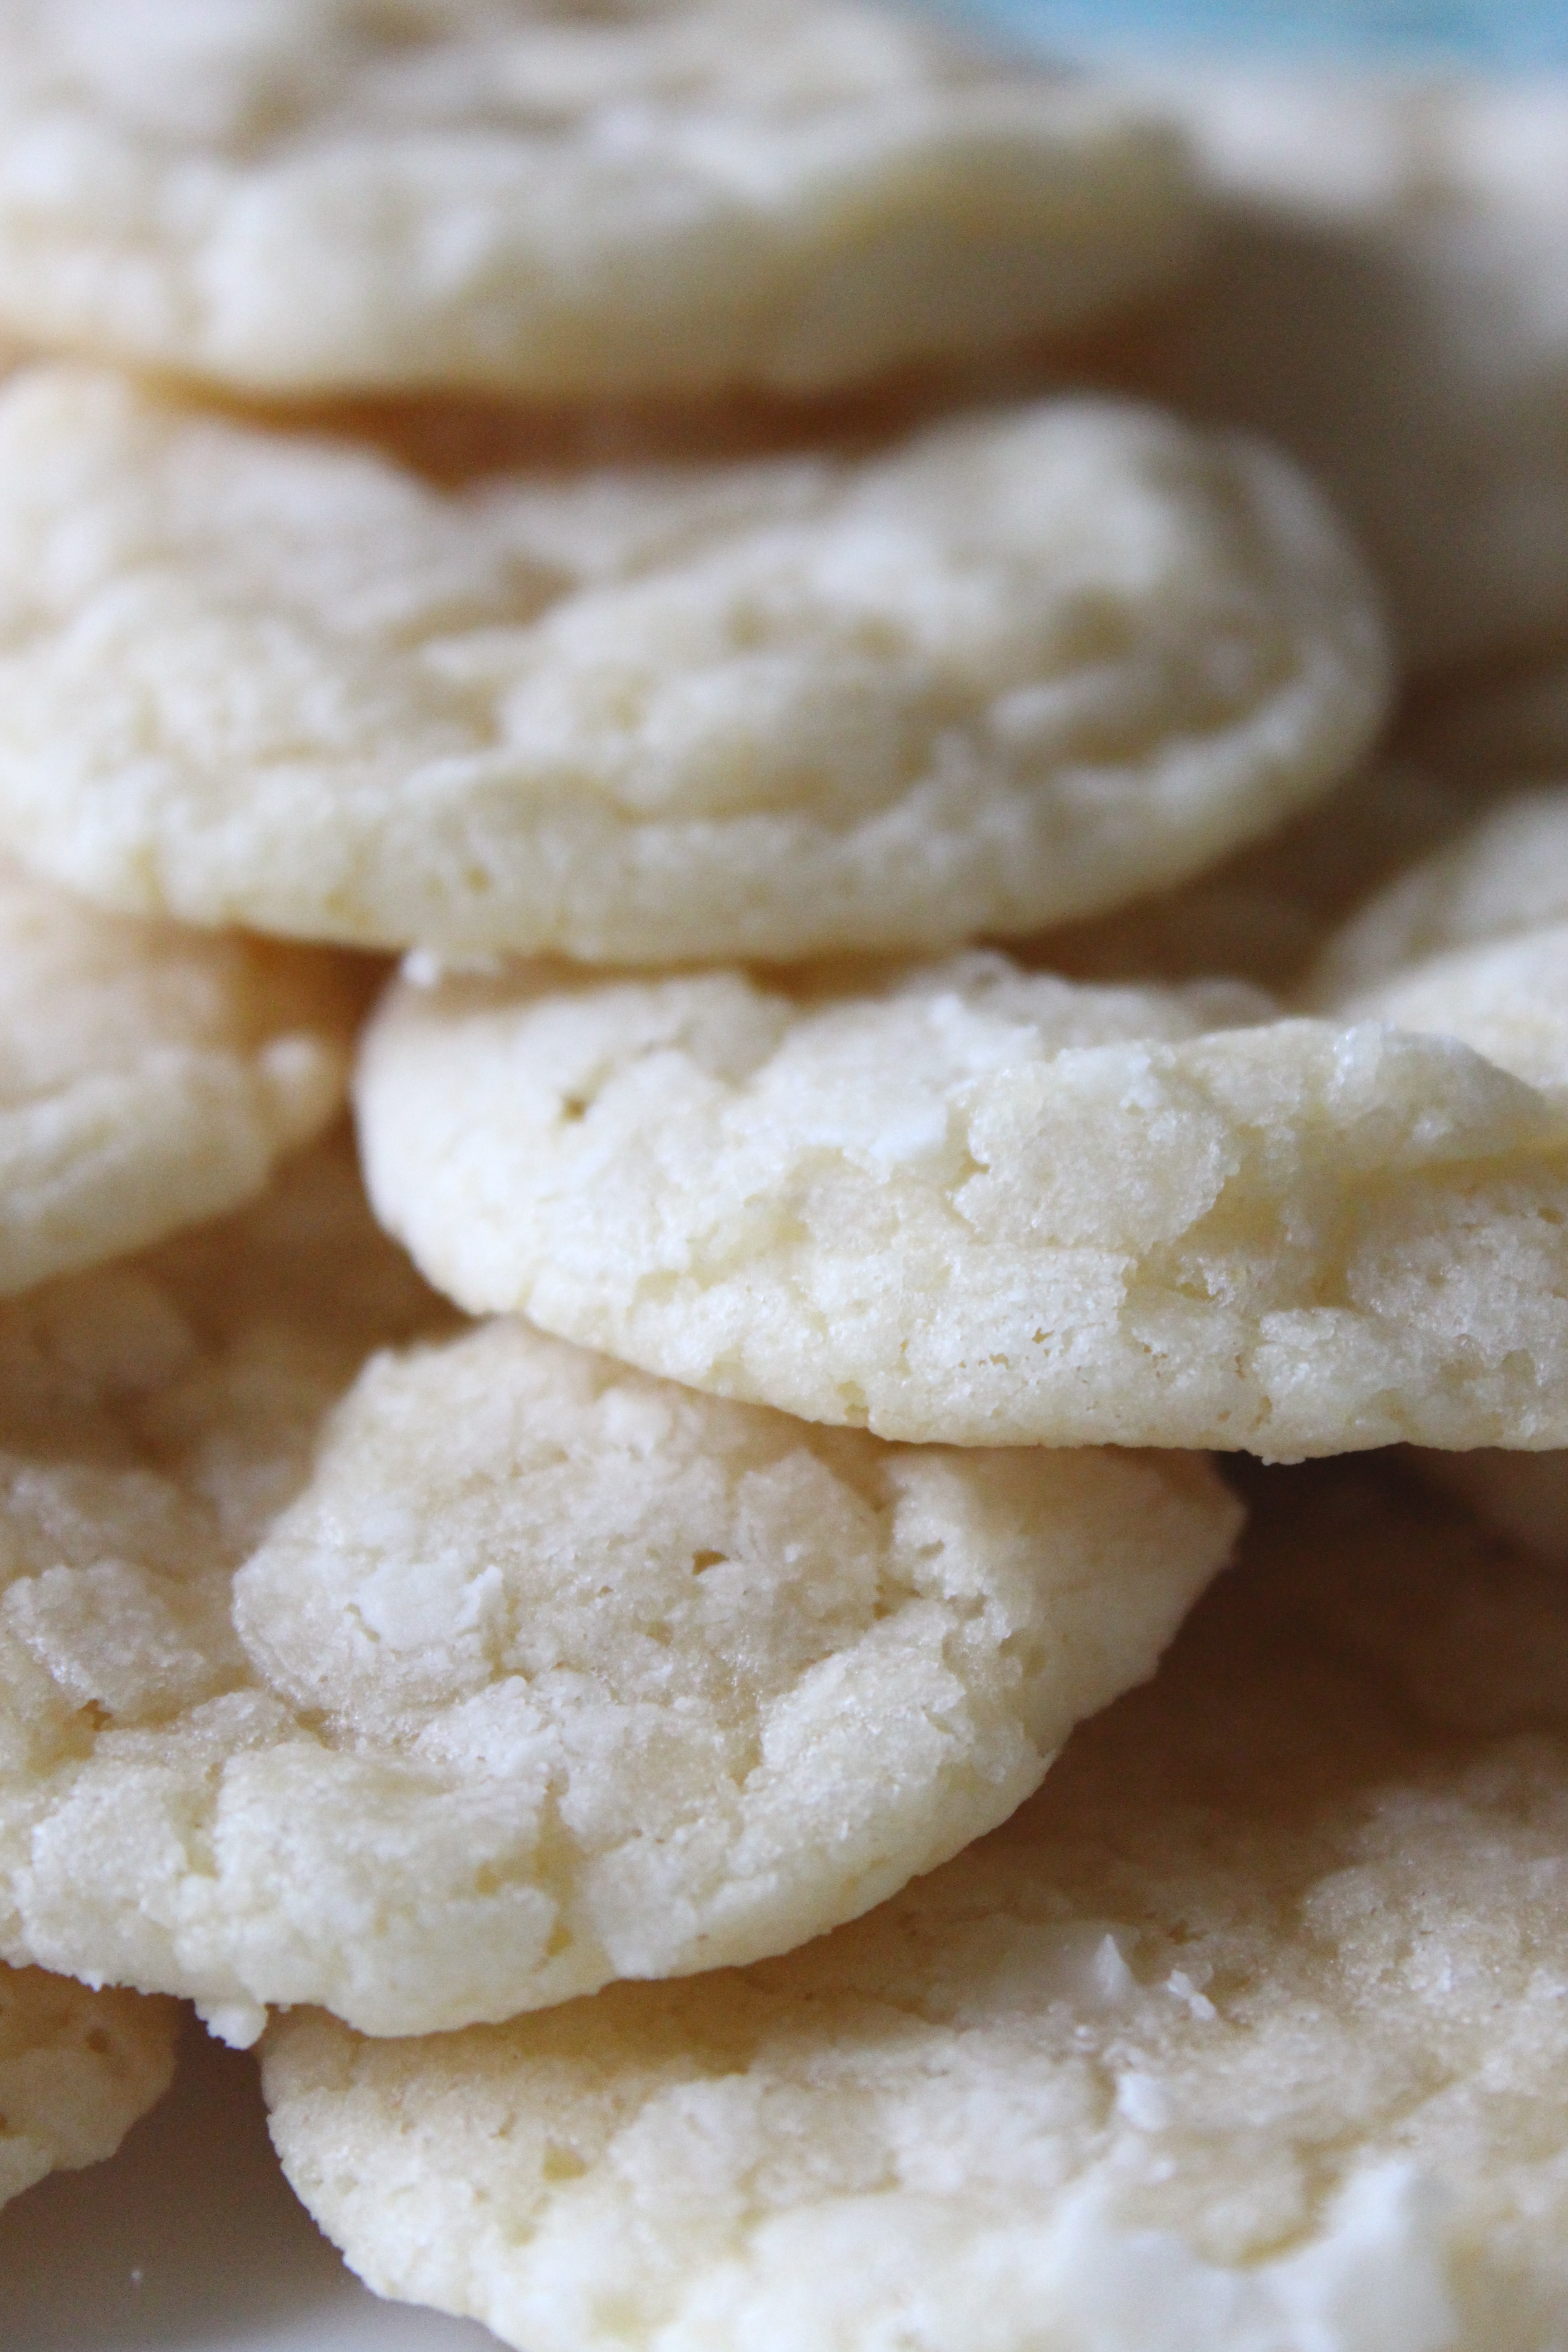
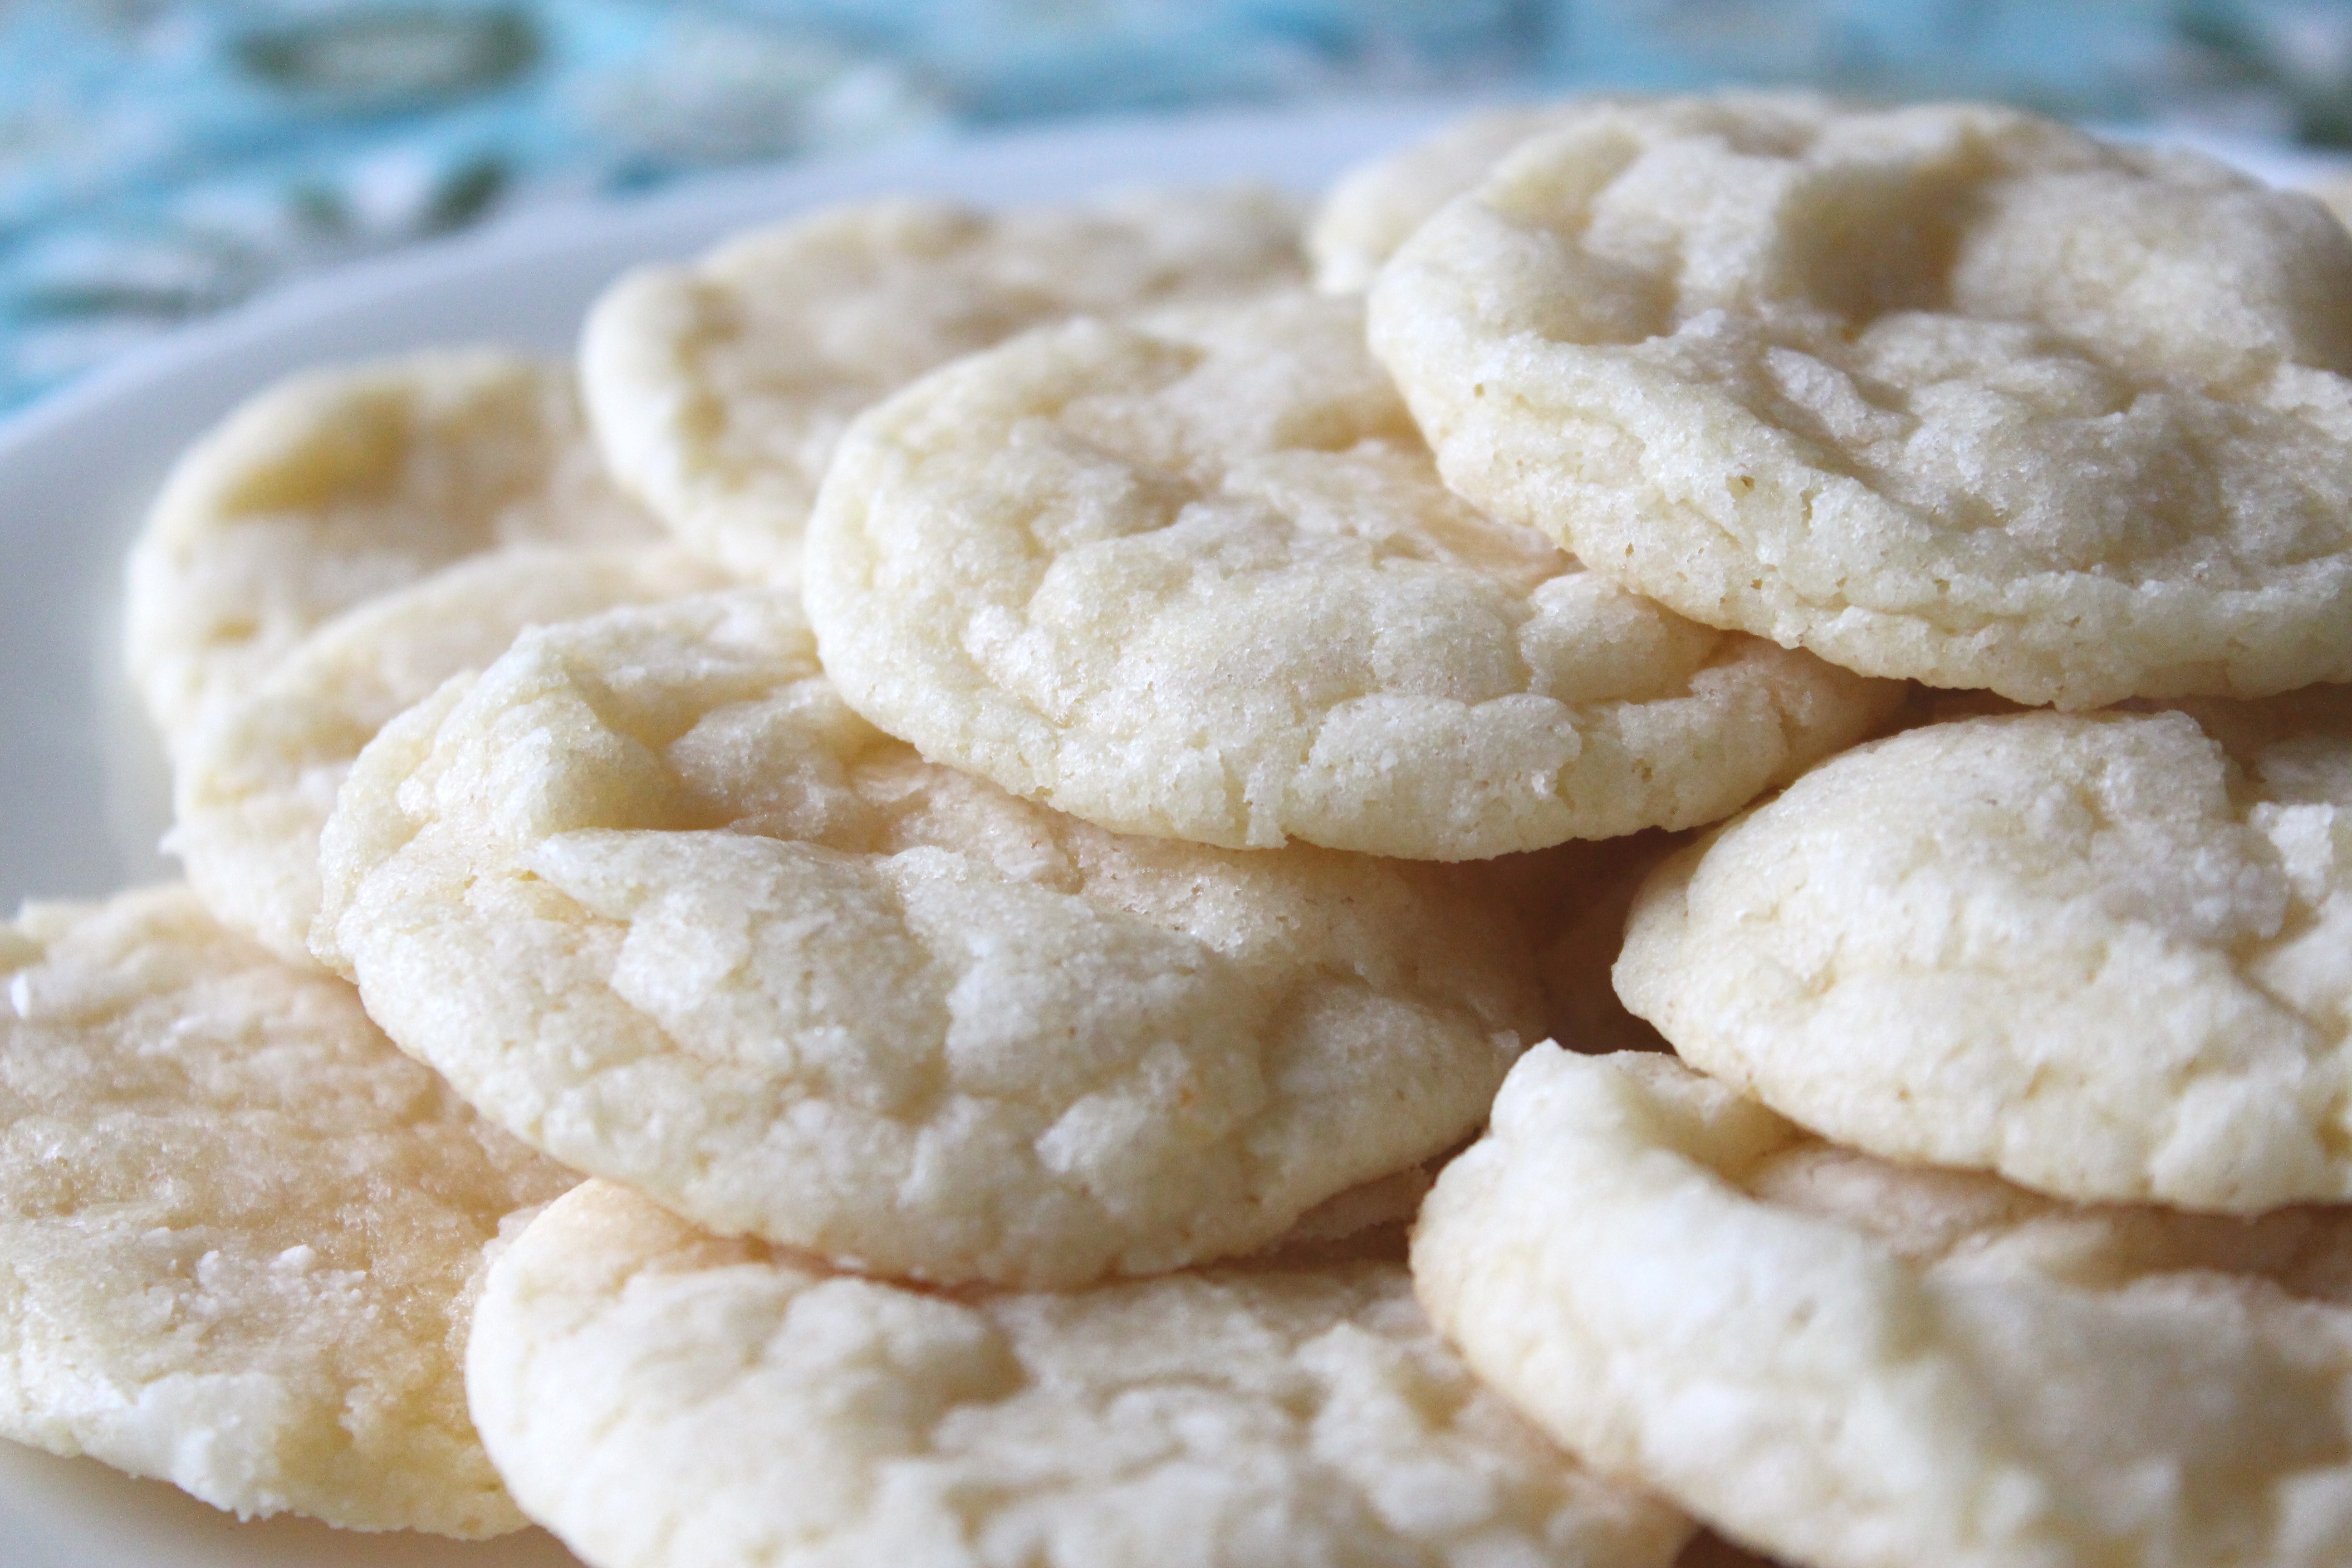
 But be that as it may be, I would be very sad if I couldn’t have cookies anymore. So when my friend found out she has a wheat allergy, I decided to try out some recipes for gluten-free cookies. I perused several recipes but when I came across the gorgeous pictures at
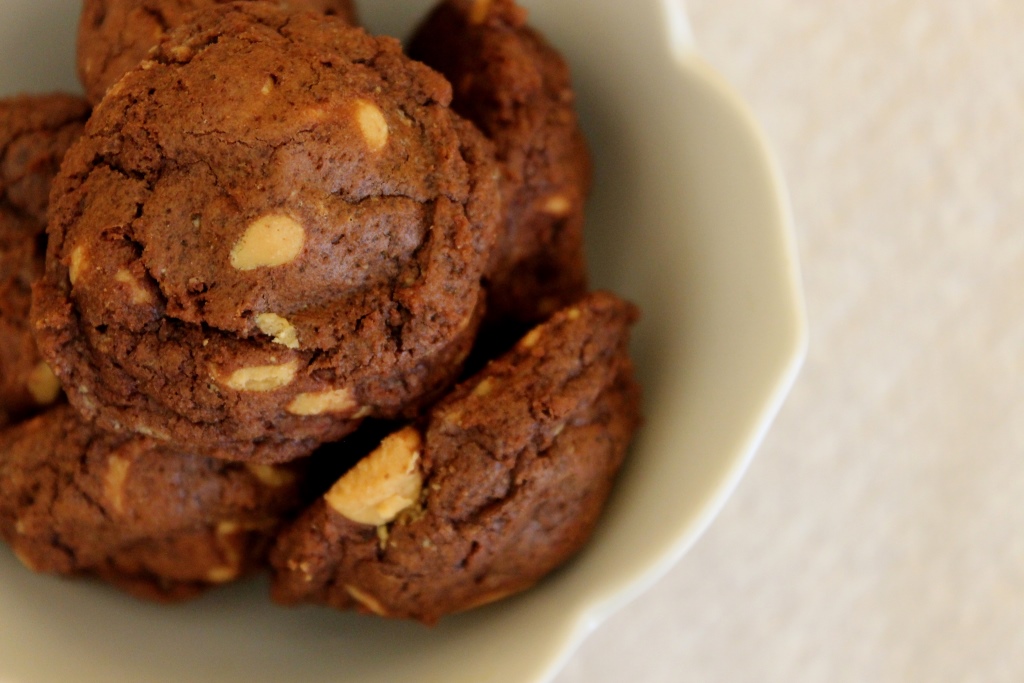
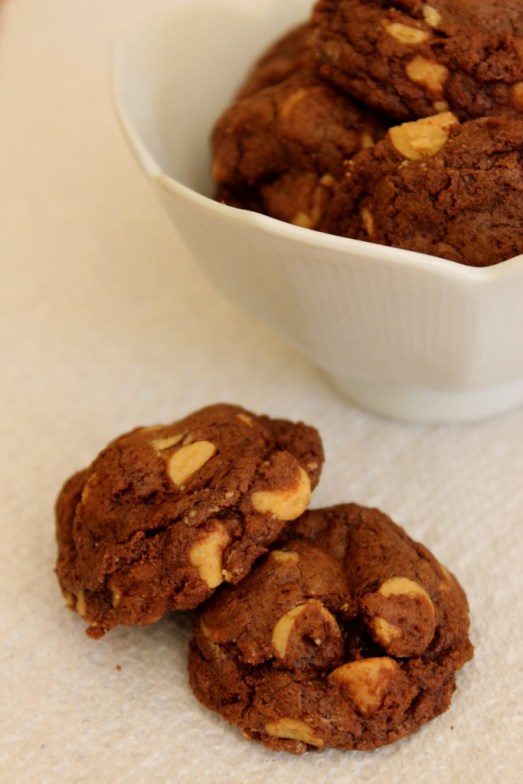
 Flourless Chocolate Cookies