Oh yeah, you read that title right. Irish Car Bomb Sundae. Mixing alcohol and ice cream like a pro. If you’ve been reading awhile, you know that alcoholic ice cream isn’t a new thing here (Baileys and chocolate Kahlúa have both made appearances) but this, this takes it to a whole new level. Note: if you don’t want the whole back story, skip the next four paragraphs.
Whilst planning my baking adventures Sunday morning, I realized we were getting quite close to St. Patrick’s Day. And due to this planning fail, I also realized yesterday was my last usual posting day before the holiday. The mint brownies I had planned would work, true, but I wanted something a bit more festive, a bit less overdone. In my head, Guinness is the most quintessential St. Patty’s Day beverage, making the Irish Car Bomb the most quintessential (although not very politically correct) cocktail of the day. Personally I’m not a fan of Guinness, and anything that curdles while you’re drinking just sounds like a terrible idea, but I’d seen ICB-inspired desserts before that sounded awesome, like cake and donuts. That’s when it hit me: ice cream!
Two years ago a delightful coworker and friend made the team Guinness chocolate milkshakes. (At work. Before 11am. It was awesome.) Even as someone who doesn’t care for Guinness, I found them delicious. And so, the chocolate ICB sundae began to take shape. Guinness chocolate ice cream, of course, Baileys whipped cream, of course, but how to work in the whiskey? It was a terrible dilemma to be sure. Coincidentally, an entirely different friend posted recently about making whiskey dulce de leche. Whiskey caramel it is!

Unfortunately, it was after 11am on Sunday when I had this revelation and so there was not enough time to create this concoction before my usual Monday post schedule. Be that as it may, I made the brownies, walked to the store for Guinness (twice, due to forgetting my ID the first time), and began the journey towards bliss.
Modifying my chocolate ice cream recipe was easy enough, so I got that into the freezer between brownie layers and cleaning and searching for whiskey caramel recipes. Having never actually made caramel before I was a bit nervous, but figured now was as good a time as any to give it a try. After finding a recipe and checking my cupboards for the ingredients (we only had Scottish whisky but…shhh. I’m sorry Colby.), I filed it away to make the next day. Normally I rarely do blog things after work, because I’m tired and hungry and just generally more of a mid-afternoon baker. However, my sheer excitement about this recipe resulted not only in making the remaining layers, but photographing everything and writing this post all in the same evening. Phew. But it’s worth it, oh so worth it.

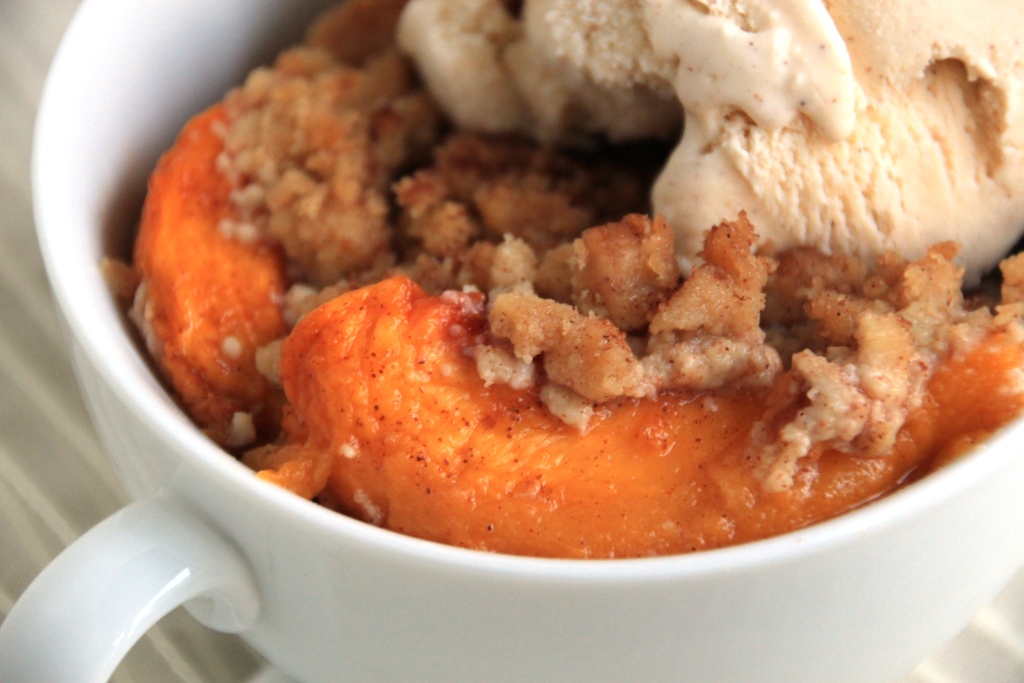
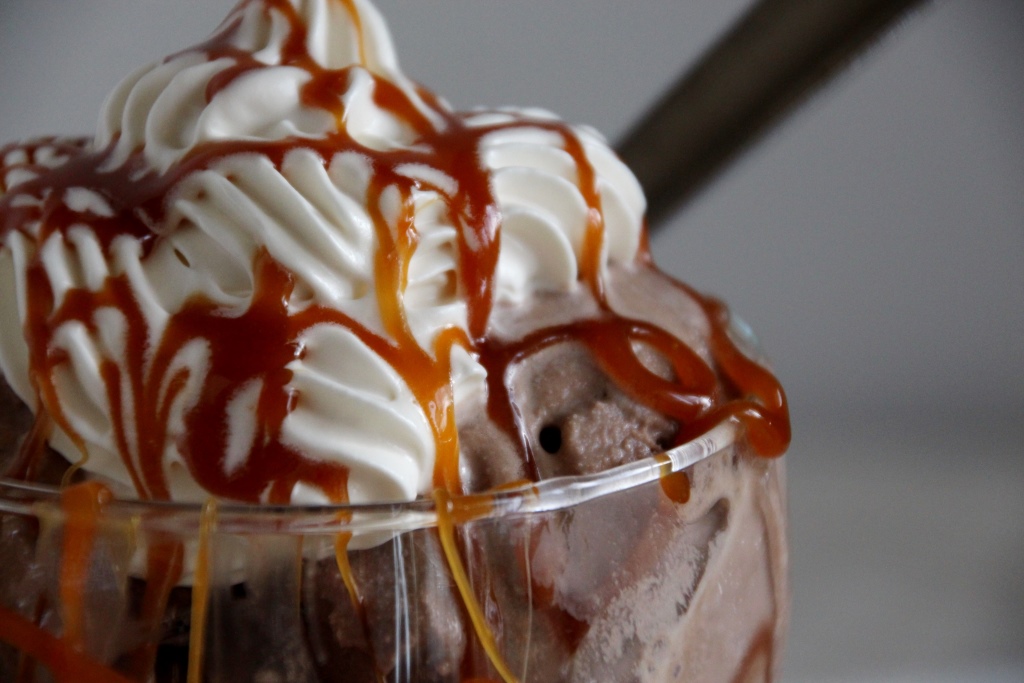
Smooth and creamy chocolate ice cream accented by the unmistakable flavor of Guinness beer, topped with a relatively light Baileys whipped cream, and drizzled with a caramel brilliantly highlighted with whiskey. None of the flavors are individually overwhelming and they all combine together in sundae perfection. Not a dessert for the fainthearted, a small portion goes a long way. I wouldn’t personally eat the amount shown in my photos, for what it’s worth.
All three recipes are easy-peasy and come together quickly, minus chilling time. Very beginner friendly but fun for an experienced cook as well, and also extremely delicious. Which, let’s face it, that’s really the important aspect here. They are also easy to adjust to taste. Feel free to adjust the cocoa powder or Guinness a bit, and use more or less Baileys in the whipped cream. I can’t vouch for how adjusting the whiskey in the caramel would work, but I expect it would be just fine to add a little more or less. It is not super pronounced, which I felt was perfect. I made only a half batch of the original caramel recipe, so double mine if you want lots of leftovers or you’re feeding a crowd.

Need I say more? Really, the photos speak for themselves. I’m not even sure why you’re still reading instead of out shopping for ingredients.
If you’re looking to impress yourself (or I guess some other people) for a St. Patrick’s Day party this year, look no further. Below, find the recipes for Guinness chocolate ice cream, Baileys whipped cream, whiskey caramel sauce, and instructions for the Irish Car Bomb sundae. Make one, make them all. Anything here is a great addition to any evening, but the trifecta is sure to wow.
And if you’re curious, the mint brownies will be up here next Monday, March 16th.

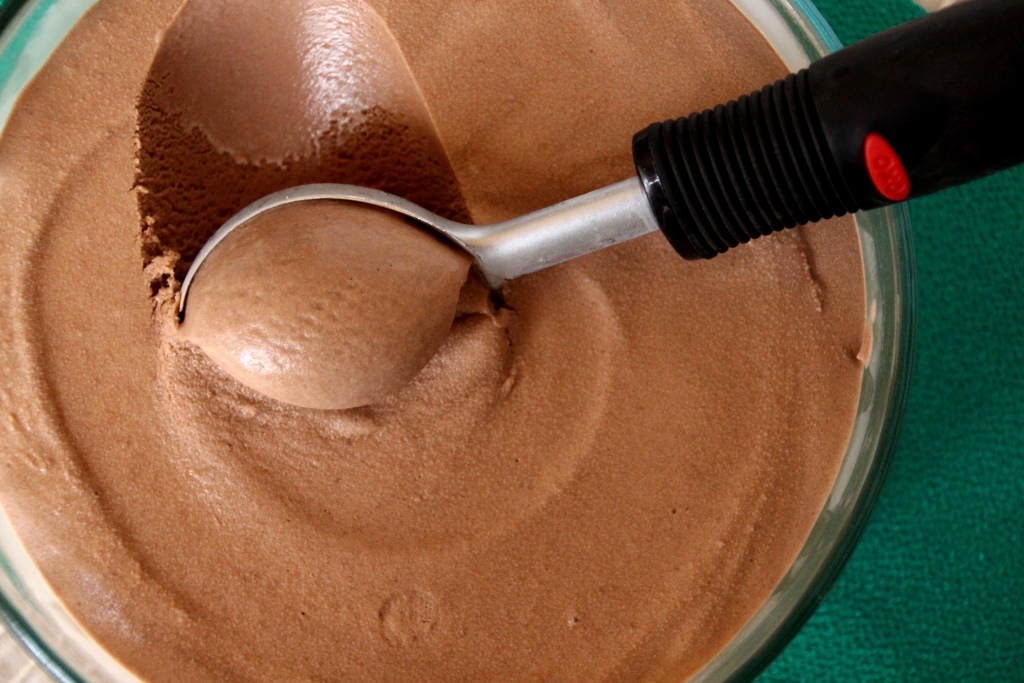
Guinness Chocolate Ice Cream
Makes about 5 cups
Ingredients
1 cup heavy cream
1 cup Guinness beer
1/2 cup half & half
1 cup sugar
1/4 – 1/3 cup cocoa powder
1 tsp vanilla
Directions
- Combine all ingredients in a blender and blend until well combined and smooth.
- Place mixture in the fridge until completely chilled (temp should be less than 40 degrees Fahrenheit.)
- Chill a glass or other freezer-safe, lidded bowl in the freezer while you churn the ice cream according to your ice cream maker’s directions.
- Transfer ice cream to bowl and return to the freezer for at least 4 hours before serving. (Freezer time is not optional with this recipe.)
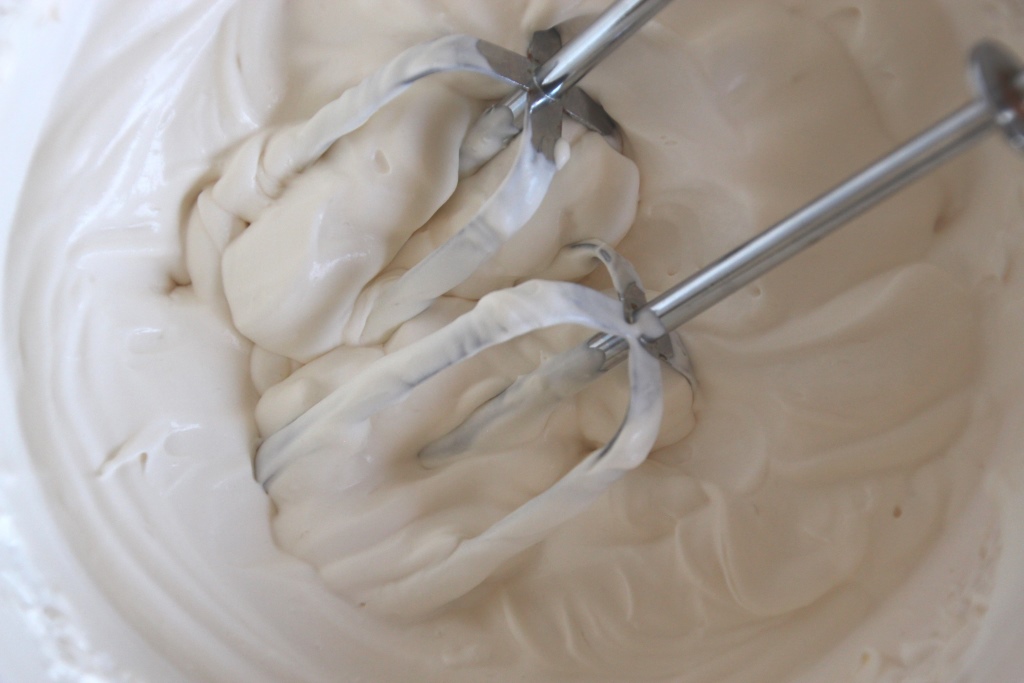
Baileys Whipped Cream
Adapted from The Cupcake Project
Makes about 3 cups
Ingredients
1 cup heavy whipping cream
1/4 cup sugar
2 Tbsp Baileys Irish cream liqueur
Directions
- Using an electric mixer (whisk attachment for a stand mixer) beat the cream and sugar until very soft peaks form.
- Gently stir in the Baileys until just incorporated.
- Continue beating the cream until soft-medium peaks form (or whatever consistency you like).
- Serve immediately, storing leftovers in an air-tight container in the fridge.

Whiskey Caramel Sauce
Borrowed from Epicurious
Makes about 1/2 cup
Ingredients
1/2 cup granulated sugar
2 Tbsp water
3 Tbsp Irish whiskey
2 Tbsp heavy cream
1/8 tsp salt
Directions
- In a small or medium heavy saucepan, bring sugar and water to a boil over medium heat, stirring until sugar dissolves.
- Boil without stirring until syrup begins to look golden, about 5-7 minutes.
- Continue to boil, stirring occasionally, until color deepens to a rich caramel color. (It make crystallize somewhat during steps 2-3, that’s normal.)
- Remove from heat and stir in remaining ingredients. Mixture will splatter so be careful! If the caramel has hardened, return to heat briefly.
- Stir caramel until it is smooth and of even color, allowing to cool for a few minutes before serving. Store any leftovers in a sealed container in the fridge and reheat in the microwave in very small time increments – it is quick to boil over.

Chocolate Irish Car Bomb Sundae
Ingredients
Guinness Chocolate Ice Cream
Baileys Whipped Cream
Whiskey Caramel Sauce
Directions
- Swirl caramel sauce on the inside of a glass or bowl. (optional)
- Scoop in desired amount of ice cream, top with whipped cream, and swirl additional caramel sauce over the whole shebang.
- Enjoy immediately and try not to enter a sugar coma.