Ah, spring. Sunny skies and reading books in the yard are definitely in my near future. Although, given Montana’s weather snow could possibly (probably) be in my near future as well, but I like to focus on the positive.

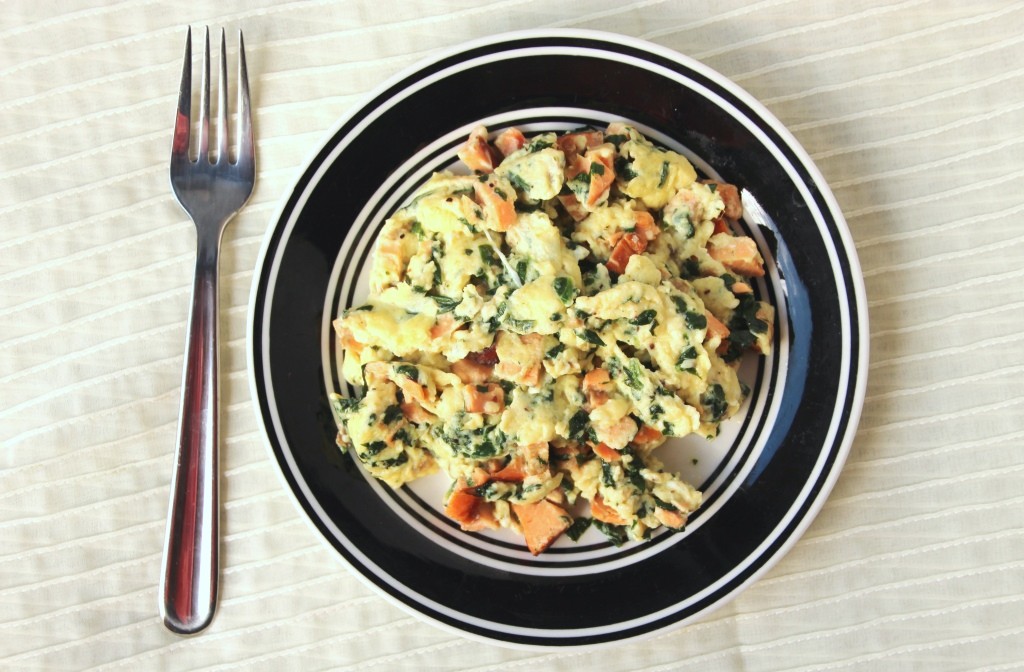
In the warmer months I often start my days with yogurt and granola instead of hot oatmeal. High protein and filling, with fresh fruit for color and flavor, it’s always makes for a pleasant morning. However, given the high sugar content of most yogurt and granola, it can easily turn into more of a dessert than a healthy breakfast. I’ve solved the yogurt problem by buying the plain kind and adding a small dollop of homemade jam, which takes those sugar grams down to a much more reasonable level without sacrificing flavor, since I don’t particularly care for the taste of unflavored yogurt.

However, after trying and failing (and trying and failing, and trying and failing) to find a granola with more grams of protein than sugar in each serving, I decided I should probably just make my own. Unfortunately, even most of the online recipes add a bunch of sugar!

(By the way, does it annoy anyone else when a recipe is touted as being sugar-free and then adds honey? This drives me insane. Honey is still sugar, people.)
I eventually found a recipe that legitimately doesn’t add any sugar, modified it slightly to fit my preferences (not a fan of cashews), and made a batch to try. It turned out pretty close to what I was looking for on the first attempt, which is always extra fantastic when trying new recipes. I later used inspiration from a very delicious but much more sugary recipe and took the best of both worlds to meet my needs.
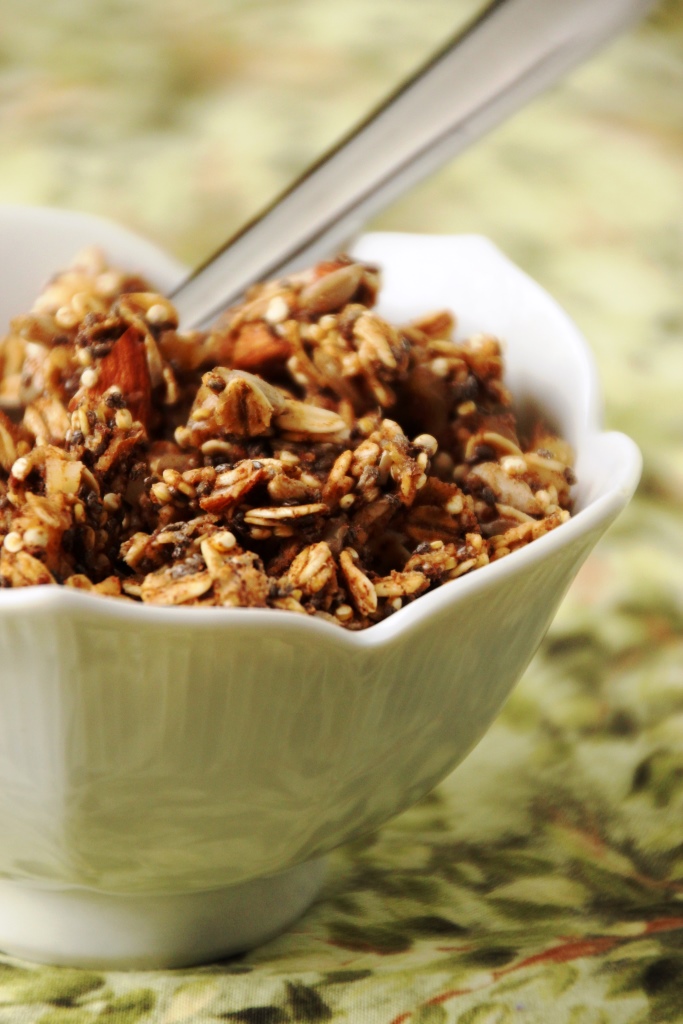
Crunchy, nutty, and full of great cinnamon flavor, this recipe is easy to tailor to suit your tastes and needs, or just to mix it up a little with every batch. I used almonds, walnuts, sunflower seeds, chia seeds, and quinoa but you can certainly use any nuts or seeds of your choice, just try to keep it between 1.5 and 2 cups total. I think macadamia nuts would be fantastic, as well as pumpkin seeds. If you like dried fruits or chocolate in your granola, definitely add some (after it’s completely cooled!), just bear in mind this can quickly increase the sugar content. Additionally, if you’re not sold on the no-sugar-added idea, throw some honey or brown sugar in there too.
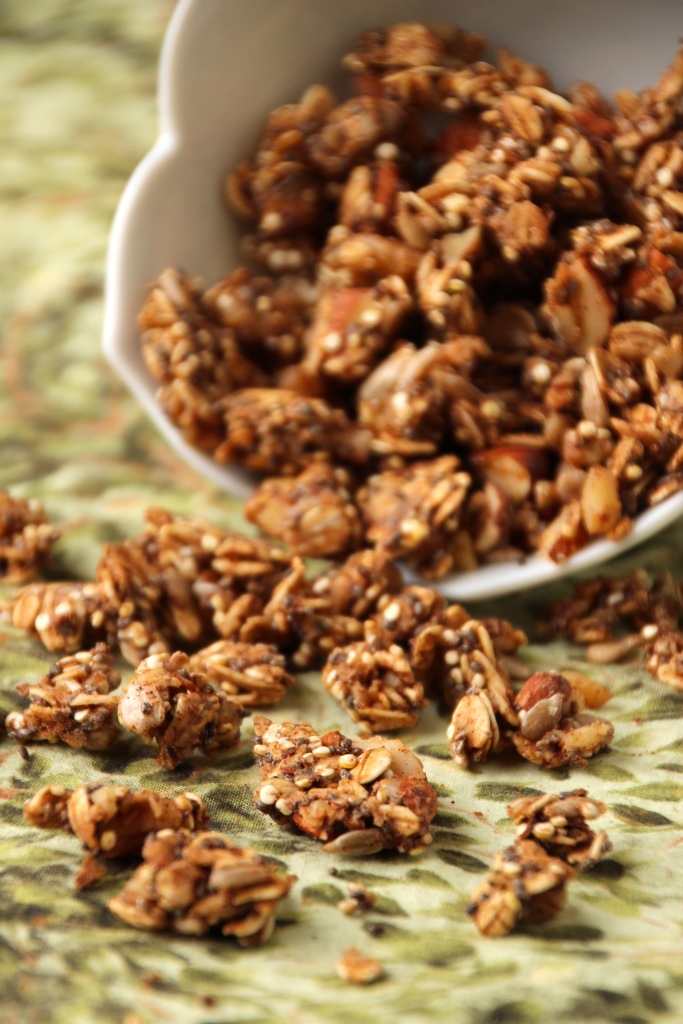
Vanilla Cinnamon Granola
Inspired by Super Healthy Kids and Pastry Affair
Makes 4+ cups
Ingredients
4 egg whites
1 Tablespoon vanilla
up to 1/2 cup packed brown sugar or honey (optional)1
2 cups old-fashioned oats
1/2 cup chopped raw almonds
1/2 cup chopped raw walnuts
1/4 cup hulled sunflower seeds
1/4 cup chia seeds
1/4 cup uncooked quinoa
1 Tablespoon cinnamon2
Directions
- Preheat oven to 325 degrees Fahrenheit. Line an edged baking sheet with parchment paper and set aside.
- Add egg whites to a large bowl and whip with an electric mixer until fluffy and opaque.
- Stir in vanilla and sugar (if using).
- Add oatmeal, nuts, seeds, quinoa, and cinnamon and stir until mixture is completely combined and moistened.
- Spread evenly on prepared baking sheet, ideally not more than 1/4″ thick.
- Bake for about 25 minutes, until granola is golden and crisp. If you like a loose granola, stir it every 10 minutes or so.
- Let cool completely on the counter, then break into pieces and store in an airtight container.
Notes
1 I used no sugar since that’s what I was looking for. As a topping on yogurt or fruit, I don’t miss it a bit, but it does results in a somewhat less chunky granola in the end. If you like it to stay in larger pieces, add 2 tablespoons packed brown sugar; if you eat it more as a cereal and/or are looking for a traditional flavor, I would add about 1/4 cup packed. If you are adding 1/4 cup or more of sugar, you can probably omit half the egg white, or all of it to maintain a looser granola.
2 If this seems like an absurd amount of cinnamon, feel free to cut it in half. It’s way easier to add more than it is to take it away.
![[Slow cooker] Enchilada Quinoa {{Baking Bytes}}](https://bakingbytes.com/wp-content/uploads/2016/04/img_1286.jpg)
![[Slow cooker] Enchilada Quinoa {{Baking Bytes}}](https://bakingbytes.com/wp-content/uploads/2016/04/img_1270.jpg)
![[Slow cooker] Enchilada Quinoa {{Baking Bytes}}](https://bakingbytes.com/wp-content/uploads/2016/04/img_1295.jpg)