Strawberry-Rhubarb Pie

Growing up in Southeast Alaska doesn’t give a lot of edible gardening opportunities. One thing that grows surprisingly well, however, is rhubarb. Most people have trouble containing it and are constantly trying to pawn off stalks or plants on whoever will take them. Luckily, rhubarb is one of my favorite flavors. I am partial to the more tartly flavored jams and pies and rhubarb pairs well with a number of berries and other fruits. My favorite duos, however, are strawberry and raspberry.

Strawberry Rhubarb Pie

I basically live off our raspberry-rhubarb jam, and could eat strawberry-rhubarb pie for weeks without getting bored. With several bags of rhubarb in the freezer (courtesy of M’s parents in Oregon), and the need to use up my Costco supply of strawberries, a pie seemed in order. The tartness of rhubarb and the sweetness of strawberries, paired with just a hint of cinnamon, is fabulous on its own or with a side of vanilla ice cream. It keeps well in the fridge for nearly a week (it never lasts longer than that) and warms nicely in the microwave.

This pie would be a wonderful addition to a summer party or just your average evening, if you don’t want to share. (I wouldn’t blame you.)

Below find the recipe for a deep dish pie, along with my notes at the bottom. If you are using a regular-sized pie plate instead of deep dish, you may want to reduce to 4 cups rhubarb and 2-3 cups strawberries, to avoid having extra filling.

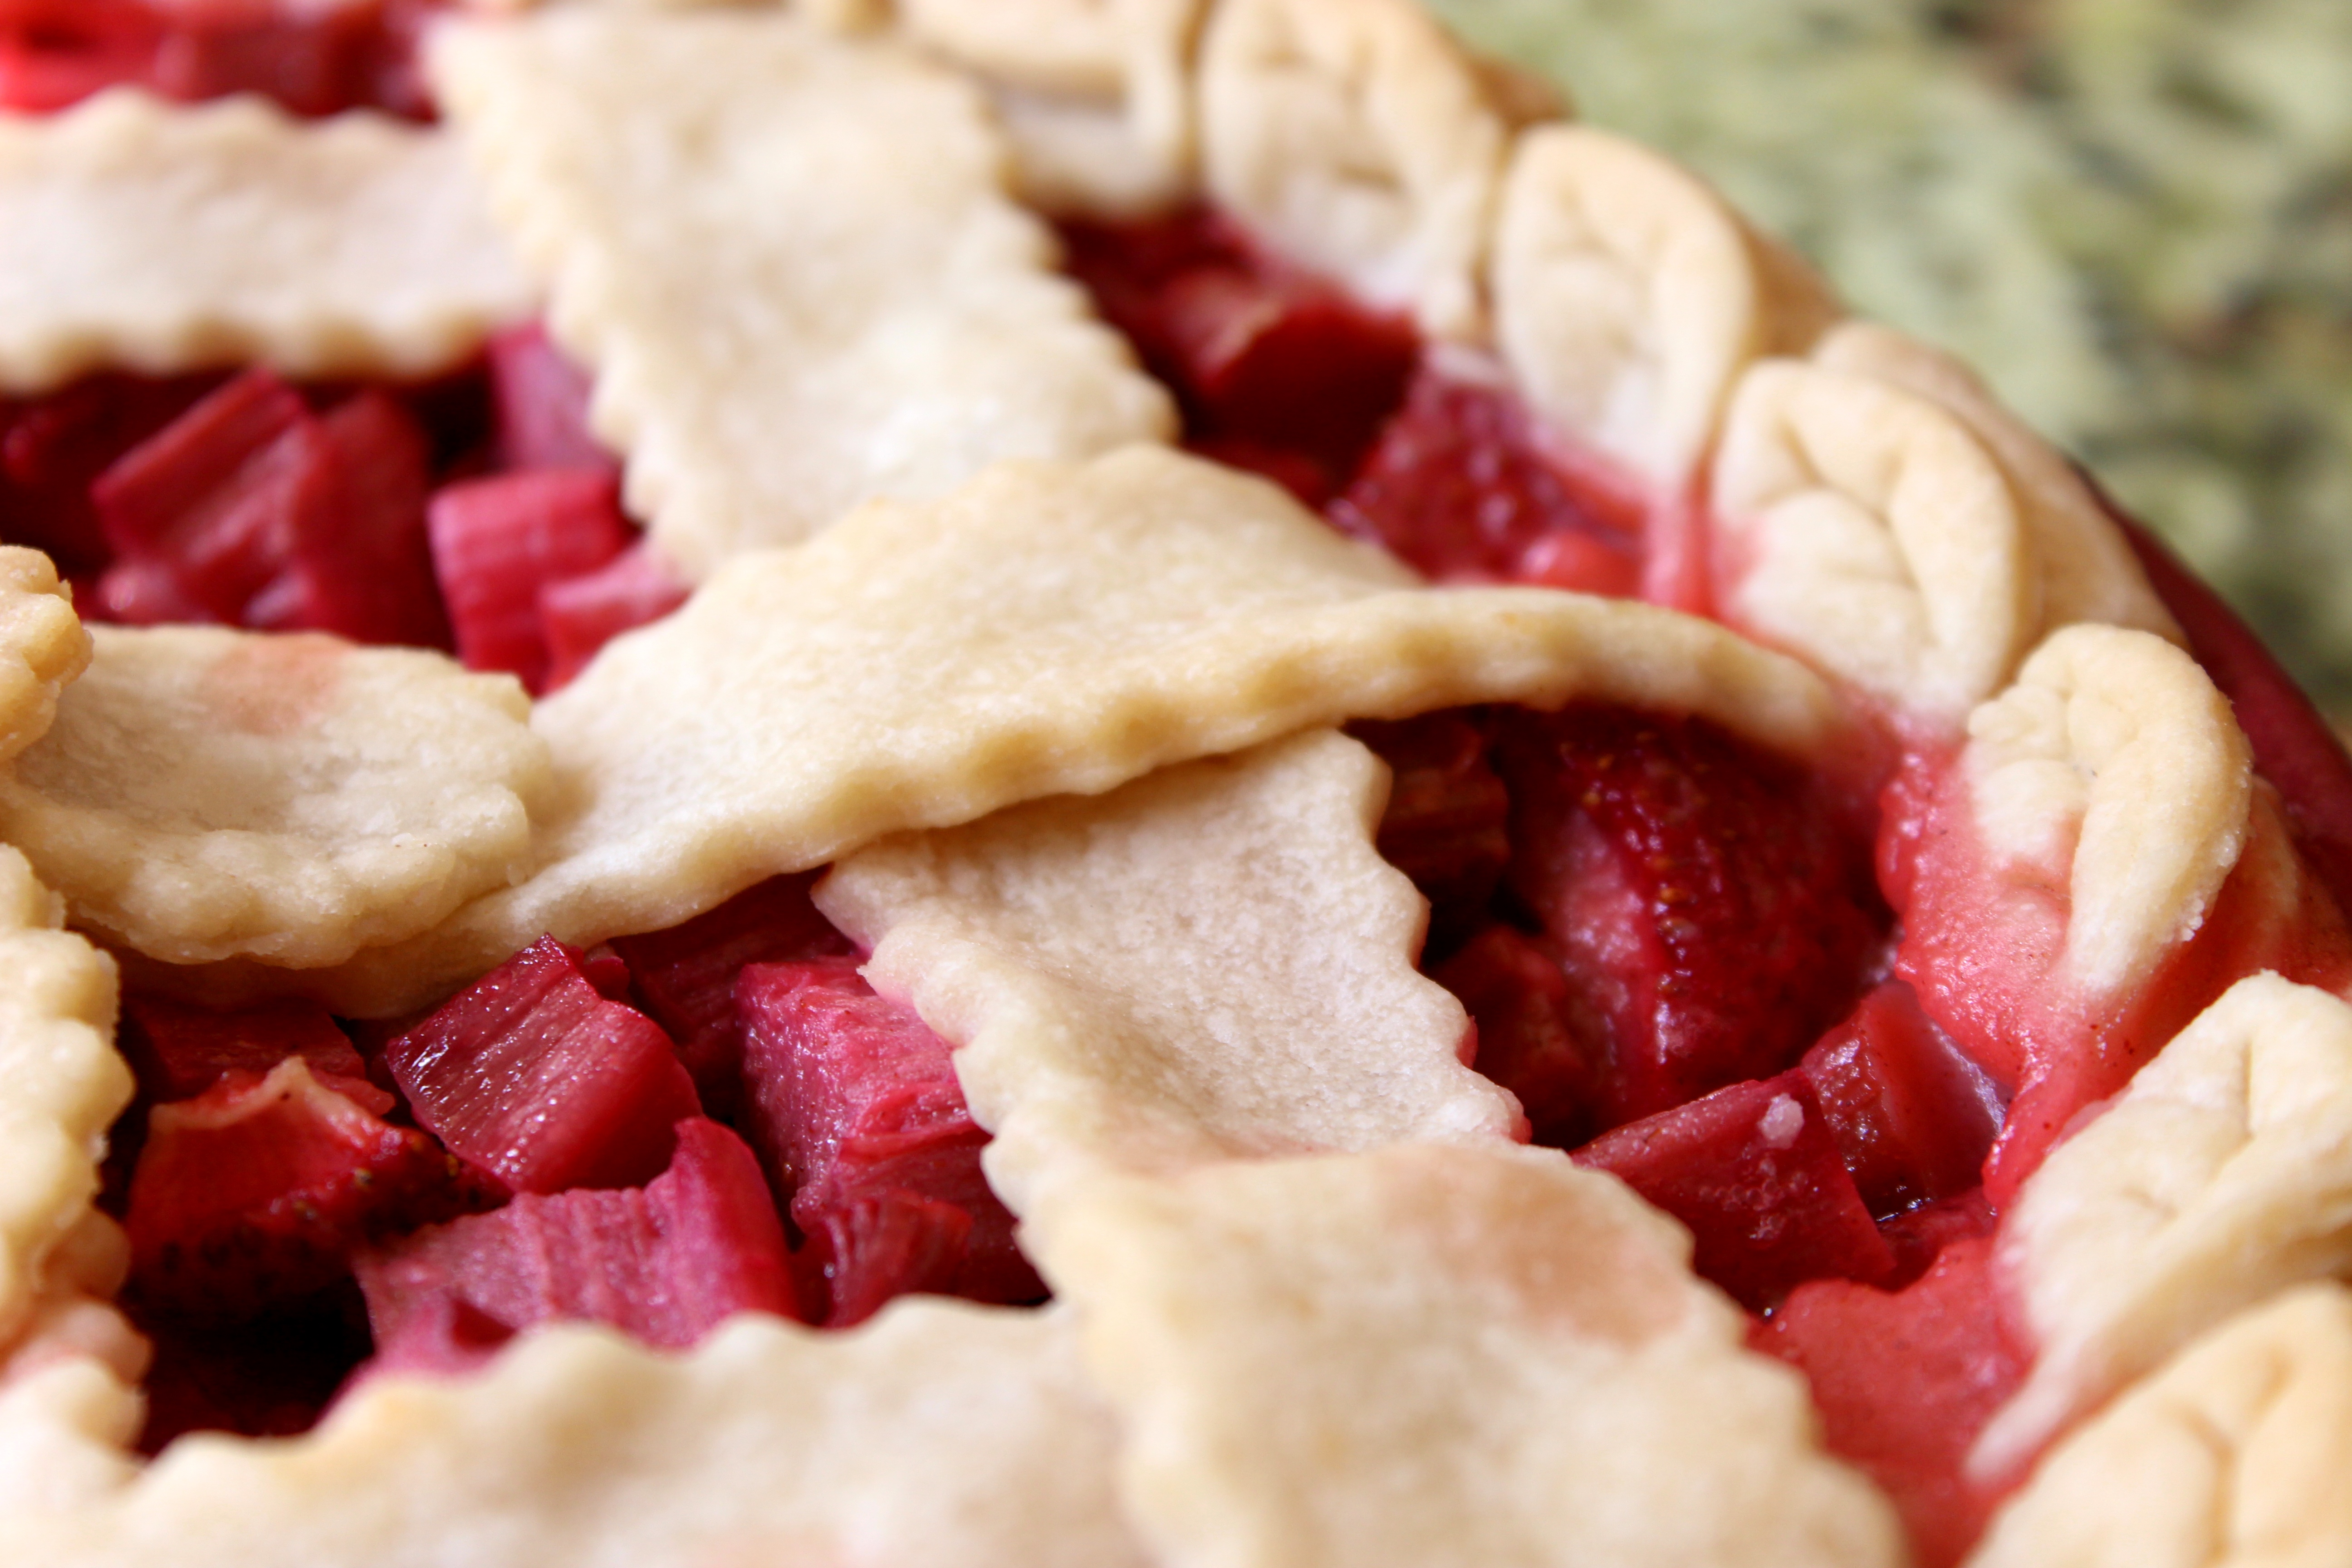
Deep Dish Strawberry-Rhubarb PieStrawberry Rhubarb Pie - Slice

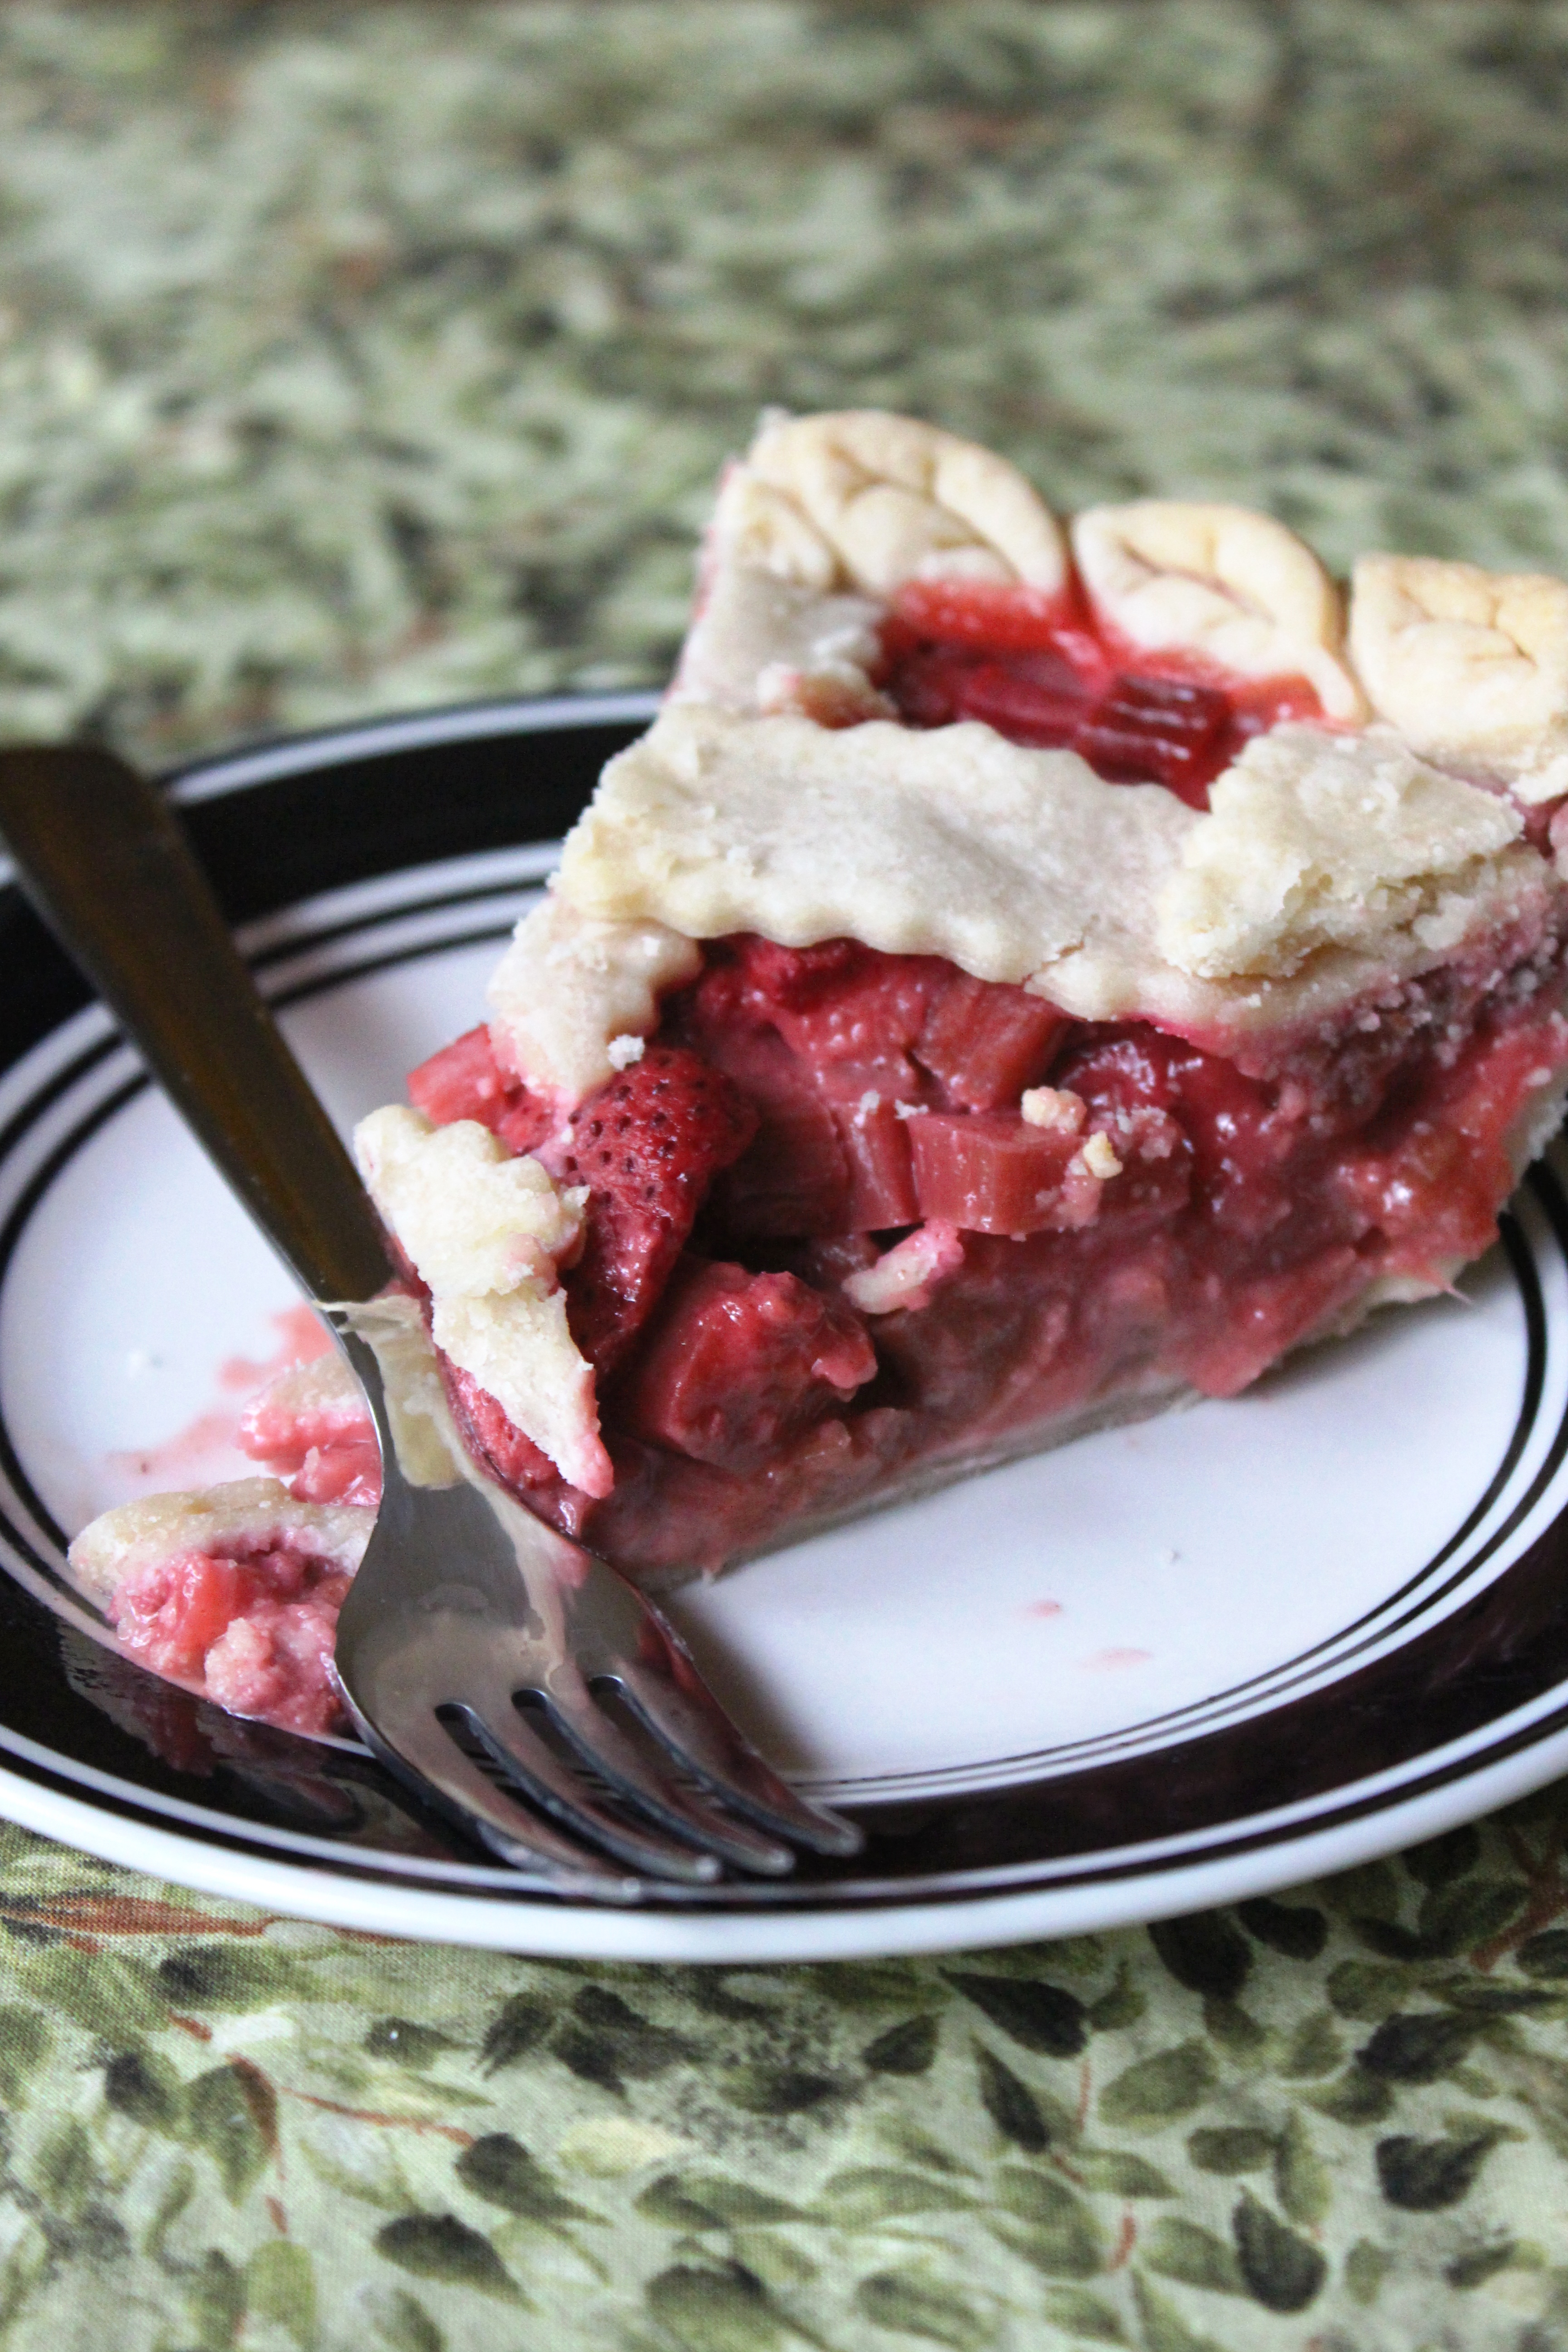
Adapted from The Fiddlehead Cookbook

Ingredients

Pie crust for double-crust pie

4 1/2 cups rhubarb in 1/2″ slices
3-4 cups fresh strawberries, quartered

1/2 cup flour
1 1/3 cup sugar (or to taste)
1/2 tsp cinnamon

Directions

  1. Place rhubarb and strawberries in a large bowl.
  2. Whisk together dry ingredients in a small bowl.
  3. Preheat the oven to 400 degrees.
  4. Gently fold sugar mixture into the fruit until well mixed, and let sit for fifteen minutes.
  5. Pour filling into unbaked pie shell, mounding towards the center.
  6. Put on top crust and bake at 400 for 10 minutes.
  7. Reduce heat to 375 and bake for an additional 40-60 minutes, until juices are bubbling and rhubarb is tender.
  8. Let cool on the counter until pie plate can be safely picked up with bare hands, and then place in the fridge to store. Keeps well for a week in the fridge.

Strawberry Rhubarb Pie - EdgeNotes

  • If using frozen rhubarb, allow to thaw and drain while you make the pie crust and prepare everything else.
  • I used the full amount of sugar, but use more or less according to your preference.
  • I like to place a cookie sheet on the shelf below the pie in order to catch overflow when baking.
  • A deep dish pie plate will likely need the longer range of baking time, whereas a regular pie plate should be done closer to the short end.
  • If it looks runny when you pull it out of the oven, that’s okay. It will solidify some when it cools, especially in the fridge.

Strawberry Greek Frozen Yogurt

Summer weather has finally shown up in my neck of the woods, which means cold food will soon be a necessity. In an effort to make my (daily) frozen dessert not always be a serving of ice cream, I attempted frozen yogurt. The bountiful supply of strawberries at Costco led me towards a strawberry flavor, which always seems like a great summer treat.

Strawberry Frozen Yogurt This recipe is superbly easy and includes fresh strawberries to make use of your summer fruits. It’s not quite as creamy as ice cream (of course), but is much healthier and still has that delicious yogurt tang.

Strawberry Greek Frozen Yogurt

Makes 3-4 cups

Ingredients

1 (24 0z.) container Greek Gods Honey & Strawberry Greek Yogurt
3/4 cup sugar
2 cups fresh, whole strawberries

Directions

  1. Wash, hull, and then dice strawberries into small pieces. Lay on a paper towel to soak up the extra water.
  2. Mix yogurt and sugar in a bowl until thoroughly combined, then chill in the fridge for about 30 minutes.
  3. Put your strawberries is fridge to chill while you churn the yogurt mixture according to your ice cream maker’s instructions.
  4. In the last few minutes of churning, mash your strawberries slightly with a fork to release some of the juice, and pour into the yogurt. Let churn another 2-5 minutes or until thoroughly mixed. (Depending on how much you mashed the strawberries, the mixture will probably be very runny at this point; this is normal.)
  5. Transfer to a freezer safe bowl and place in the freezer for at least 3 hours or overnight.
  6. Set on the counter for 10 minutes, serve, and enjoy!

Strawberry Frozen Yogurt - cupNotes

  • The brand of yogurt might not be important, but Greek Gods is the only brand I buy so I can’t say for certain.
  • You can skip chilling the yogurt mixture in the fridge before churning, but don’t expect it to firm up a ton while churning. (It freezes fine in the freezer afterward.)
  • Thoroughly dry the strawberries because the extra water can make the yogurt a little icy. You can also opt not to mash the strawberries if you are concerned about the texture. The juice is what makes the yogurt a lovely pink color, but it’s not strictly necessary; you could also add a few drops of red food coloring instead but I preferred the natural coloring.
  • Mine was not “soft serve” right after churning but firmed up nicely in the freezer. Make sure you allow freezer time!
  • The strawberries freeze very hard so make sure to cut them small. Large frozen chunks can make the yogurt very difficult to serve (and are pretty cold on the teeth.)

Snickerdoodles

Last week I had every intention of presenting a recipe for lemon meringue pie. I made the pie on Wednesday and it looked great from the outside. However, when I cut a slice on Thursday in order to take pictures, I discovered I had actually created lemon meringue soup. It had great flavor, but was definitely nowhere near ready for the blog.

Onto Plan B: Cookies.

A few weeks ago M and I moved into a new place. We have a ton more space (including a garage!) and it’s been a great upgrade for us. I bribed a few friends to help us move the heavy furniture, as everyone does, by promising them cookies. One requested chocolate chip, and the other, his favorite snickerdoodles.Snickerdoodles

I was around 14 when I made snickerdoodles for the first time. They turned out huge and soft and perfectly round, with that classic snickerdoodle flavor. I have never quite been able to replicate this feat, but my current favorite recipe comes pretty close. No one turns them down, and in general it’s hard to eat fewer than six at one time. This recipe makes enough to share while keeping plenty for yourself.

I always think they look like donut holes at this stage.

Although they are a little more time-consuming than standard drop cookies, these snickerdoodles are well worth the extra effort. The recipe is below, with my preferred method for making them.

Snickerdoodles

Adapted from Brown Eyed Baker
Makes about 5 dozen

Ingredients

1 cup (224 g) unsalted butter, room temperature
1 1/2 cups (288 g) sugar

2 eggs
1 tsp vanilla

3 cups (360 g) flour
2 tsp cream of tartar
1 tsp baking soda
1/4 tsp salt

3 tbsp sugar
1 tbsp cinnamon

Snickerdoodles - stack

Directions

  1. In a large bowl, on medium-high speed, beat together butter and sugar until fluffy.
  2. Meanwhile, whisk together flour, cream of tartar, baking soda and salt in a separate bowl. Set aside.
  3. Beat the eggs into the butter mixture one at a time, combining fully after each addition.
  4. Beat in the vanilla.
  5. Slowly and gradually stir in the flour mixture, beating just until combined.
  6. Chill dough for about 30 minutes.
  7. Meanwhile, mix the remaining sugar and cinnamon in a shallow bowl.
  8. Scoop the dough into 1 tablespoon balls (I like to use a cookie scoop).
  9. Roll each ball in your hands (should be about 1″), and then in the sugar/cinnamon mixture.
  10. Chill the dough balls while you preheat the oven to 350°F.
  11. Line two cookie sheets with parchment paper or silicon mats, and place in the fridge while the oven preheats.
  12. Place the dough balls about two inches apart on a chilled cookie sheet and bake for 10 minutes. Let the cookies cool on the sheet for a couple of minutes before placing on a cooling rack.

Notes

  • Chill the cookie sheets and the dough balls between batches.
  • Store cookies in an airtight container and they will keep well for several days.

Chocolate Ice Cream

Even though it’s just the two of us, making ice cream is a weekly occurrence. I have the recipe to our favorite French vanilla memorized so it takes no time at all to mix up, but after week after week of vanilla, I decided we needed another staple. I set my sites on a strong chocolate flavor without resulting in a hard or grainy ice cream. Three iterations later, it turns out that the easiest change is also the best one. I learned a lot about how changing ingredients affects the end result, and I’m excited to try new flavors throughout the summer.

Chocolate Ice Cream

This ice cream is perfectly chocolatey, smooth and doesn’t freeze too hard (at least not in my freezer.) Observant readers might notice this is exactly the same as my French vanilla ice cream recipe, with the addition of cocoa powder. A bit more time-consuming than the standard vanilla, but worth the extra few minutes for a decadent treat.

Chocolate Ice cream 2

Chocolate Ice Cream

Makes approximately 6 cups

Ingredients

1 cup half and half
2 cups heavy cream
1/2 cup egg substitute
1 cup white sugar
1/3 cup unsweetened cocoa powder
2 tsp vanilla

Directions

  1. Blend all ingredients in a blender or food processor until smooth.
  2. Cool mixture in the fridge until completely chilled, or over night.
  3. Freeze according to your ice cream maker’s directions.
  4. Enjoy alone or with your favorite toppings; I like a generous squirt of whipped cream.

Chocolate Ice Cream 3

Notes

  • I like to use about half of each regular and dark cocoa powder, leaning more towards dark, but any combination will do.
  • For chilling the ice cream, I like a 2-quart glass batter bowl. Plenty of room for whisking and a spout for pouring into the ice cream maker. Mine is from Anchor.
  • Place your freezer-safe storage bowl in the freezer (no lid!) while the ice cream is churning so the ice cream doesn’t melt along the edges when you pour it in.
  • For freezer storage, these glass, lidded, 7-cup round bowls by Pyrex are the perfect size for a 6-cup recipe. (Plus they’re stackable!)

Meyer Lemon Cookies

[After over a year of being a slacker and not posting a single thing, I’m back. I’m planning to post approximately every other week, so look for a new one every other Monday. Having graduated and started a Real Person Job, my life is far more stable than it was a year ago. With a new camera, a new stove, and (beginning next week!) tons more kitchen space, running a consistent food blog should be far easier. Hope you enjoy the new recipes. =)]

Around the beginning of April, the weather in Montana gives everyone a brief taste of Spring before retreating back to second winter (and third and fourth and fifth…) with a cruel laugh. Or maybe I’m personifying the weather a bit too much. But regardless, it is those first few hours of Spring that turn my thoughts to the flavors of summer, starting with lemon.

Over the past few years I’ve looked for a go-to lemon cookie recipe, and struggled to find one. I wanted a soft, lemony cookie that didn’t require a glaze or start with a cake mix. It took awhile, but I finally found a great one. The lemon taste is present but not overly powerful; the cookies are soft and chewy, and there’s no cake mix involved. Even better, other than a lemon, it’s all standard ingredients. The recipe is below with my [very minimal] changes and the method I followed to bake them. I hope you enjoy them as much as I do.

Meyer Lemon Cookies 

Lemon cookies Adapted from Lauren Brennan
Makes 2-3 dozen

Ingredients

1 stick of butter, softened
1 cup white sugar

1/2 tsp vanilla extract
1 egg
zest of 1 (Meyer) lemon
juice of 1/2 to 1  (Meyer) lemon

1/4 tsp salt
1/4 tsp baking powder
1/8 tsp baking soda
1 1/2 cups all-purpose flour

1/2 cup powdered sugar

Directions

  1. Line two cookie sheets with parchment paper or silicon baking mats. Pour powdered sugar into a shallow bowl or large plate.
  2. Cream together butter and sugar until light and fluffy; this will take a few minutes.
  3. Meanwhile, combine vanilla, egg, lemon zest, and lemon juice in a small bowl and whisk the remaining dry ingredients in a separate small bowl.
  4. Beat the wet mixture into the sugar/butter until well mixed, scraping the sides at least once.
  5. Slowly stir in the dry ingredients until just combined. Scrape the sides and mix again briefly.
  6. Roll a tablespoon of dough into a ball and then roll in the powdered sugar. After all the dough is rolled, (I put all mine on a plate), place in the refrigerator while the oven preheats, or at least 15 minutes.
  7. Preheat the oven to 350°F.
  8. When the dough balls are chilled, bake for 7-11 minutes, until the cookies are no longer shiny or melted looking, and the bottoms are barely browned.
  9. Let the cookies cool on the sheet while you fill the next batch and put them in the oven, then remove to a cooling rack to cool completely.
  10. Try not to eat them all on the same day. =)

Lemon cookies 2

Ready to bake

Notes

  • I got about 34 cookies from the recipe, using a tablespoon cookie scoop.
  • I used the juice from half a Meyer lemon, but next time I’ll use the whole lemon to give a slightly stronger flavor.
  • I found that when the dough wasn’t chilled, some of the cookies turned out very flat and had overly browned edges.
  • The darker the cookie sheet the less baking time required. I used light-colored silicon mats on dark pans and my cookies needed 10 minutes.