Chocolate Peanut Butter Chip Cookies

Apologies for missing most of August; I spent ten days gallivanting around Juneau, Alaska with my family, followed closely by a week in Iowa for work. Despite a major rope burn courtesy of my mom’s dog (which is temporarily destroying my half marathon training), it was a wonderful trip and I hope to not go another eight months before visiting again.Juneau, Alaska

Having always lived in places that at least had mountains in the distance, the sheer flatness of Iowa is very weird, my brain can’t quite comprehend that there aren’t any mountains anywhere in sight. A very strange experience for this Rocky Mountains girl.

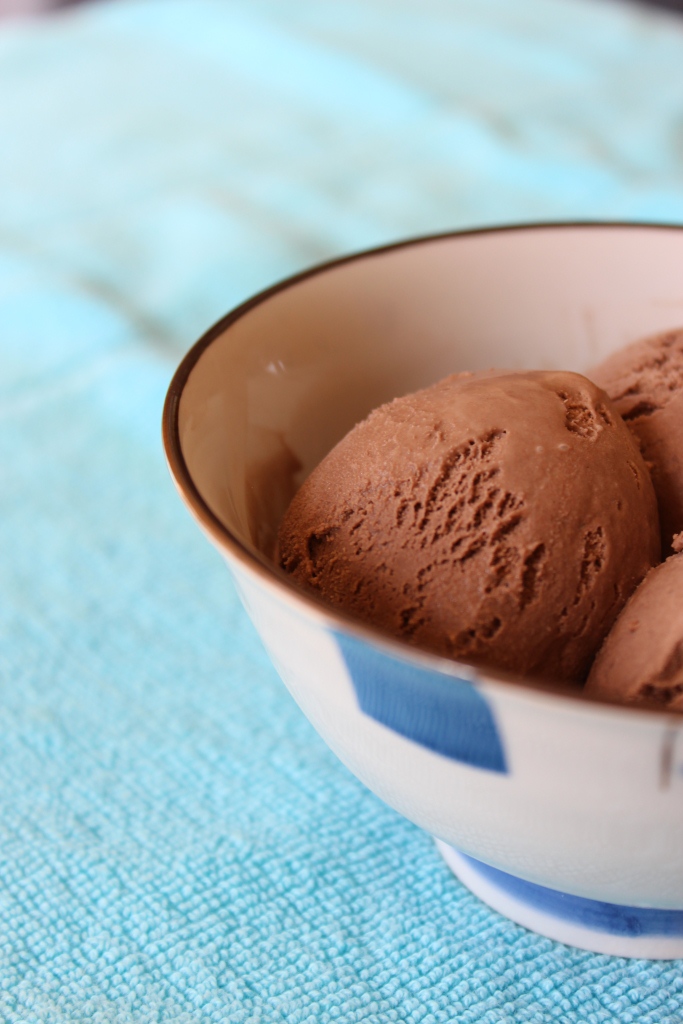
Today, however, I have a decadent cookie recipe to share. I’m not going to lie, these cookies are a little bit of a pain to make. They will never be a “go to” recipe for me, but for when I want a richer treat these are a great option. If you’re a chocolate and peanut butter fan, these cookies are right up your alley. (If not, check back next week for a pie that might be a little more your style.)

IMG_1072

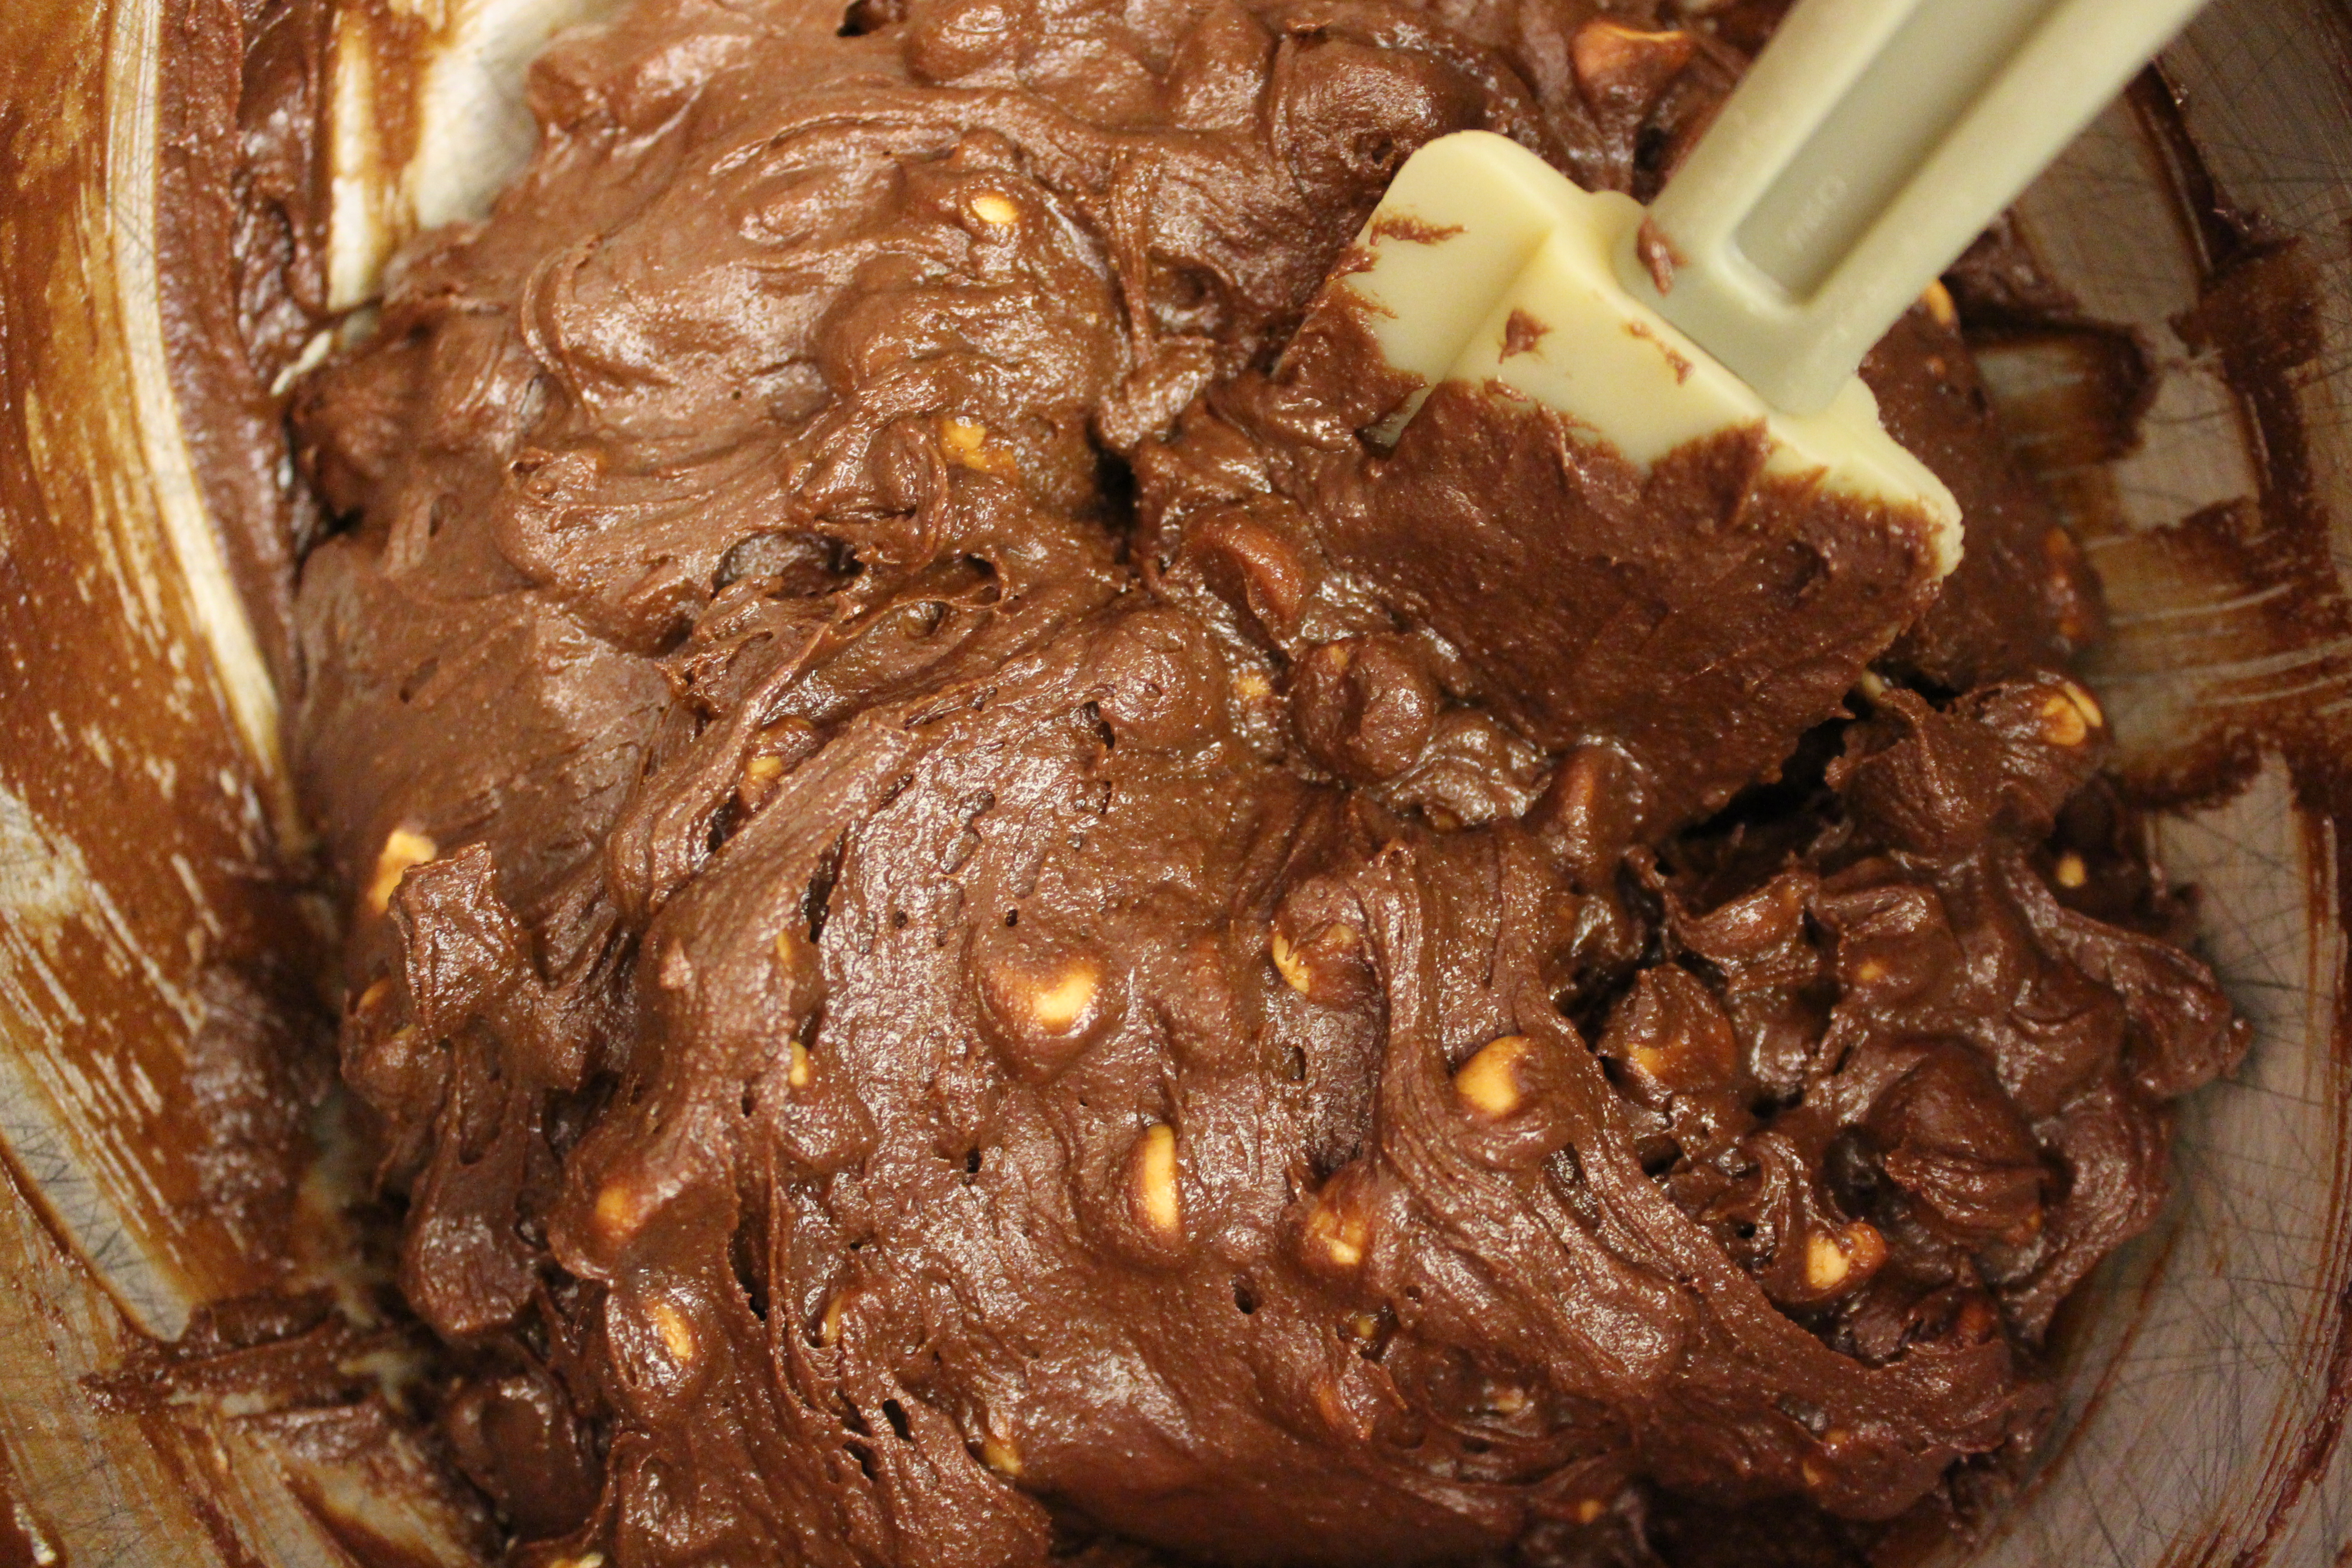
The dough is really more like a brownie batter, and chock-full of peanut butter chips. Chilling time is *required* for these cookies, since you won’t be able to form a ball without it. However, if you chill them too long (say, overnight, as I did), the “dough” becomes ridiculously hard and takes what seems like forever to soften enough for scooping. If you can swing it, check the dough after it’s been in the fridge a half an hour. If it’s firm but still moldable, you’re good go to. If not, check back in another 15 minutes or so.

Chocolate Peanut Butter Chip Cookies
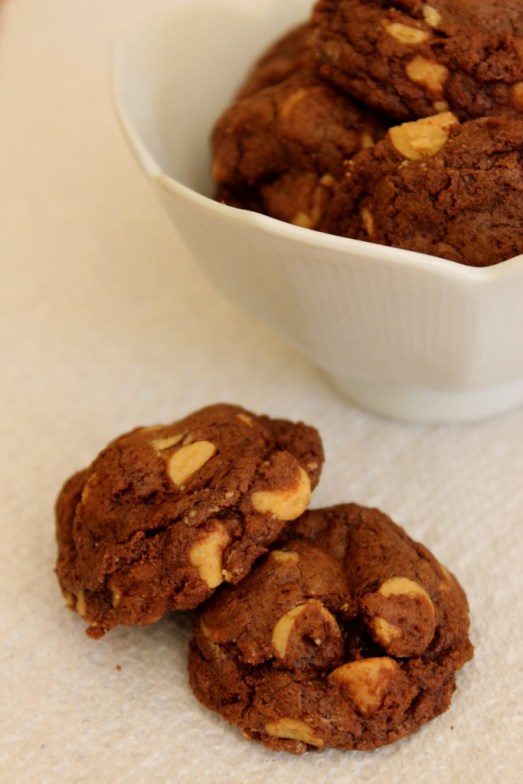
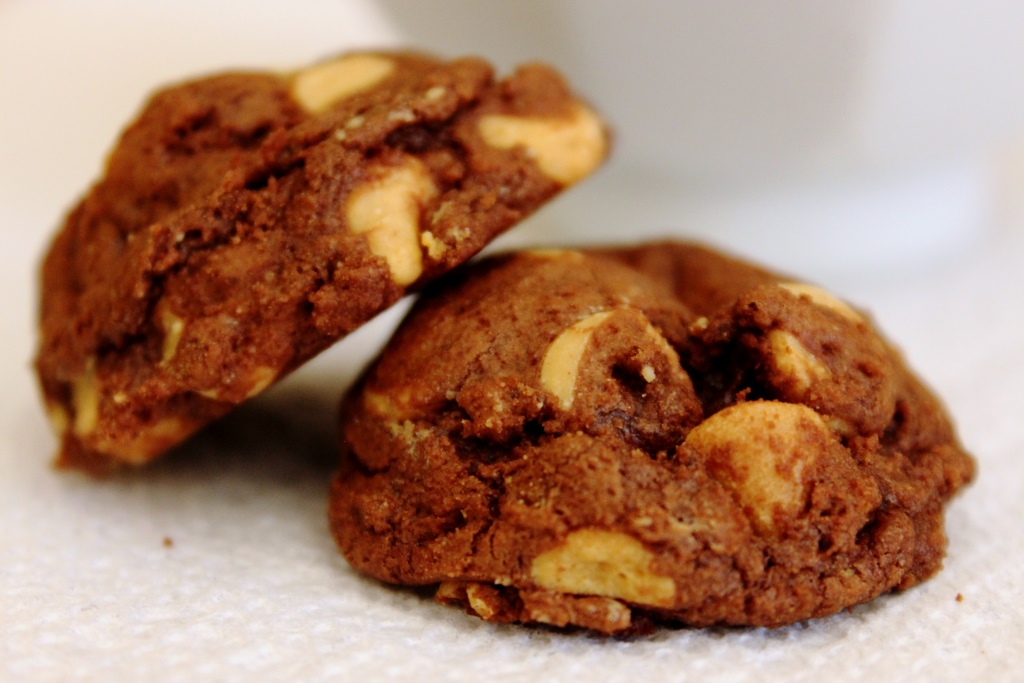
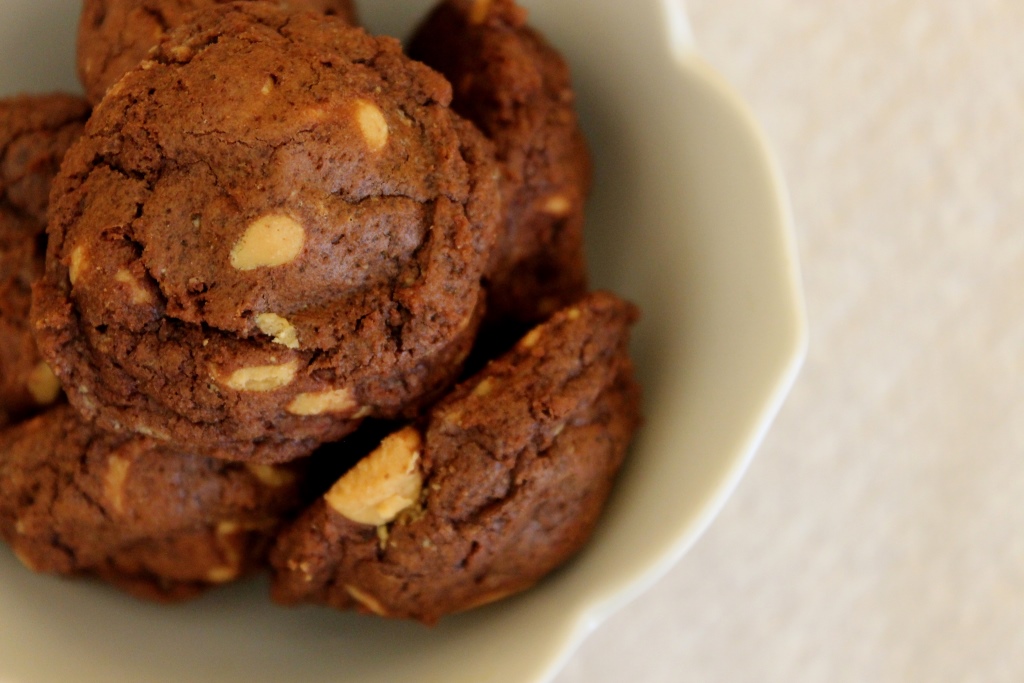
Despite the mildly temperamental dough, these cookies taste amazing. Chocolate and peanut butter is a flavor combination that rarely goes wrong, and these cookies are no exception. Rich, soft, and chocolatey, they seem more like a brownie in a cookie shape than your typical chocolate cookie. Peanut butter chips seemed like the natural pairing to me, but feel free to substitute whatever you like. I’ll likely try mint chips sometime in the future.

So if you have some time, some peanut butter chips, and a chocolate craving, give these cookies a shot. I guarantee they won’t disappoint.

Chocolate Peanut Butter Chip Cookies

Chocolate Peanut Butter Chip Cookies

Mildly adapted from Sally’s Baking Addiction
Makes 4-5 dozen

Ingredients

8 oz semi-sweet chocolate, chopped (I used 1 cup of Kirkland chocolate chips)

1 cup flour
1/4 cup unsweetened cocoa powder
1 tsp baking powder
1/4 tsp salt

2 eggs
1 tsp vanilla extract

5 Tbsp unsalted butter, at room temperature
3/4 cup light brown sugar
1/4 cup white sugar

1 bag (10 oz) peanut butter chips

Directions

  1. Melt the chocolate for 30 seconds in the microwave, stir. Repeat until chocolate is completely smooth (about 90 seconds total). Set aside.
  2. Whisk together flour, cocoa powder, baking powder and salt in a small bowl. Set aside.
  3. Lightly whisk together the eggs and vanilla in another small bowl. Set aside.
  4. Using an electric mixer, beat the butter on medium-high speed until smooth and fluffy.
  5. Add the sugars, beating until combined. Scrape the sides often if your paddle attachment doesn’t do this for you.1 (Mixture will be crumbly.)
  6. Add eggs and vanilla and mix until combined. Beat in the chocolate.
  7. On slow speed, mix in the dry ingredients. Fold in the peanut butter chips, being careful not to over mix. It should look like delicious brownie batter at this point.
  8. Chill dough until firm but moldable; at least 30 minutes.
  9. Preheat oven to 350 degrees Fahrenheit.
  10. Scoop 1 Tbsp balls on a cookie sheet lined with a silicon mat or parchment paper.2 3
  11. Bake for about 8 minutes, or until cookies are matte in color but still very soft.
  12. Cool on the baking sheet for at least 5 minutes, and then transfer to a wire rack to cool completely. If they are cool enough, you shouldn’t need a spatula for the transfer.
  13. Enjoy a handful with a tall glass of milk.Chocolate Peanut Butter Chip Cookies

Notes

This is my favorite Kitchen Aid paddle attachment. It is seriously the best thing ever.
These cookies barely spread. I could very comfortably fit 15 on a sheet instead of the usual 12.
I almost always bake small cookies because I like to be able to eat a lot of them. This particular recipe is quite rich, so I think they work well in the small size. However, if you prefer a more substantial snack, roll 2 Tbsp of dough into a ball, flatten slightly onto the cookie sheet, and bake for approximately 11 minutes. At this size, the recipe will yield just over two dozen cookies.

Chocolate Ice Cream

Even though it’s just the two of us, making ice cream is a weekly occurrence. I have the recipe to our favorite French vanilla memorized so it takes no time at all to mix up, but after week after week of vanilla, I decided we needed another staple. I set my sites on a strong chocolate flavor without resulting in a hard or grainy ice cream. Three iterations later, it turns out that the easiest change is also the best one. I learned a lot about how changing ingredients affects the end result, and I’m excited to try new flavors throughout the summer.

Chocolate Ice Cream

This ice cream is perfectly chocolatey, smooth and doesn’t freeze too hard (at least not in my freezer.) Observant readers might notice this is exactly the same as my French vanilla ice cream recipe, with the addition of cocoa powder. A bit more time-consuming than the standard vanilla, but worth the extra few minutes for a decadent treat.

Chocolate Ice cream 2

Chocolate Ice Cream

Makes approximately 6 cups

Ingredients

1 cup half and half
2 cups heavy cream
1/2 cup egg substitute
1 cup white sugar
1/3 cup unsweetened cocoa powder
2 tsp vanilla

Directions

  1. Blend all ingredients in a blender or food processor until smooth.
  2. Cool mixture in the fridge until completely chilled, or over night.
  3. Freeze according to your ice cream maker’s directions.
  4. Enjoy alone or with your favorite toppings; I like a generous squirt of whipped cream.

Chocolate Ice Cream 3

Notes

  • I like to use about half of each regular and dark cocoa powder, leaning more towards dark, but any combination will do.
  • For chilling the ice cream, I like a 2-quart glass batter bowl. Plenty of room for whisking and a spout for pouring into the ice cream maker. Mine is from Anchor.
  • Place your freezer-safe storage bowl in the freezer (no lid!) while the ice cream is churning so the ice cream doesn’t melt along the edges when you pour it in.
  • For freezer storage, these glass, lidded, 7-cup round bowls by Pyrex are the perfect size for a 6-cup recipe. (Plus they’re stackable!)

Chocolate Raspberry Layer Cake

Apologies for the long hiatus. Between spending my winter break in New Zealand (I know, poor me), part of January at home in Alaska, and the new semester/work starting, I didn’t get around to blogging. However, this should mark the beginning of ~weekly posting! *cheersapplauseyay!*

For most of my life I was never a fan of Valentine’s Day. It’s always over (or under) done, and involves way too much pink. However, I no longer loathe the “holiday” because it happens to coincide with my anniversary with my boyfriend (henceforth known as M.) Last year I made a very delicious chocolate peanut butter cake from Smitten Kitchen.

Chocolate Peanut Butter Cake

This cake was three layers of rich, delicious, chocolatey peanut butter flavor. But despite their amazing taste and texture, the cake layers were nearly impossible to work with. Even after being placed overnight in the freezer they were almost too crumbly to frost and layer. Whether this is just part of the recipe or due to my inexperience with cakes I don’t know, but it did inspire me to find a more manageable cake layer recipe.

M also requested a slightly less decadent recipe, so “a guy can eat more of it at once.”

This time, I made sure to use a recipe that included pictures of the sliced cake to act as “proof” of manageability. I debated which accent flavor to involve, but another SK recipe convinced me to use a raspberry filling.

Whole Cake

The result was a two-layer chocolate layer cake, chocolate buttercream frosting, and a raspberry filling. The layers popped easily from the pans, were easy to level, and held their shape nicely.

Slice of cake

Below you will find recipes for the cake layers, frosting, and filling. This cake is not difficult and would be an amazing addition to any celebration. Feel free to substitute any frozen berry you wish for the raspberries.

Chocolate Cake

Adapted from My Baking Addiction
Serves 8-10

Ingredients

2 cups sugar
1-3/4 cups all-purpose flour
3/4 cup unsweetened cocoa powder
2 tablespoons unsweetened dark cocoa powder (optional)
2 teaspoons baking soda
1 teaspoon baking powder
1 teaspoon salt
2 eggs
1 cup buttermilk
1 cup strong black coffee
1/2 cup vegetable oil
2 teaspoons vanilla extract

Directions

  1. Heat oven to 375°F. Line the bottoms of two 9”x1.5” round baking pans with parchment paper, then grease and flour. (Cooking spray works great for this step.)
  2. In the bowl of your stand mixer (or a large bowl if you don’t have a stand mixer), combine the sugar, flour, cocoa(s), baking soda, baking powder and salt. Whisk (by hand) until well combined.
  3. Add the eggs, buttermilk, coffee, oil, and vanilla. With a stand mixer or electric beater, beat on medium speed for about two minutes, and pour into prepared pans. The batter will be quite thin.
  4. Bake for 25-30 minutes or until a wooden toothpick comes out clean. Cool for ten minutes in the pan, and then turn the cake layers onto a wire rack to cool completely.
  5. Freeze in Saran wrap or freezer paper for 2 hours (or a few days) until ready to frost.

Chocolate Buttercream Frosting

From Savory Sweet Life
Makes about 3 cups (or barely enough for this cake. Feel free to make 1.5 recipes!)

Ingredients

1 cup unsalted butter, softened (NOT melted!)
3 ½ cups sifted powdered sugar
½ cup sifted cocoa powder (I prefer dark cocoa for frosting)
½ teaspoon table salt
2 teaspoons vanilla extract
¼ cup tablespoons milk or heavy cream

Directions

  1. Beat butter on medium speed until light and fluffy, about three minutes.
  2. Add sifted powdered sugar and cocoa, and mix on low (unless you want a blizzard) until combined.
  3. Add vanilla, salt and milk or cream and beat for 3 minutes on medium speed.
  4. If necessary, thin with milk/cream (1 tablespoon at a time) or stiffen with powdered sugar to desired consistency.

Raspberry Filling

Adapted from Smitten Kitchen
Makes enough for a 2-layer cake

Ingredients

12oz bag frozen raspberries, thawed
1/3 cup sugar
1 tablespoon cornstarch

Directions

As a note, my method for this is not the most time or dish efficient, but I did find it to be the easiest.

  1. Using a blender or food processor, puree the raspberries.
  2. In a small saucepan, heat the puree over medium heat until thin.
  3. Place a fine mesh strainer over a medium saucepan, and pour in the thinned puree. Using a spoon or small whisk, press the puree through the mesh to remove the seeds. (Don’t worry if you miss a few seeds or don’t get all the puree through, just aim for most of it.)
  4. Add sugar and cornstarch and heat over medium-high until it boils, stirring constantly. It should quickly thicken after reaching boiling temperature.
  5. Remove from heat and let cool completely before use.

My Assembly Method

Preparation

  1. Fill a frosting bag fitted with a large star tip with chocolate frosting.
  2. Cut a cakeboard or piece of thick cardboard to the SAME size as your cake layers. (No need to leave extra room!) Cover with aluminum foil.
  3. Assemble a long serrated knife or cake level, a flexible cutting board (or similar item), a cake stand (or a plate), a straight or offset spatula (or a table knife), the remaining frosting, the filling, and your cake layers in front of you.

Assembly

  1. Level your cake layers. (If it only dips slightly in the middle, this can be filled in with frosting if you prefer.) On a flexible cutting board place your cakeboard.
  2. Plop a couple of tablespoons of frosting in the center of your cakeboard, and press your first cake layer (cut side down) on top. Using a spatula, spread evenly with about ¼” frosting.
  3. Pipe a border of frosting around the edge to act as a barrier. Spoon or pour in the filling, being careful not to let it flow over the frosting barrier.
  4. Carefully center your second cake layer, and press down gently to seal. Smooth the frosting seal with a knife (or your finger…yum.)
  5. Frost the top and sides of your cake with a smooth coat, about ¼” thick (or thicker, if you like.)
  6. Plop a second dollop of frosting onto a cake stand, and carefully slide on the cake/cakeboard. If necessary, clean the edge of your stand with a damp paper towel.
  7. Using the bag with the large star tip, pipe stars around the edge of the cake.
  8. If desired, transfer the remainder of the filling to a frosting bag fitted with a small, round writing tip (I think mine is a #3 Wilton), and use to decorate the top.

Other

  1. This cake kept quite well for the rest of the week, at which point we had finished it off. Saran wrap works great, but be sure to wait until your frosting has set.
  2. If you are making this a day ahead (which I fully recommend, I thought the flavor was better on day 2), wrap with cling wrap (lightly over the cake but fully sealed around the stand or plate) and wait until the day you are serving it to pipe the decoration on top.
  3. I used a toothpick to design my swirl design before I piped on the filling – much easier to make changes this way.
  4. The filling would also be great on ice cream!

Flourless Chocolate Cookies

Cookies are one of my favorite things to bake. Unless your oven bakes 100 degrees too hot (not that I’m speaking from experience or anything…) they are pretty easy and generally turn out well. They are great for snacks, lunches, dessert, breakfast, lunch, dinner… maybe I like cookies too much…

But be that as it may be, I would be very sad if I couldn’t have cookies anymore. So when my friend found out she has a wheat allergy, I decided to try out some recipes for gluten-free cookies. I perused several recipes but when I came across the gorgeous pictures at Kumquat, I knew it was the recipe for me.

Despite having a mere half dozen ingredients, these cookies are actually quite delicious. Not a substitute for my favorite chocolate cookie recipe, but a new one to enjoy. They are extremely chocolatey with a crunchy outside and a chewy inside. Although their texture is a little different, their taste more than makes up for it.

When I made these, I was hesitant to add more sugar (3 cups already seemed like a lot) but don’t be afraid. If the batter spreads too much go ahead and dump some more in there. Trust me, it’s necessary.

This is too runny.

It will look more like brownie batter than cookie dough in the bowl, but that’s okay. Just make sure it’s nice and thick.

Flourless Chocolate Cookies

From Kumquat
Makes approximately 2 dozen cookies

Ingredients

3 cups powdered sugar
2/3 cup cocoa powder (I like dark chocolate)
1/4 teaspoon salt
1 1/4 cups semi-sweet chocolate chips
4 large egg whites
2 teaspoons vanilla

Directions

  1. Preheat oven to 350°F and line baking sheets with parchment paper.
  2. Combine powdered sugar, cocoa powder, salt, and chocolate chips in a medium bowl. Add egg whites and vanilla; stir until well-combined. (Batter should be about the consistency of school glue… not too runny. if it’s runny, add more powdered sugar to achieve correct consistency.)
  3. Spoon batter onto parchment-lined baking sheets in mounds of 1-2 tablespoons. (Mine spread a lot so I was never able to fit more than 6 per sheet.)
  4. Bake for 12-14 minutes or until tops are cracked and glossy, and edges look done. Cool slightly on pan, then peel carefully off parchment and cool completely on wire rack.

Note: I was baking at a friend’s place (my oven was broken) so I ended up using aluminum foil. This worked well enough, but I’m sure parchment paper would be a lot better. If you do use foil, I recommend spraying it very lightly with cooking spray.