[Welcome! In case you missed it, this month is National Ice Cream month. Each Tuesday I’ll be sharing a new ice cream recipe for the entire month of July. If you want to see the rest of month’s recipes, they can be found at the following links: orange creamsicle Dixie cups, Baileys, peanut butter fudge ripple, Kahlúa chocolate.]
And just like that, July is nearly over, making this our last week of National Ice Cream Month; I hope you enjoyed it! Did it go by crazy fast for you, too? I thought the month just flew by. On Saturday I completed my third half marathon for the year, making me halfway through my goal of six. It was a very small race (fewer than 20 for the half distance) but the course was well supported and beautiful. It was not a PR, but I finished about 10 minutes faster than I thought I was going, and given the hellacious side cramp I had for about 6 miles, I’m pleased with my ~2:19 finish. The only way to make my side cramp bearable was to run with my hand on my side and apply constant pressure, and I kept thinking to myself “I’m a little teapot…” Fortunately my fourth thirteener is not until September so I am hoping to get this side cramp nonsense figured out before then. I’m also planning to squeeze in a 5k or two because I figure compared to a half marathon it will be over before I realize I’ve starting running. Haven’t run a proper 5k in over a year, so I’m curious if I’ve improved my time. We shall see!

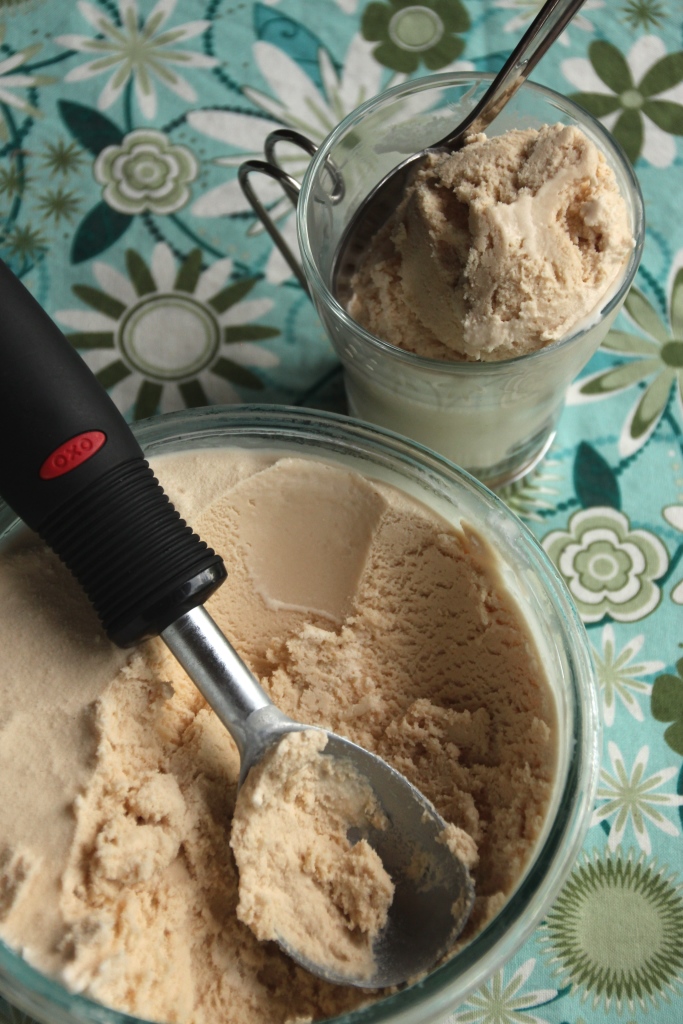
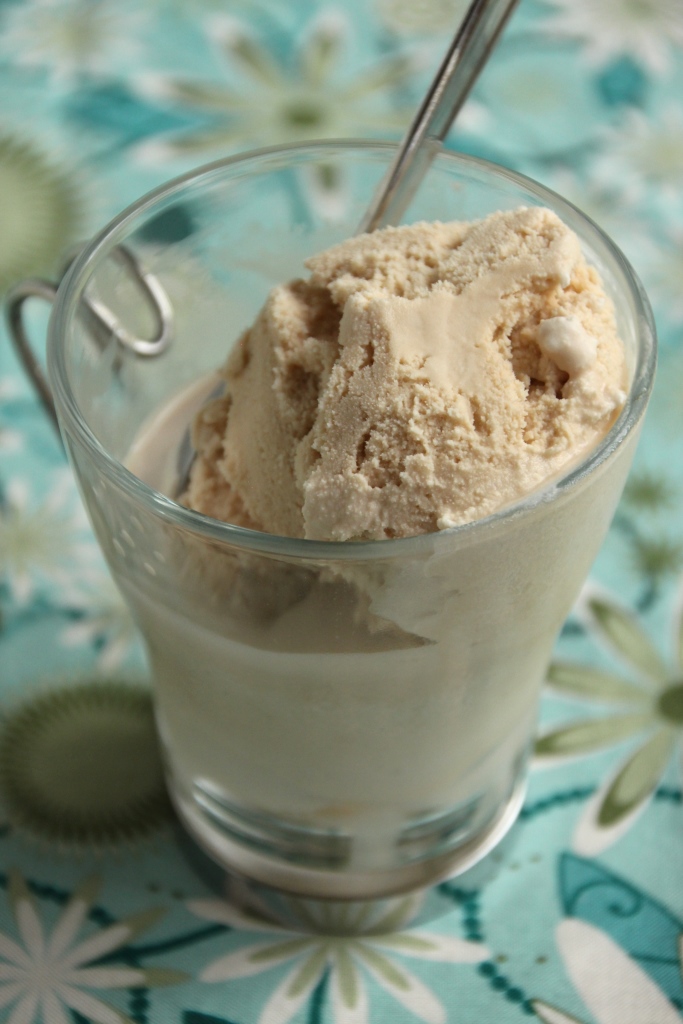
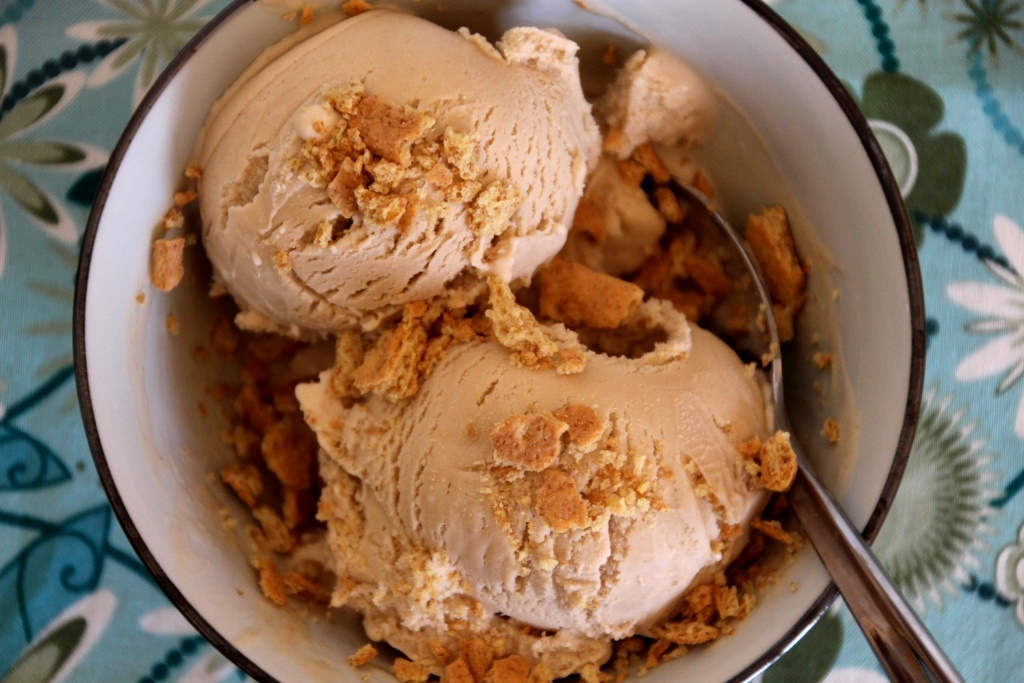
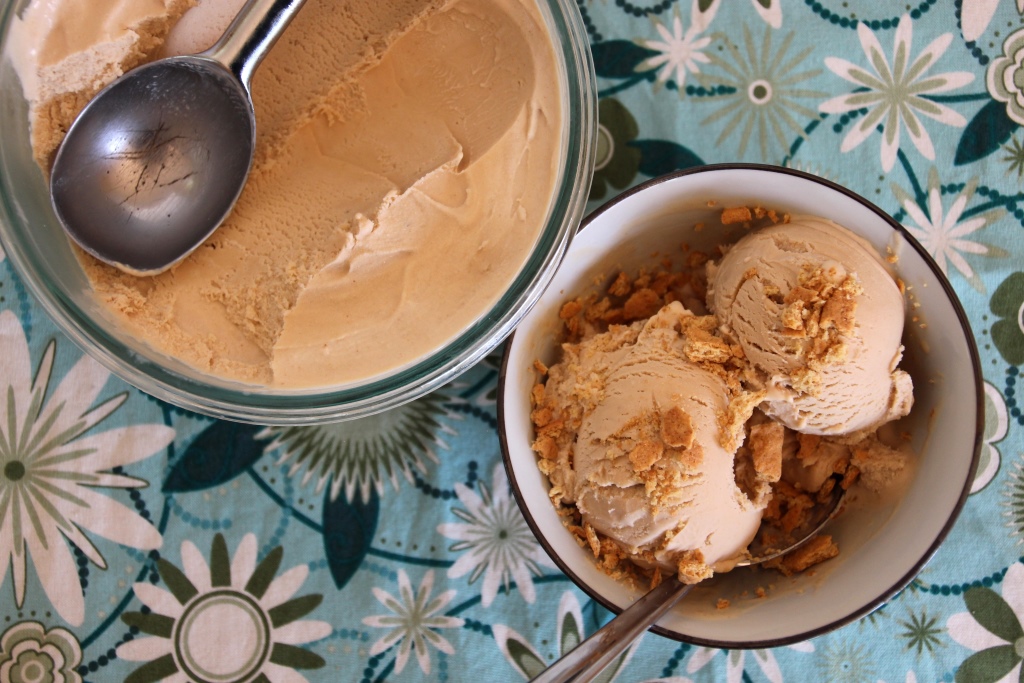
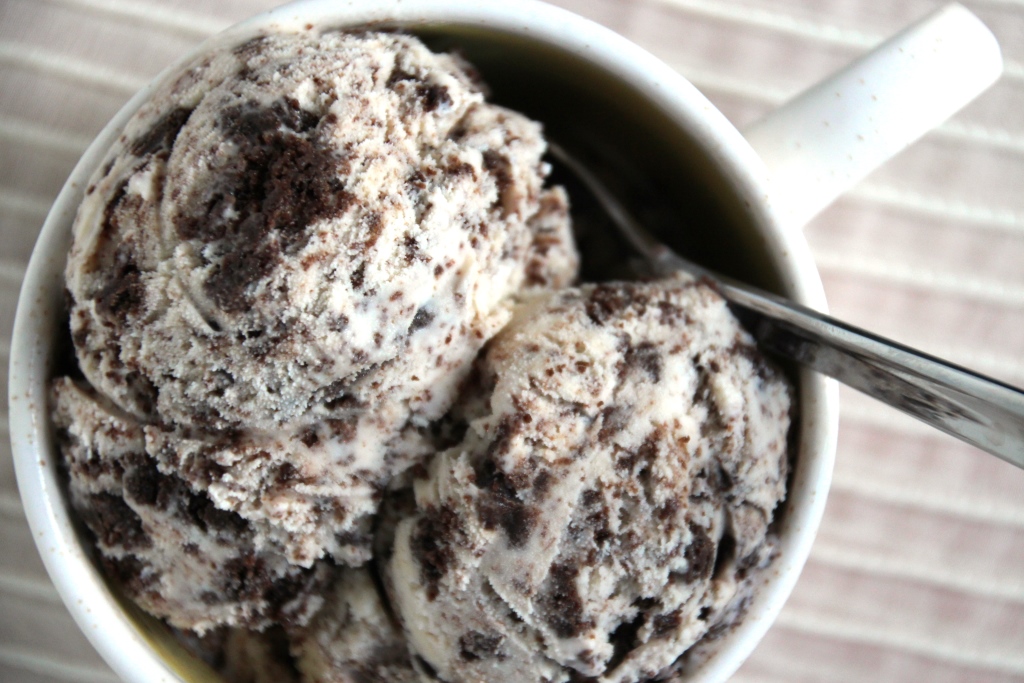
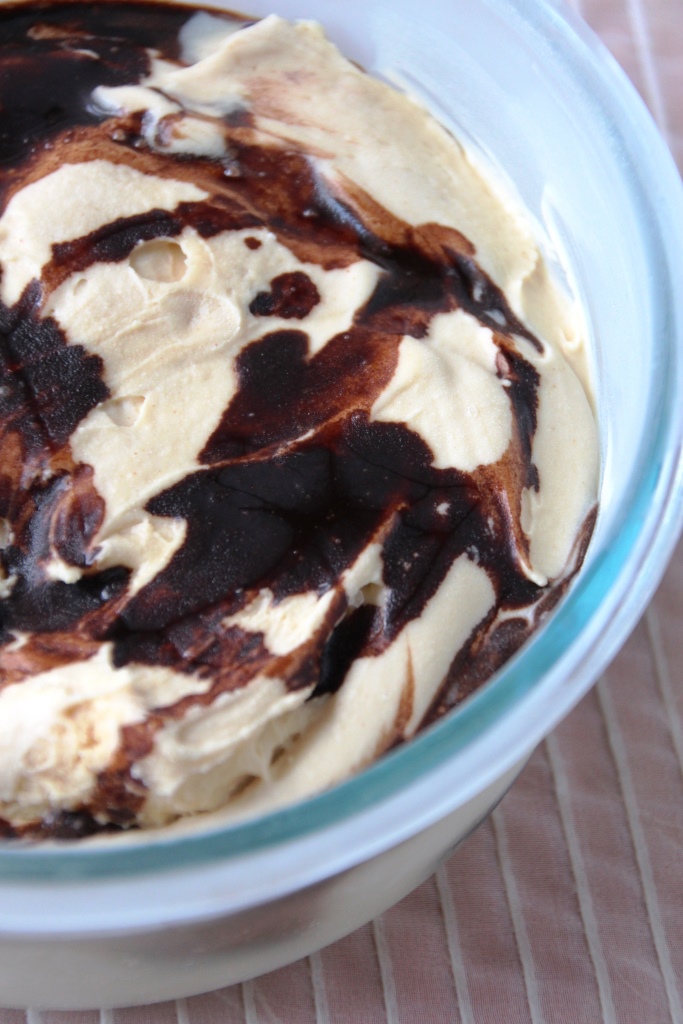
We’re going to round out the month with a classic American flavor: cookies & cream. A staple at ice cream shops and grocery store aisles, this flavor remains one of the best-selling flavors in America since it gained popularity in the ’80s. Personally, I’m a big fan as well. The lightness of vanilla with the added bonus flavor and texture of chocolate wafer cookies.

Nowadays Oreos (or a similar style) are often used, and I’m not one to argue with the pros. However, given I’m a DIY kinda girl, I opted to make a homemade version of the cookies. You can obviously substitute a store-bought variety if you don’t want to make your own, but this is a quick and easy recipe you can whip up while you’re waiting for the ice cream to chill in the fridge. I used most of the recipe in my ice cream because I like a lot of cookie. If you like less, you may just need half of the cookie recipe. I prefer a coarse grind for even distribution plus some bigger chunks of cookie, but feel free to customize these steps to your own preferences. You could use all coarse powder, or all big chunks, or whatever combination you like best.

One of the best parts of cookies and cream is how versatile it’s gotten over the years. Traditionally it uses a base of vanilla ice cream, but these days you can find tons of variations with chocolate, mint, and multitudes of other flavors. If you’re not feeling vanilla today, try it with chocolate or one of the flavors from this month’s lineup. This week I didn’t feel the need to mess with a classic, so below find instructions for homemade Oreo cookies as well as vanilla cookies and cream ice cream. A crowd-pleaser for kids and adults alike, this is sure to become a staple in the house of Baking Bytes.
Homemade Oreos (Cookie only)1
Adapted from Cupcake Project
Makes ~5 dozen cookies
Ingredients
1 1/4 cups all-purpose flour
1 cup sugar
1/2 cup unsweetened cocoa powder
1 tsp baking soda
1/4 tsp baking powder
1/4 tsp salt
2/3 cup butter, room temp
1 large egg
Directions
- Preheat over to 375 degrees Fahrenheit and line two cookie sheets with silicon mats or parchment paper.
- In the bowl of a stand mixer, whisk together by hand the dry ingredients (flour, sugar, cocoa, baking soda and powder, and salt).
- And butter and egg, and beat on medium speed until well combined and dough comes together.
- Use a 1 tsp cookie scoop and place dough 2″ apart on a lined cookie sheet.
- Bake for 9 minutes2, then remove to wire rack to cool completely.
Notes
1 I only include the recipe for the cookie part of the Oreos since that’s all I needed for the ice cream. If you want the filling also, head on over to the Cupcake Project for full instructions. The only thing I changed was the amount of butter, mainly because I’m lazy about measuring. They seemed to work great with 2/3 cup instead of the original, but it’s totally up to you. I also did not bother flattening my cookies and they seemed to get plenty thin enough, and were perhaps a bit larger than traditional Oreos. Bake a test cookie or two to see what works best for you.
2 If you are using a dark pan and/or parchment paper instead of mats, you may need to bake them less. Start with 7 minutes and taste one after it’s cooled a few minutes: it should be crunchy but not taste burned.
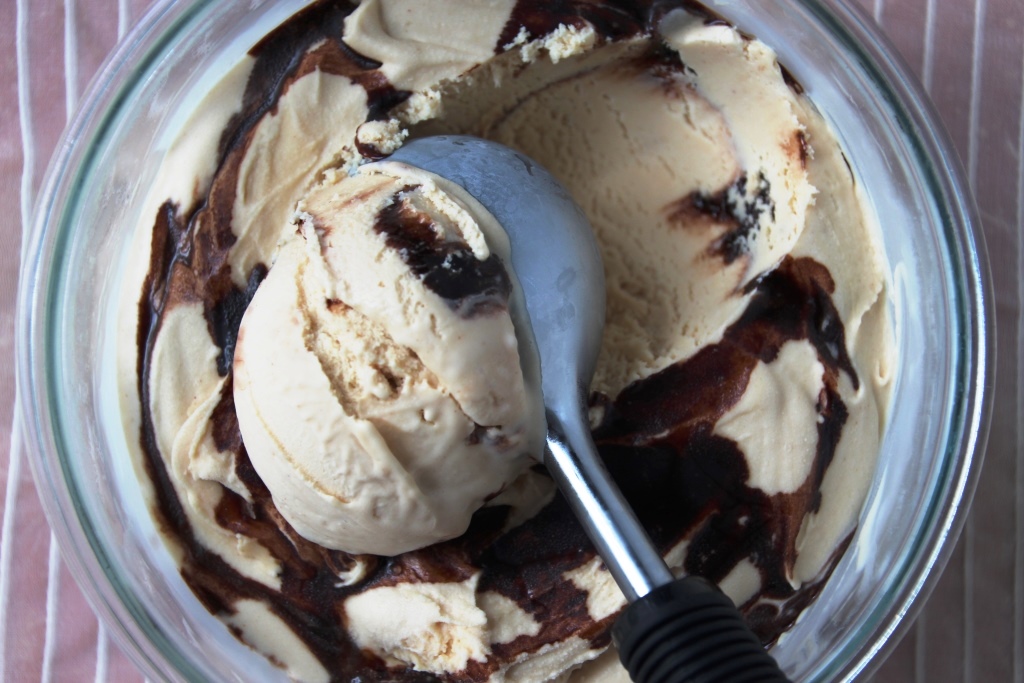
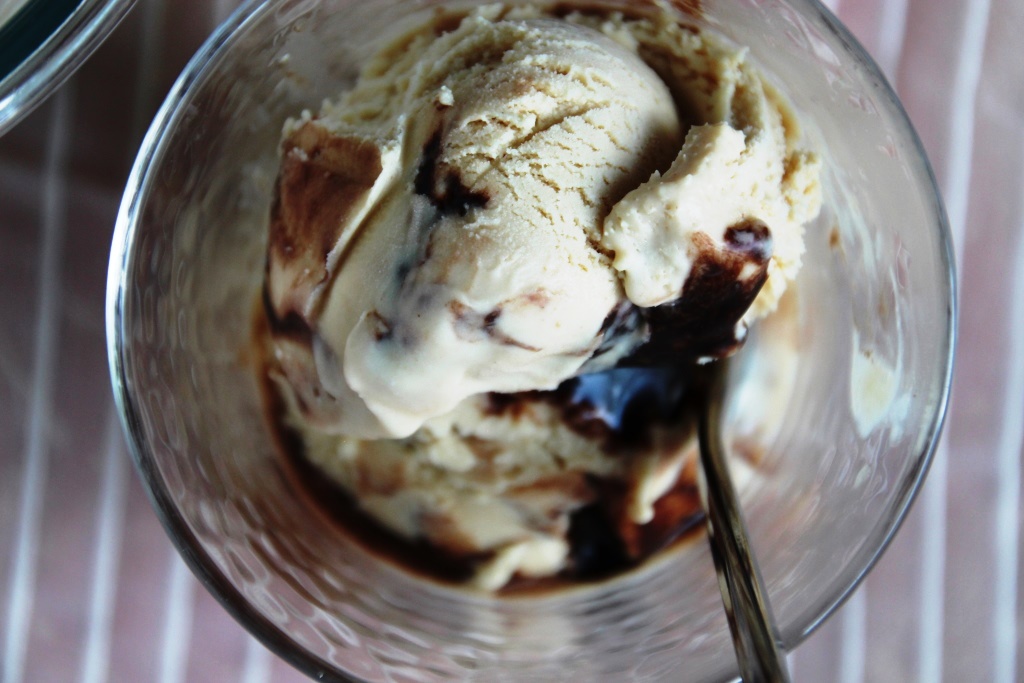
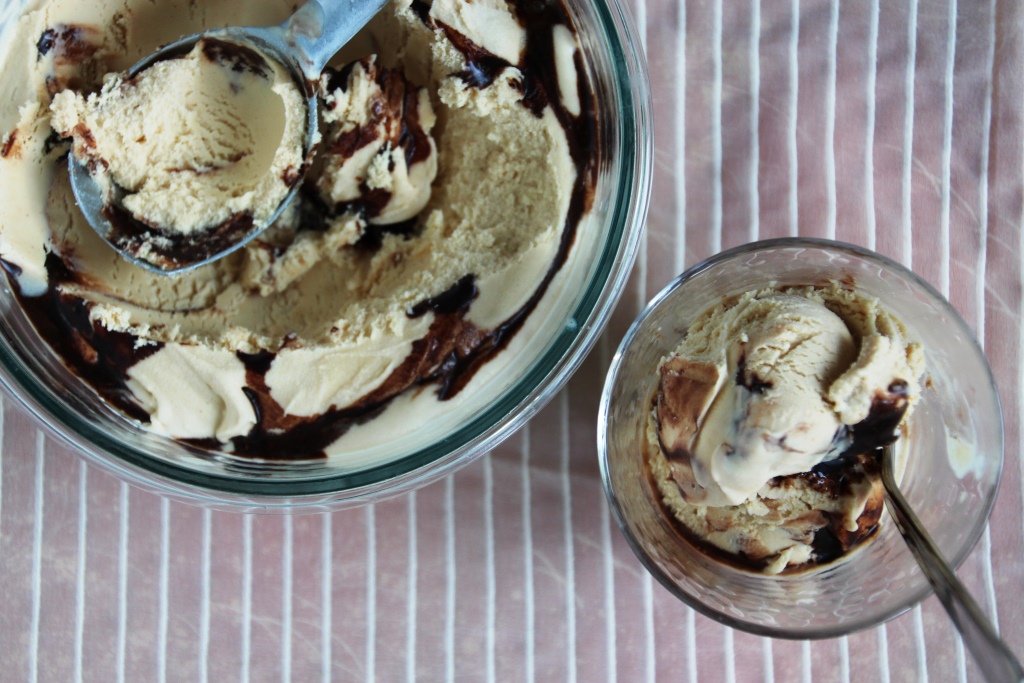
Cookies & Cream Ice Cream
Makes ~6 cups
Ingredients
1 recipe chocolate wafer cookies (above) OR 2-3 dozen Oreos
1 cup sugar
2 cups heavy whipping cream
1 cup half and half (or milk)
1/2 cup egg substitute
1 1/2 tsp vanilla
Directions
- Crush about half to three-fourths of the cookies into a very course powder1, and chop the remainder into desired chunky size (optional). Set aside.
- Whisk together all ingredients except cookies until completely combined.
- Cover bowl and chill in the refrigerator at least 4 hours, or overnight.
- Freeze according to your ice cream maker’s directions
- During the last few minutes of churning, add crushed cookies (you may not want all of them. I added about 1/3 cup at a time.)
- Stop churning, and fold in chopped cookies, if desired.
- Place in a freezer-safe bowl to freeze for an extra three hours, or overnight. Cookies will soften and meld a little with the ice cream overnight so I like to give it lots of time for that.
Notes
1 For crushing cookies, place them in a Ziploc and use a rolling pin or a mason jar. Or use a food processor if you have one. I crushed about 2/3 the recipe, then chopped (I just broke them into 4-8 pieces with my hands) about half of the remainder and added that in. Add as many or as few as suits you.