Classic Scalloped Potatoes

Hello, hello. Apologies for being a week late; between getting back in to the swing of work life and M leaving town last week, it’s been a busy start to the year. A few weeks in I am finally getting caught up and ready to work on some fun projects this year, both with food and other crafts. I’m also intending to run my first full marathon in June, dependent on how well my training plan meshes with ski season. There are tons of marathons all year so I can always delay a month or so if needed.

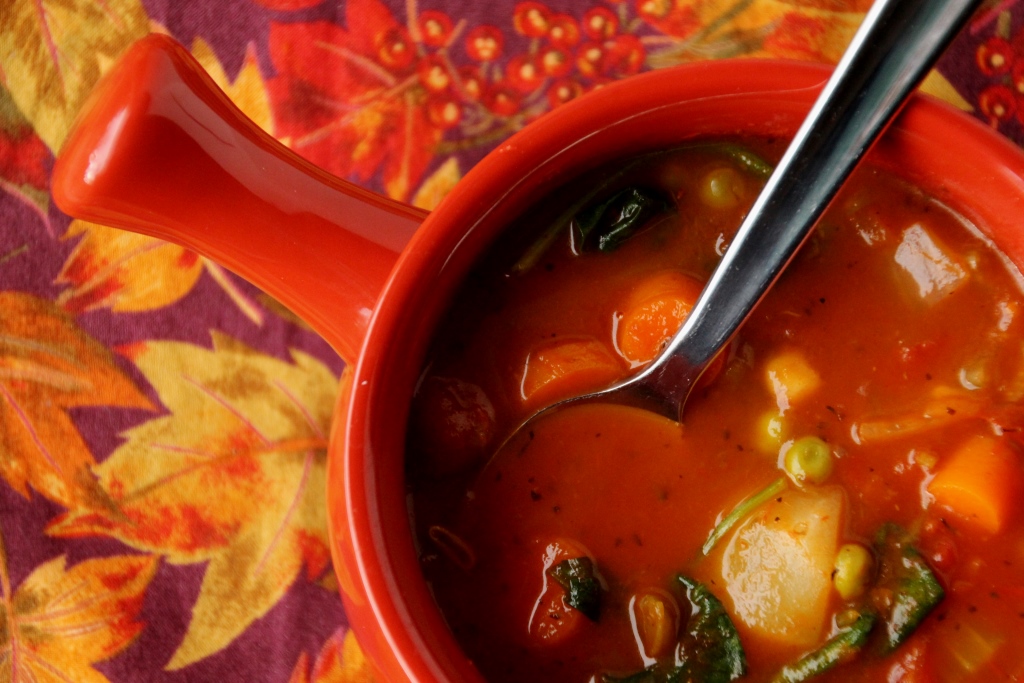
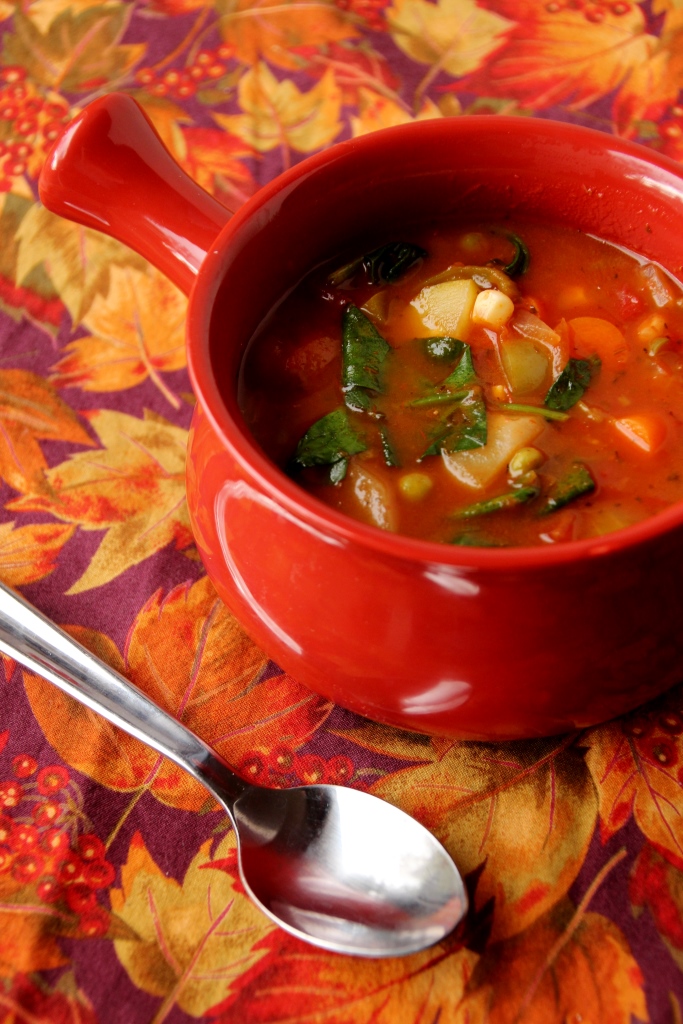
In any case, with M leaving on Monday and the snow hitting on Saturday, I felt some comfort food was in order. M’s parents generously gifted me a very nice mandolin food slicer for Christmas so scalloped potatoes seemed the obvious choice.

Classic Scalloped Potatoes {{Baking Bytes}}

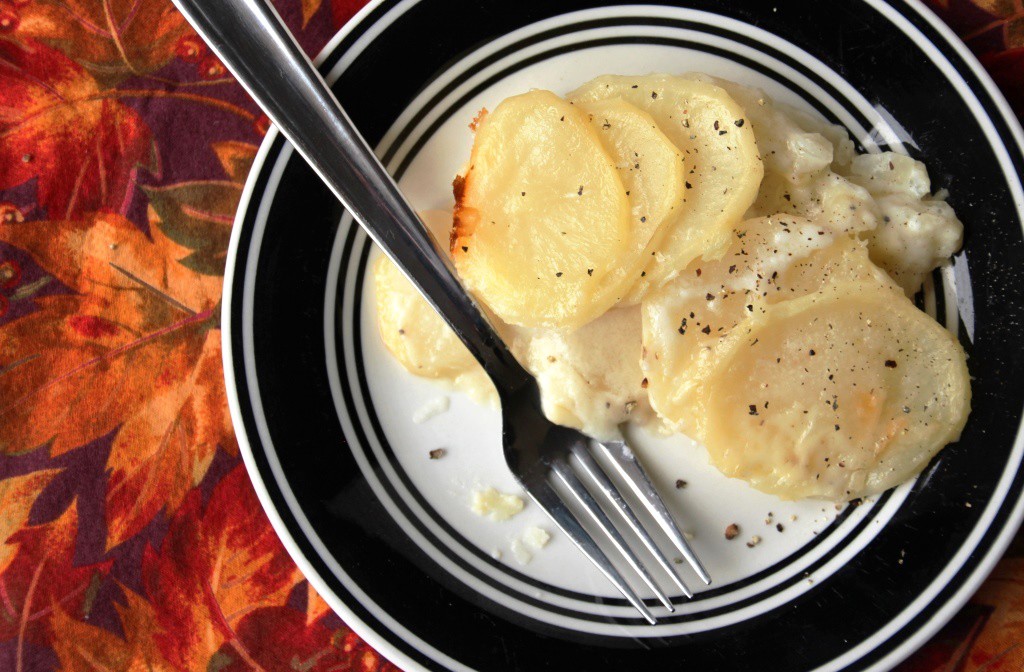
As a kid, scalloped potatoes were always one of my most favorite foods and probably one of the most-requested items each time I came home from college. Warm, and creamy, I could eat them for days and not get bored. They always remind me of family and cozy evenings and often made an appearance for Christmas dinner. Hand slicing potatoes was too much of a deterrent for me to make them on my own, but with a mandolin they are easy-peasy.

Classic Scalloped Potatoes {{Baking Bytes}}

With just a few simple ingredients they are not going to open a whole new world of flavors, but they are a delicious side dish (or entrée, if you’re me) and coordinate nicely with almost anything. This recipe is straight from the Better Homes & Gardens Cookbook, one of the few I ever manage to use in lieu of the internet.

Classic Scalloped Potatoes {{Baking Bytes}}

If it isn’t already, this recipe is sure to become a staple in your household; I know it is in mine. If you have several mouths to feed, this recipe can easily be doubled and baked in a 9×13″ dish instead – this is the way my mom always made it.

Classic Scalloped Potatoes

Borrowed from The Better Homes & Gardens Cookbook
Makes 4 servings

Ingredients

3 medium potatoes, peeled and rinsed

1/4 cup finely chopped onion
2 Tbsp butter

2 Tbsp flour
1/2 tsp salt
1/8 tsp (a dash) of pepper

1 1/4 cup milk

Directions

  1. Preheat oven to 350 degrees Fahrenheit and grease an 8×8″ baking dish. Set aside.
  2. Thinly slice potatoes using a mandolin or a knife and a lot of patience. Place half the potatoes in the prepared dish.
  3. In a medium saucepan, heat butter over medium-high until melted. Add onion and cook until tender and mostly translucent.
  4. Stir in flour, salt, and pepper, then add milk all at once.
  5. Continue cooking and stirring until mixture bubbles and thickens. Remove from heat.
  6. Pour half of the sauce over the potatoes, then repeat with remaining potatoes and sauce. Make sure mixture is evenly spread in the baking dish.
  7. Cover with foil and bake for 35 minutes. Remove foil and continue to bake until potatoes are tender and a little browned on top, about 30 minutes.
  8. Let rest on the counter for 5 minutes, then serve hot, topping with a little extra freshly ground pepper, if desired.
  9. If you have leftovers, they keep well in the fridge for several days.

Veggie Scrambled Eggs

Happy Wednesday everyone. The two recipes I originally had considering sharing this week (and baked last weekend) both require a second iteration, so instead I am sharing my favorite quick breakfast. On the days I am not racing out the door to the gym (mainly Fridays), I like to treat myself to something different from my usual toast with peanut butter and cinnamon. Scrambled eggs with veggies has become my go-to weekday treat so I thought I’d share this fast and easy recipe with you today.

Veggie Scrambled Eggs {{Baking Bytes}}

Recipe might be a bit of a generous term considering just how easy it is, but it’s a great thing to have in the repertoire. Eggs are great for protein to keep you full longer, and veggies round out the meal nicely. Steak seasoning adds a little extra something without any extra work. My favorite veggies to add are bell peppers and zucchini, but you can absolutely use whatever your favorites are. Just bear in mind that some things will take longer to cook (e.g. potatoes) and others will cook much more quickly (e.g. spinach) and adjust steps 2 and 3 according to your choices. You can also easily add some shredded cheese if that’s your style; I like to add it about one minute before the eggs are done cooking so it stays in slightly larger chunks while still getting melty.

Veggie Scrambled Eggs {{Baking Bytes}}

This super simple recipe doesn’t need much talking up so I’ll end here. Enjoy!

Veggie Scrambled Eggs
Makes 1 serving

Ingredients

olive oil
1/2 cup diced veggies (e.g. zucchini and bell pepper)
1/4 – 1/2 tsp steak seasoning (I use the larger amount, but it may be more than some people want)

2 eggs
3 Tbsp milk (optional)

Directions

  1. Heat a splash of oil in a small frying pan over medium heat until it thins and is easy to swirl in the pan.
  2. Add veggies and steak seasoning (no need to pre-mix) and sauté for 2-3 minutes, stirring often, until veggies are heated through and softened to desired texture.
  3. Meanwhile, beat eggs and milk in a small bowl until combined.
  4. Add eggs to frying pan and use a spatula to gently stir them until cooked through.
  5. Serve immediately, solo or with a side of toast and coffee.

Veggie Soup

Now that I’ve been back about a week, I’m finally starting to feel back to normal. Three weeks of travel and socializing was pretty rough on this introvert and some peace and quiet over the weekend did a world of good. I got back to baking with pumpkin pie and pumpkin bread, and then figured I should make something for dinner also. With snow in the forecast this week (!) a batch of soup was definitely in order.

Veggie Soup {{Baking Bytes}}

While traveling I ate a ton of delicious but not exactly healthy things, so now that I’m back I’m trying to do a little better in the eating department. While skimming Pinterest (like ya do) I whizzed passed a vegetable soup recipe that looked great. I didn’t really follow it so much as use it as a guideline, but I always appreciate the inspiration. Vegetable stock and spaghetti sauce make a yummy broth filled with whatever veggies suit your fancy. I threw in potatoes, celery (since we had some around), carrots, zucchini, bell pepper, green beans, corn, and peas, but you can easily tailor it to your preferences or to your supplies on hand. Pretty hard to go wrong here so just chop some fresh or throw in some canned/frozen options and you’re good to go.

Veggie Soup {{Baking Bytes}}

I didn’t spice mine a ton, but I did throw in a few. I put some guideline measurements for the beginners but if you’re a practiced soup chef feel free to change them up. Don’t be intimidated by the long ingredients list, it’s a super easy recipe.

This is a great vegetarian option for a cool fall day, and maybe the rest of the week since it makes a ton. If you’re wanting to make it more carnivore-friendly, brown up a pound (more or less) of your favorite ground or diced meat and throw it in when you add the broth. Enjoy!

Veggie Soup {{Baking Bytes}}

Veggie Soup

Inspired by Cooking Classy

Makes a lot (4-5 quarts)

Ingredients

3 Tbsp olive oil
1 medium onion, diced
4 stalks celery, chopped
6 medium carrots, chopped
4 cloves garlic, minced

5 medium potatoes, diced
1 bell pepper, chopped
1 medium zucchini, chopped
2 cans diced tomatoes
24 oz spaghetti sauce
32 oz vegetable stock (low sodium)

2 tsp thyme
2 tsp Italian seasonings
1 tsp oregano
1 tsp chili powder
salt and pepper, to taste

1 cup/can green beans
2 cups frozen peas
1 cup frozen corn
1-2 handfuls fresh spinach

Directions

  1. In a large pot over medium heat, add oil, onion, celery, carrots, and garlic. Saute for 3-4 minutes.
  2. Add potatoes, bell peppers, zucchini, tomatoes (no need to drain), and spaghetti sauce. Gently pour in vegetable stock, add spices, and stir to combine.
  3. Bring to a boil then cover and reduce heat to a simmer and allow to cook until potatoes are soft, about 30 minutes.
  4. Add green beans (drained, if using canned), peas, corn, and spinach, then simmer for another 5 minutes or until ready to eat.
  5. Serve hot, goes great with corn bread!

Lasagna Roll-ups

It seems that fall may be on the way here, just in time for me to leave. Heading out this Friday for over two weeks of traveling and running three half marathons. If I can’t walk when I get home, you’ll know why.

Traditionally October is full of pumpkin delicacies prancing across the internet in overwhelming numbers, so I thought this year I’d start off with something a little less obvious. I saw this recipe on Pinterest (as usual) and thought it looked like a fantastic idea. Pre-portioned and easy to serve, it’s a great recipe for a family dinner as well as a potluck scenario. Even better, it can be prepared ahead and baked the next day to cut down on prep time for busy weeknights.

Lasagna Roll-ups {{Baking Bytes}}

For my first attempt I followed the original recipe as written; although it was good, it was a bit too “skinny” tasting for our preferences. M requested at least “twice as much meat and probably four times the cheese” so I made some adjustments for my next round. With cheesy goodness abound it went over much better. If you’re looking for a bit healthier option, maybe you want to head over to the original linked below, but if you like gooey and cheesy you’re definitely in the right place. It’s easily made vegetarian by just not adding meat or by subbing zucchini or mushrooms or whatever you like.

Preparing them is a bit time-consuming but I expect not more so than regular lasagna and possibly less. Having never made lasagna from scratch I can’t actually confirm this, but it seems plausible. And the hassle you save serving it (especially to a crowd) is easily worth a few extra minutes of prep time.

Lasagna Roll-ups {{Baking Bytes}}

Melty mozzarella, parmesan, and ricotta meld with the spinach and meat for a melt-in-your-mouth experience. Serve with a side salad and/or a vegetable for a well-rounded meal. Or don’t. I’m not your mother.

Lasagna Roll-ups

Adapted from The Girl Who Ate Everything
Makes 12 roll-ups

Ingredients

12 lasagna noodles
12 oz ground or diced meat (optional; I used hot Italian sausage)

10 oz chopped spinach (see note)
15 oz ricotta cheese
2 cups + 1/2 cup grated mozzarella cheese, divided
1/2 cup + 1/2 cup grated parmesan cheese, divided
1 egg
1 clove garlic, minced
1 tsp dried Italian seasoning
salt and pepper, to taste

32 oz spaghetti or other tomato sauce

Directions

  1. Pour about 1/2 cup of spaghetti sauce in the bottom of a 9×13″ baking dish.
  2. Cook lasagna noodles according to package directions.
  3. If using meat, sauté it with a little olive oil over medium heat until browned. You can add the garlic here too if you want.
  4. In a large bowl, mix spinach, ricotta, 2 cups mozzarella, 1/2 parmesan, egg, garlic, seasonings, and meat until well combined.
  5. Put several paper towels on the counter and gently lay cooked noodles on top. Gently pat the tops dry with an additional towel.
  6. Divide cheese mixture between noodles (about 3/4 cup per noodle) and gently spread it evenly across the entire noodle.
  7. Drizzle a couple of tablespoons of sauce on top of the cheese mixture.
  8. Gently roll up a noodle, not too tightly, and place seam-side down in the pan.  The paper towel might stick a little but it pulled off easily with no reside for me. Repeat with remaining noodles.
  9. Pour remaining sauce over lasagna rolls and sprinkle with remaining cheese.
  10. Cover loosely with foil. (You can refrigerate it at this point if you want to bake it the next day.)
  11. Bake at 350 degrees Fahrenheit for about 1 hour (no need to preheat the oven), removing foil for about the last 10 minutes so the cheese will brown a little.
  12. Let rest a few minutes, then serve hot.

Notes

I used frozen spinach both times. If you do, make sure it’s completely thawed and you squeeze as much water out as possible. Fresh spinach should also work fine so I will likely use that in the future. I also accidentally added 16 oz the second time and it was still yummy, although perhaps a bit more spinach-y than I personally prefer.

Zucchini Boats

Hello my lovely readers, hope your August is off to a splendid start. I am heading for a trip home to Alaska on Friday but I wanted to make sure and share with you this fantastic entrée. Perhaps, like me, you’re a bit sugared-out after five straight weeks of ice cream and are looking to “detox” with something sans sugar completely. Well, look no further! A couple of weeks ago I saw a recipe for lasagna zucchini boats on Pinterest, which I thought sounded delicious but also like way too much work. If you’re new here, I am pretty lazy when it comes to making things that don’t qualify as dessert or occasionally breakfast. In any case, I liked the idea of a zucchini base but otherwise similar to my stuffed peppers that I have made previously. I threw together some filling and filled up my zucchini, topping them with cheese of course, and ended up with a pretty fabulous meal.

Zucchini Boats {{Baking Bytes}}

Wild rice, onion, peppers, zucchini, Italian sausage and various spices come together in a lovely blend, complemented perfectly by a zucchini base. The filling is cooked beforehand, so baking them is mainly to soften the zucchini and melt the cheese, if you add it. This recipe is superbly easy to tailor, so you can pump up the heat with more red pepper flakes, or go a completely different route depending on what you have in your cupboard. It also has the pleasant attribute of being able to taste the filling before you finish up the entrée, so you can play with the flavors as you make them.

Zucchini Boats {{Baking Bytes}}

Furthermore, you can easily make them vegetarian by leaving out the meat, and vegan by also ditching the cheese. If you’re a mushroom person (gross), they would also go well in addition to or in lieu of the sausage. And, of course, any other ground meat could be substituted just fine, although you may want to add some additional spices.

Zucchini Boats {{Baking Bytes}}

They also reheat splendidly in the microwave, so it makes for great leftovers if you don’t eat them all the first night, so go buy some zucchini and make these for dinner.

Zucchini Boats
Makes 6 servings

Ingredients

1 cup uncooked rice (I used a wild rice blend)

3 large uniform zucchini
1 bell pepper, diced
1 medium onion, diced

1/2 lb Italian sausage (optional)

1 Tbsp Oregano, to taste
1 tsp red pepper flakes, to taste
1 tsp garlic powder, to taste
salt and pepper, to taste

1/2 cup grated cheese (optional, I used cheddar)

Directions

  1. Cook rice according to directions, set aside.
  2. Trim zucchini to fit in a 9×13″ baking dish (if necessary), then cut lengthwise in half. Hollow out the inside leaving about 1/4″ of zucchini as an edge. (An ice cream scoop works well for this.) Place zucchini in the baking dish and set aside.
  3. Dice zucchini guts, set aside.
  4. Preheat oven to 350 degrees Fahrenheit.
  5. In a large frying pan or wok, cook sausage over medium heat until almost done.
  6. Add diced zucchini, bell pepper and onion, and cook an additional few minutes or until the veggies are warmed and a bit softened.
  7. Add spices and stir to combine.
  8. In a large bowl, combine cooked rice and veggies.
  9. Spoon filling into hollowed zucchini (you will likely have leftover filling), then bake for 25 minutes, or until zucchini are easily pierced with a fork.1
  10. Top with grated cheese, if desired, and bake for an addition 3-5 minutes until the cheese is melted, then serve hot.

Notes

I had about 2 cups of filling left over. It is great reheated in a tortilla like a burrito, or on its own. Or use it to stuff a couple additional bell peppers.