Smoked Salmon and Spinach Scrambled Eggs

I recently went back to Alaska for a long weekend to see my family and celebrate my aunt’s birthday with a race and a camping trip. Since I needed 15 miles for my marathon training, I “warmed up” with 8.8 miles before running the 10k, which was a lot of fun. It didn’t even rain the whole time. The camping trip followed the next day (we camped in a cabin, in case you were appalled at the idea of camping in winter in Alaska) and she celebrated properly by having the adventure catered, which was awesome. Unfortunately for her, the caterer assumed she was feeding 7-10 Dwayne Johnsons instead of 7-10 normal-sized women, and gave her a rather mind-blowingly massive amount of food. Luckily for me, that means I came back to Bozeman with some of the extra smoked salmon – yum!

Smoked Salmon & Spinach Scrambled Eggs {{Baking Bytes}}The following weekend I needed to run 17 miles for my marathon training – my longest run to date. I wasn’t really concerned about this until I actually started running. Oh boy. It was one of those runs where the first mile was hard and every mile after that just got harder. Hopefully it was just an off day and this week’s 20-mile goes much more smoothly. In any case, I eventually made it through those 17 miles and back home, but I was pretty freaking exhausted.

Smoked Salmon & Spinach Scrambled Eggs {{Baking Bytes}}

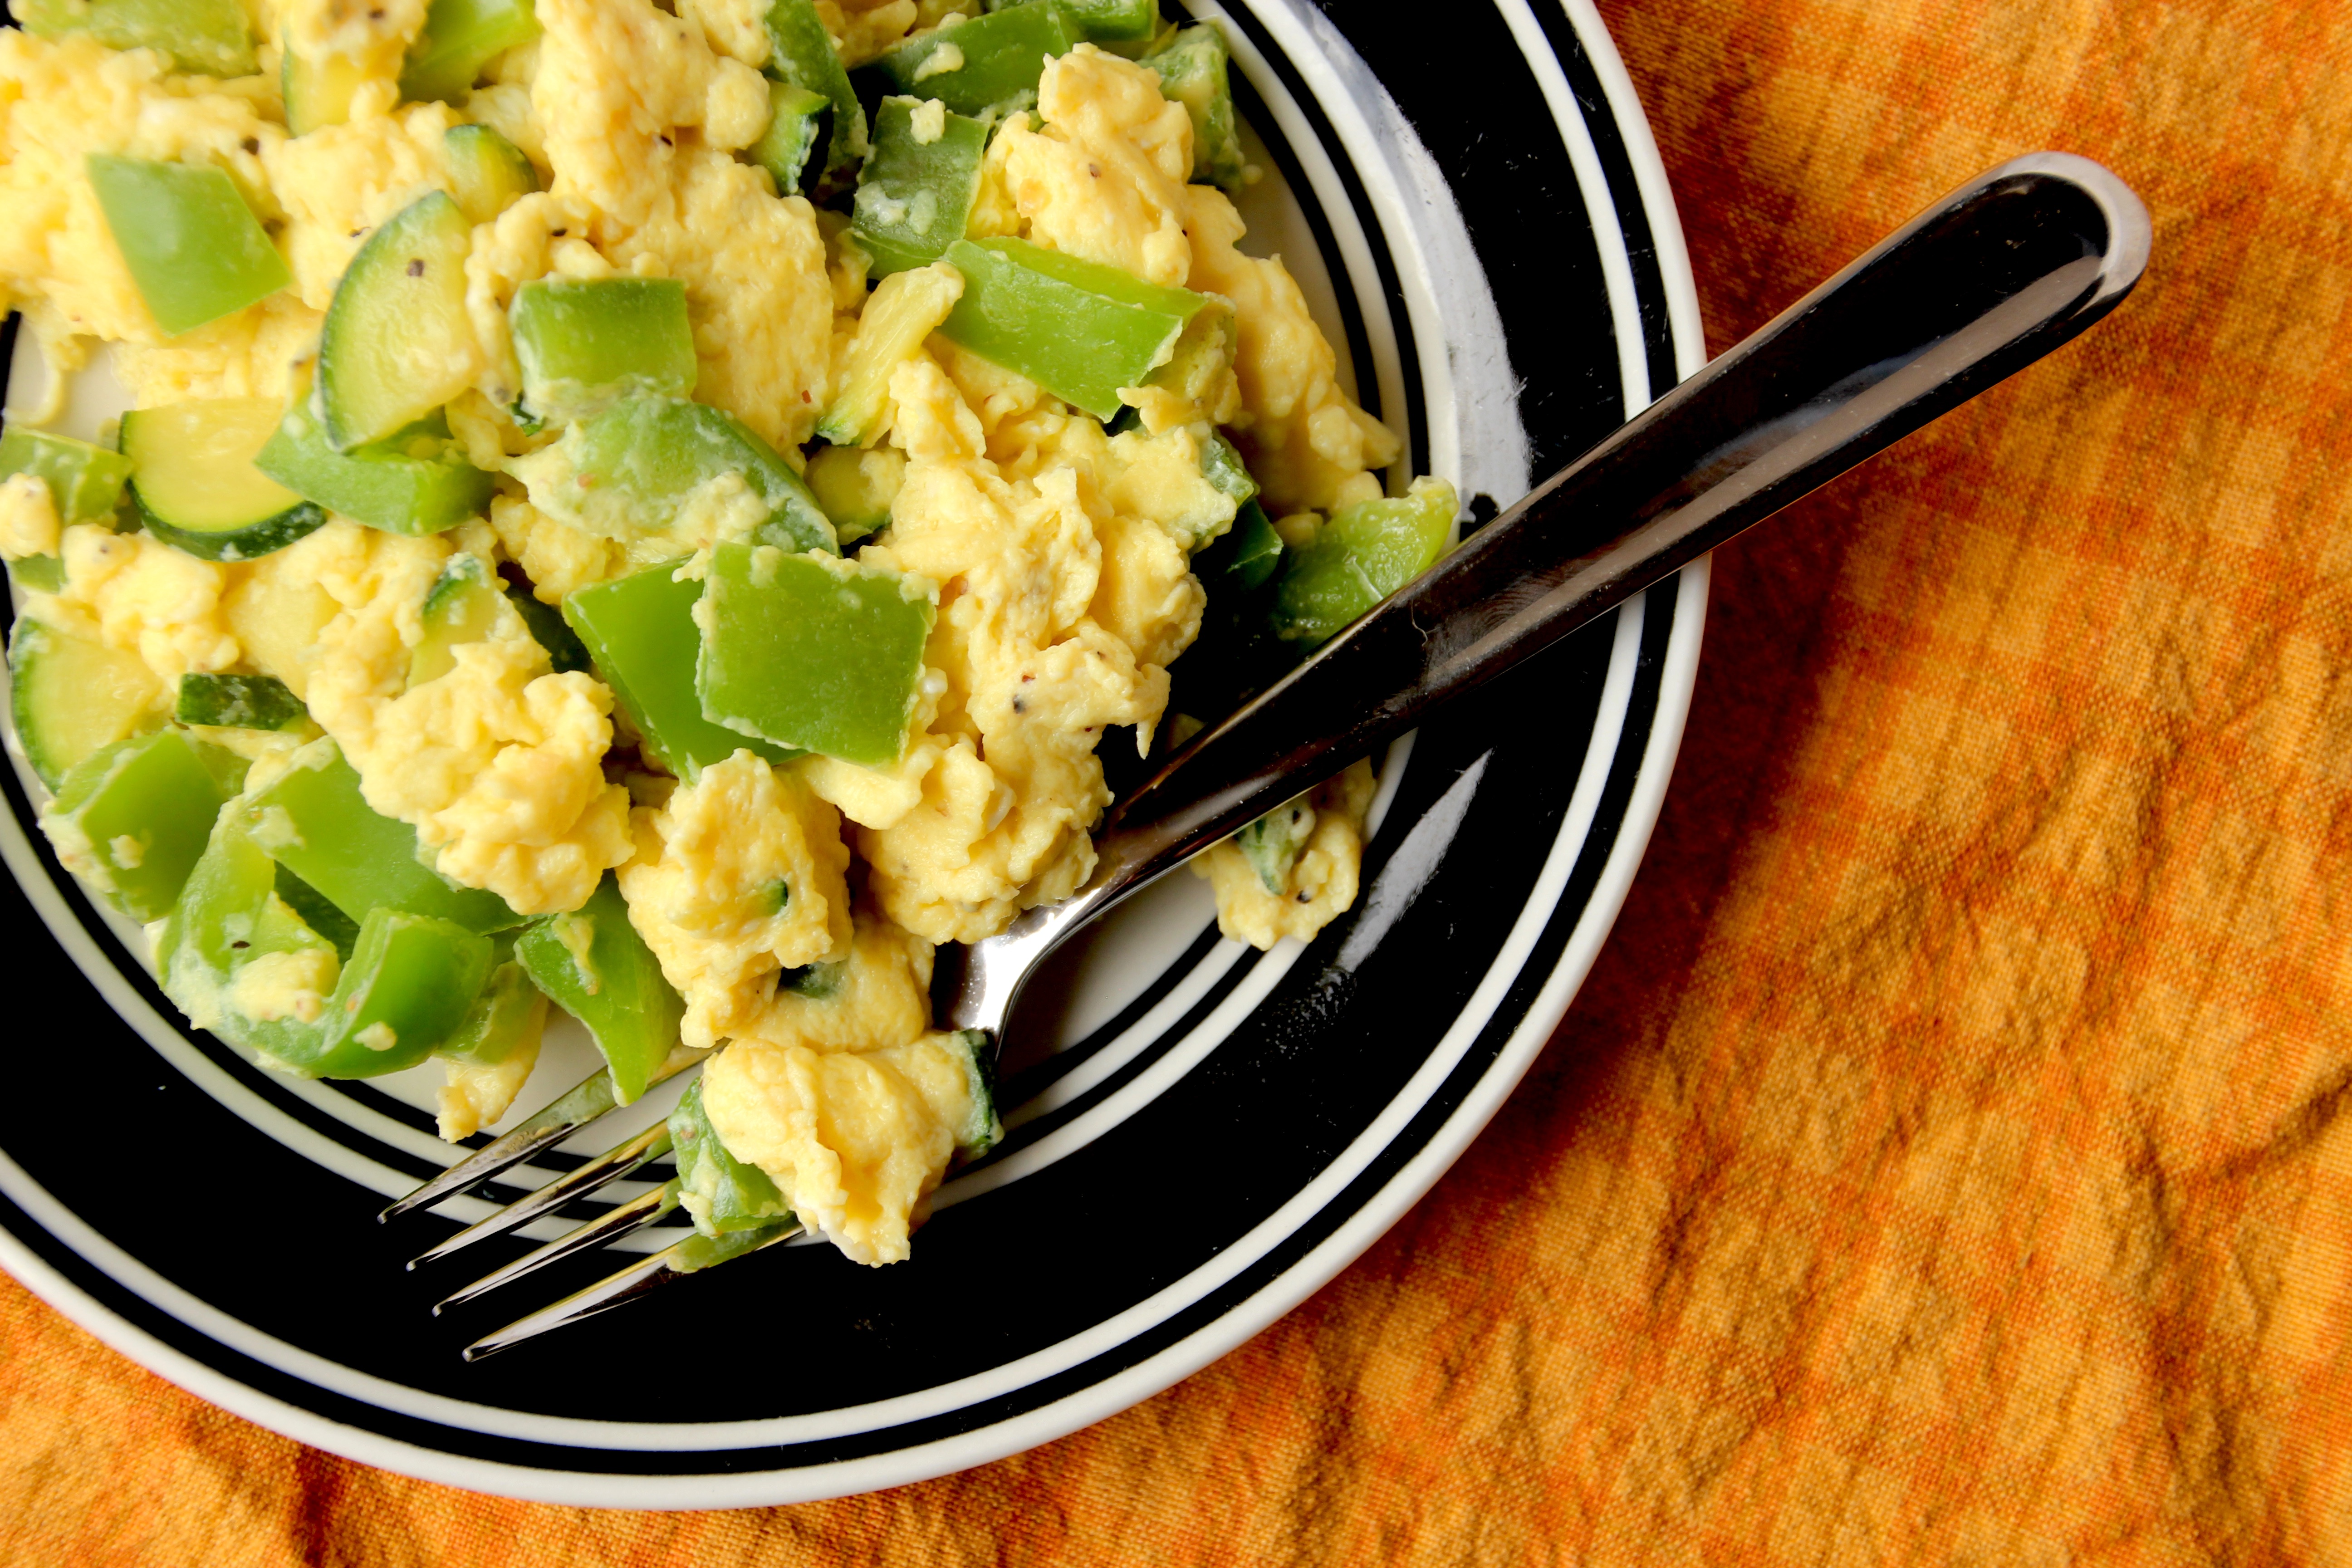
Fortunately I was able to reward myself with smoked salmon and scrambled eggs! Packed with protein and smokey salmon flavor, this was a great way to recuperate after an arduous adventure. The spinach adds some extra nutrients and great flavor, as well as some color for presentation. (Remember, you do eat prettiness.) Superbly filling, slightly decadent, and requiring minimal brainpower, this is possibly the perfect recovery meal. I definitely encourage all you distance runners out there to try it! (Or if salmon isn’t your thing, you can always give my veggie scramble a try instead.)

Smoked Salmon & Spinach Scrambled Eggs {{Baking Bytes}}This is a super easy meal and is equally fantastic by itself, served with toast, rolled up in a tortilla, or as the inside of a bagel sandwich. Tons of options depending on your mood and how hungry you are. Feel free to add a few tablespoons of shredded cheese for extra flair, although it’s certainly not necessary.

Smoked Salmon & Spinach Scrambled Eggs {{Baking Bytes}}

With salmon season coming along soon I hope you’ll be able to give this a try. Or maybe you need to clear out last year’s frozen supply to make room for new stuff. Either way, this is an awesome way to have smoked salmon for breakfast (or lunch, in my case.)

And either way, I highly recommend following this meal with reading a book outside in the sunshine.

Smoked Salmon and Spinach Scrambled Eggs
Makes 1 serving

Ingredients

olive oil
1/2 cup fresh chopped spinach
1/4 – 1/3 cup diced smoked salmon
seasoning, to taste (optional, I use 1/4 tsp steak seasoning)

2 eggs
2 Tbsp milk (optional)

Directions

  1. Heat a splash of oil in a small frying pan over medium heat until it thins and is easy to swirl in the pan.
  2. Add salmon and spinach and sauté for 2-3 minutes, stirring often, until salmon is heated through and spinach is wilted.
  3. Meanwhile, beat eggs and milk in a small bowl until combined.
  4. Add eggs to frying pan and use a spatula to gently stir them until cooked through.
  5. Serve immediately, solo or with a side of toast and coffee. Also great wrapped up in a tortilla or as a bagel breakfast sandwich.

Raspberry Cream Cheese Stuffed French Toast

Most of the time I start my days with a bowl of cinnamon-raisin oatmeal or a plate of veggie scrambled eggs. Particularly when M is out of town, I rarely put in the effort to treat myself to pancakes or similar, although I do occasionally have Belgian waffles for dinner. (Waffles are suitable for every meal, and also dessert.)

Stuffed French Toast {{Baking Bytes}}

However, after an incredibly windy 10-mile run last Saturday, I decided to treat myself to something I hadn’t made in a long time: stuffed French toast. French toast is actually one of my favorite breakfasts but I rarely make it for no real reason other than I enjoy having leftover waffle batter for the next few days. Nonetheless, with some delightful potato buttermilk bread sitting on the counter and a dollop of cream cheese in the fridge, it seemed the perfect day for a more decadent confection.

Stuffed French Toast {{Baking Bytes}}

With melty cream cheese and my favorite jam in every bite, a thin spread of butter and a dusting of powdered sugar is all that’s needed to top this delightful creation. Even better, it’s no more difficult than regular French toast since basically you are just making cream cheese and jam sandwiches for your first step. It’s important to make sure your bread gets good and soaked with the egg mixture to ensure it results in a soft but golden brown bread to wrap those sweet insides.

Stuffed French Toast {{Baking Bytes}}

Fry on medium-low to make sure the cream cheese and jam gets nice and warm before the outside is overdone. The extra minutes of cooking is well worth the finished experience, I promise. If you’re looking for an extra rich option, top with a drizzle of maple syrup or homemade whipped cream, but just a little butter and powdered sugar is definitely my favorite.

Stuffed French Toast {{Baking Bytes}}

This is a great option for Sunday brunch (or Tuesday brunch, or any brunch, or dinner, I don’t judge), and sure to please your Valentine. Don’t have a Valentine? Be your own Valentine and please yourself with an amazing breakfast. Your morning cup of coffee is a perfect addition; a side of bacon and/or eggs balances the sweet with some salty protein.

Stuffed French Toast {{Baking Bytes}}

I’ve printed the recipe as a serving for one so you can make it as is or easily scale it up as needed to feed the whole family. It’s best hot off the griddle but if you’re cooking for more people than fits in one batch, you should be able to keep them warm in the oven so you can all eat together.

Whip up a batch of stuffed French toast this weekend for a special treat, then enlist those recipients to clean up your kitchen. It’s really the least they can do.

Raspberry Cream Cheese Stuffed French Toast

Makes 1 serving

Ingredients per serving

2 slices bread (I like to use buttermilk)
1-2 Tbsp cream cheese, softened1
1-2 Tbsp Raspberry Rhubarb jam1

1 egg
2 Tbsp milk
1/4 tsp vanilla
1/4 tsp cinnamon

Directions

  1. Heat griddle or frying pan over medium heat and spray with non-stick cooking spray.
  2. Spread cream cheese on one slice of bread, and jam on the other. Place cream cheese slice (spread sides together) on the jam slice to form a sandwich.
  3. In a shallow bowl large enough to fit your bread, whisk together remaining ingredients until well blended.
  4. Place your bread into the egg mixture for 1-2 minutes each side, until bread looks soaked through. (If you’re just making one serving, it should soak up almost all the liquid.)
  5. Fry until golden brown, 2-4 minutes per side. (I like to put a lid on the frying pan to help keep the heat in, but it’s not strictly necessary.)
  6. Serve immediately topped with butter and powdered sugar, or a drizzle of maple syrup for an extra decadent treat.

Notes

You can use basically any jam or sauce, this one is just my favorite. As for the amounts, I like two tablespoons of each for a decadent filling, but you can certainly use less if you prefer a less rich breakfast. If your cream cheese is hard to spread, soften it in the microwave in ten-second intervals. It’s going to be heated anyway so if you slightly over-melt it that’s no big deal.

Easy Cinnamon Roll Wreath

Hello and Happy Holidays friends! Hope you’re having an appropriately white or warm season depending on your location. I am visiting my family in Alaska for the holidays and it’s been pleasantly snowy here – quite the change from last year’s raining nonsense. Apologies for the late post, time at home always seems to go by much more quickly than real life.

In any case, this morning I have another easy pastry recipe to share. The overwhelming popularity of my Cream Cheese Danishes led me to try another style. A few months ago I saw a braided Nutella bread that looked beautiful. As you may now be aware, I am not a fan of Nutella but I really loved the idea of a twisted bread with a contrasting filling. Filing it away for future reference, several months passed before I took up the project.

Easy Cinnamon Roll Wreath {{Baking Bytes}}

I love cinnamon rolls any time of year but for some reason I always crave them even more around Christmas. The homemade version is quite a bit of work which makes them extra special (and extra tasty) so we don’t make them very often, except sometimes for Thanksgiving or Christmas breakfast. Pillsbury makes actual cinnamon rolls, of course, which are surprisingly good, but feel somewhat commonplace as far as excitement goes.

Easy Cinnamon Roll Wreath {{Baking Bytes}}

The idea for twisted bread returned to me and twisted cinnamon rolls were born. Using an easy cinnamon sugar filling and the pre-made dough makes for a super quick breakfast or pretty dessert without the hassle and tediousness of dealing with yeast and rising times. Small enough for the family or simple enough to make several for the office, these are a pretty way to switch up the traditional and delicious flavors of a cinnamon roll.

Easy Cinnamon Roll Wreath {{Baking Bytes}}

Sure to please both the kids and the coworkers, this is a great holiday option for all the busy people out there.

Easy Cinnamon Roll Wreath

Makes 8 small servings

Ingredients

1 package Pillsbury Crescent Rolls1

2 Tbsp butter, softened
1/4 cup brown sugar
1 1/2 tsp ground cinnamon

2 oz cream cheese, softened
2 Tbsp butter, softened
3/4 cup powdered sugar
1/4 tsp vanilla
1-3 Tbsp milk (optional)

Directions

  1. Preheat oven to 375 degrees Fahrenheit. Line a baking sheet with a silicon baking mat or parchment paper.
  2. On an extra sheet of parchment paper, unroll the dough and pinch the seams together. Put face down on the prepared baking sheet and then gently peel off the parchment paper. Pinch the seams together from this side also.
  3. Spread 2 Tbsp butter over the dough.
  4. Mix together brown sugar and cinnamon until well mixed, then sprinkle evenly over the dough, leaving about 1/2 inch clear on one long end.
  5. From the other long end, gently roll up the dough and then pinch closed.
  6. Carefully cut down longwise down the center of the rolled dough (a plastic pizza cutter works great, and won’t damage your silicon mats or your baking sheet). Gently turn the cut side facing up.
  7. Carefully lift one side and place it over the other dough strip, repeating on the same side to form a twist. Gently move into a circle and pinch the ends together.
  8. Bake for about 18 minutes. It should be browned on the top and not doughy in the middle.
  9. Meanwhile, prepare the frosting: beat together cream cheese and 2 Tbsp butter until fluffy, then beat in powdered sugar and vanilla. Stir in milk 1 tablespoon at a time until it reaches your desired consistency – less milk for spreading, more milk for drizzling.
  10. Let the cinnamon roll cool for a couple of minutes, then transfer to your serving plate and spread/drizzle with the frosting. (You will likely have frosting left over, so feel free to halve the recipe if you don’t like lots of it.)
  11. Serve immediately with coffee for a lovely snack, or eggs and fruit for a more well-rounded breakfast.

Notes

Any of the styles should work, although they may all bake up slightly differently, so watch carefully and adjust the baking time accordingly. For example, the “big and flaky” version would probably need a couple more minutes in the oven.

Veggie Scrambled Eggs

Happy Wednesday everyone. The two recipes I originally had considering sharing this week (and baked last weekend) both require a second iteration, so instead I am sharing my favorite quick breakfast. On the days I am not racing out the door to the gym (mainly Fridays), I like to treat myself to something different from my usual toast with peanut butter and cinnamon. Scrambled eggs with veggies has become my go-to weekday treat so I thought I’d share this fast and easy recipe with you today.

Veggie Scrambled Eggs {{Baking Bytes}}

Recipe might be a bit of a generous term considering just how easy it is, but it’s a great thing to have in the repertoire. Eggs are great for protein to keep you full longer, and veggies round out the meal nicely. Steak seasoning adds a little extra something without any extra work. My favorite veggies to add are bell peppers and zucchini, but you can absolutely use whatever your favorites are. Just bear in mind that some things will take longer to cook (e.g. potatoes) and others will cook much more quickly (e.g. spinach) and adjust steps 2 and 3 according to your choices. You can also easily add some shredded cheese if that’s your style; I like to add it about one minute before the eggs are done cooking so it stays in slightly larger chunks while still getting melty.

Veggie Scrambled Eggs {{Baking Bytes}}

This super simple recipe doesn’t need much talking up so I’ll end here. Enjoy!

Veggie Scrambled Eggs
Makes 1 serving

Ingredients

olive oil
1/2 cup diced veggies (e.g. zucchini and bell pepper)
1/4 – 1/2 tsp steak seasoning (I use the larger amount, but it may be more than some people want)

2 eggs
3 Tbsp milk (optional)

Directions

  1. Heat a splash of oil in a small frying pan over medium heat until it thins and is easy to swirl in the pan.
  2. Add veggies and steak seasoning (no need to pre-mix) and sauté for 2-3 minutes, stirring often, until veggies are heated through and softened to desired texture.
  3. Meanwhile, beat eggs and milk in a small bowl until combined.
  4. Add eggs to frying pan and use a spatula to gently stir them until cooked through.
  5. Serve immediately, solo or with a side of toast and coffee.

Choose Your Own Adventure Scones

Blackberry Dark Chocolate Chip Scones {{Baking Bytes}}Welcome to May, my lovely readers. Apologies for the April hiatus, I got busy and blah blah all the usual excuses. However, I’ve been working on some new recipes for the summer and I’m excited to share them with you over the coming months.

Raspberry White Chocolate Chip Scones {{Baking Bytes}}

In the meantime, I’ve been craving scones lately and wanted to get some berry action given the unseasonably warm weather we’ve been having here in Montana. I hopped over to Pastry Affair since I was pretty sure she’d have a great recipe, and boy was I right. Incredibly moist, bursting with berries, and boasting the added delight of white chocolate chips, these scones were exactly what I was looking for. Perfect for dessert, breakfast, or snack, they’re delicious at any time of day. Serve them solo with coffee as the main event, or in conjunction with eggs and sausage for a fuller breakfast.

Blackberry Dark Chocolate Chip Scones {{Baking Bytes}}

As fragile as raspberries are, even my frozen ones became somewhat muddled in the dough, but I think this only adds to the aesthetic as well as resulting in a perfect raspberry flavor in every bite. (The lovely pink color would make them extra adorable for Valentine’s Day, if you’re in to that sort of thing.) The dough was annoyingly sticky, I’ll admit, but an extra hand washing is well worth it in the end. In fact, I enjoyed them so much that the next day I made another batch with blackberries and dark chocolate chips. I think they’d be awesome with many combinations of berries and baking chips, so play around with the flavors and report back with your favorites.

Blackberry Dark Chocolate Chip Scones {{Baking Bytes}}

Scones are something I never much enjoyed until I went to Scotland in 2009, and it was shortly after that when I found my go to recipe for cinnamon sugar scones. I love that recipe because it’s simple and super quick, but this one will definitely be added to the repertoire for a “berrylicious” alternative.

Raspberry White Chocolate Chip Scones {{Baking Bytes}}

As you are likely aware, Mother’s Day is this coming Sunday. As I eat these scones, and write this post, I think about my mom and how much she has molded me and helped me throughout my life. Even now, she graciously proofreads all my posts and offers her own opinions and tweaks when she tries the recipes. I am so grateful for her being such an amazing person in my life and I wish I could bring her some of these scones to start off a day of celebrating her. But since we’ll be about a thousand miles apart this weekend, I guess a phone call will have to do.

Blackberry Dark Chocolate Chip Scones {{Baking Bytes}}

Thanks Mom. =)

Raspberry White Chocolate Chip Scones {{Baking Bytes}}

Choose Your Own Adventure Scones

Borrowed from Pastry Affair
Makes 8 scones

Ingredients

2 cups all-purpose flour
2 Tbsp sugar
1 Tbsp baking powder
1/2 tsp salt

6 Tbsp butter, softened

1 rounded cup frozen berries (do not thaw)1
1/2 cup baking chips (white chocolate, chocolate, etc)2

1/3 cup heavy cream
1 tsp vanilla
1 large egg

raw or granulated sugar for topping

Directions

  1. Preheat oven to 350 degrees Fahrenheit. Line a baking sheet with a silicon mat and lightly dust with flour. Set aside.
  2. Whisk together flour, sugar, baking powder, and salt in a large bowl.
  3. Use your fingers to mix in butter until well distributed and texture is like fluffy but damp sand.
  4. Gently stir in berries and chips. Set aside.
  5. Whisk together remaining ingredients in a small bowl. Pour over dry mixture and gently mix until combined. You will likely need to use your hands and it will be very sticky – this is annoying, but normal and oh so worth it.
  6. On your lightly floured silicon mat, flatten dough into a circle about one inch thick. If you like, sprinkle on some raw sugar.
  7. Cut into eight wedges (I like to use a pizza cutter) and gently spread to at least one inch apart on the baking sheet using a spatula dipped in flour. Wipe up extraneous flour if there’s a lot of extra.
  8. Bake 25-30 minutes. Scones should no longer look wet and the bottoms will be lightly browned. Cool at least a few minutes before serving; they are also delightful at room temperature.
  9. Store covered but unsealed at room temperature. (If you seal them they will get sticky. I promise they will stay moist overnight. If you have pets or bugs you can cover them with a cloth or lid – just not anything airtight.)

Notes

Raspberries and blackberries have both been awesome. I cut some of the larger blackberries in half but that’s not strictly necessary. Blueberries or cranberries would also be great.

The full half cup makes the scones quite sweet, so feel free to use a smaller amount (or leave them out entirely) if you don’t want quite as much sugar.