Mini Chocolate Peanut Butter Torte a la Mode

Ah, October. While most think of Halloween all month long, I focus on race season. Every weekend except one is taken up by a race, with this past weekend being the sole half marathon and taking place in Dallas. Unfortunately it was crazy hot and I missed my goal time by several minutes, but I did get third place in my age group and an award to boot!

I’m now in Houston and kicked off the Grace Hopper Celebration of Women in Computing which I’m superbly psyched to be attending. I do miss Bozeman’s October weather, but a whirlwind weekend with my favorite aunt for running and eating and Six Flags, followed by the inspiration of being around so many women in tech fields (plus my first time in Texas), is definitely worth skipping a few properly autumnal days.

Mini Peanut Butter Torte a la Mode {{Baking Bytes}}

Even with my disinclination towards Halloween, it does make for a great excuse to bake overly decadent treats that have no real justification. Although I’m still working on losing a few pounds and ergo drastically limiting my sugar intake, these tortes a la mode I made for my anniversary with M last Valentine’s Day are even more appropriate for the current holiday season.

Mini Peanut Butter Torte a la Mode {{Baking Bytes}}

The original recipe created a full-size dessert, but I felt a mini version was the right choice for me. Already portioned, pretty for pictures, and simpler to tote around. As a bonus, it’s also easier to give away the extras to my unsuspecting coworkers. I have included the instructions for the miniature ones, but for the full-size option simply double the recipe and use two 8″ cake pans.

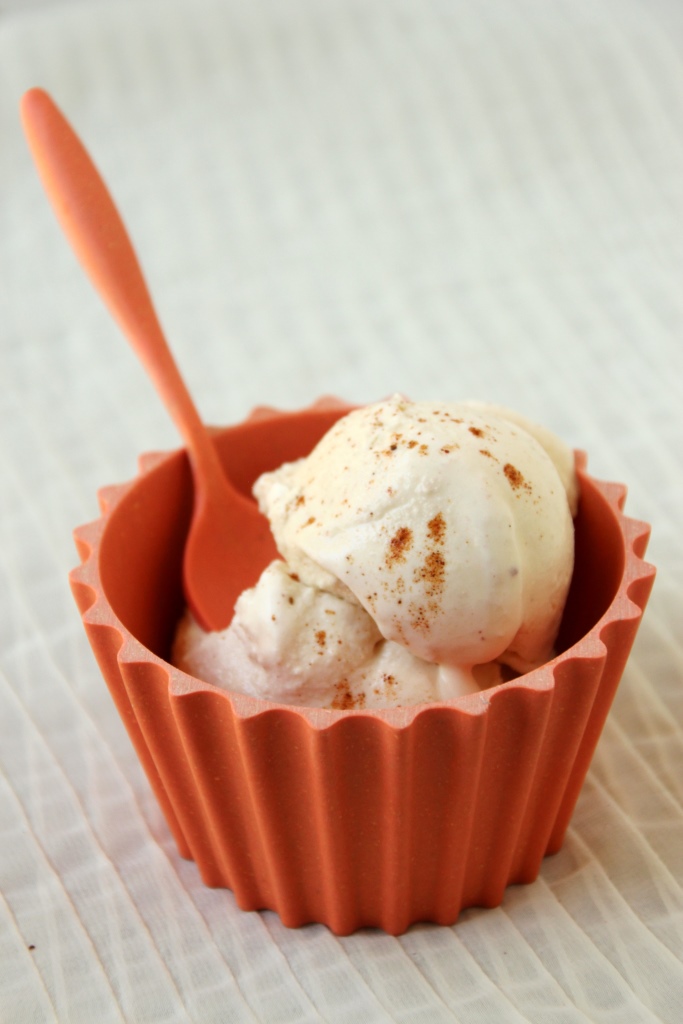
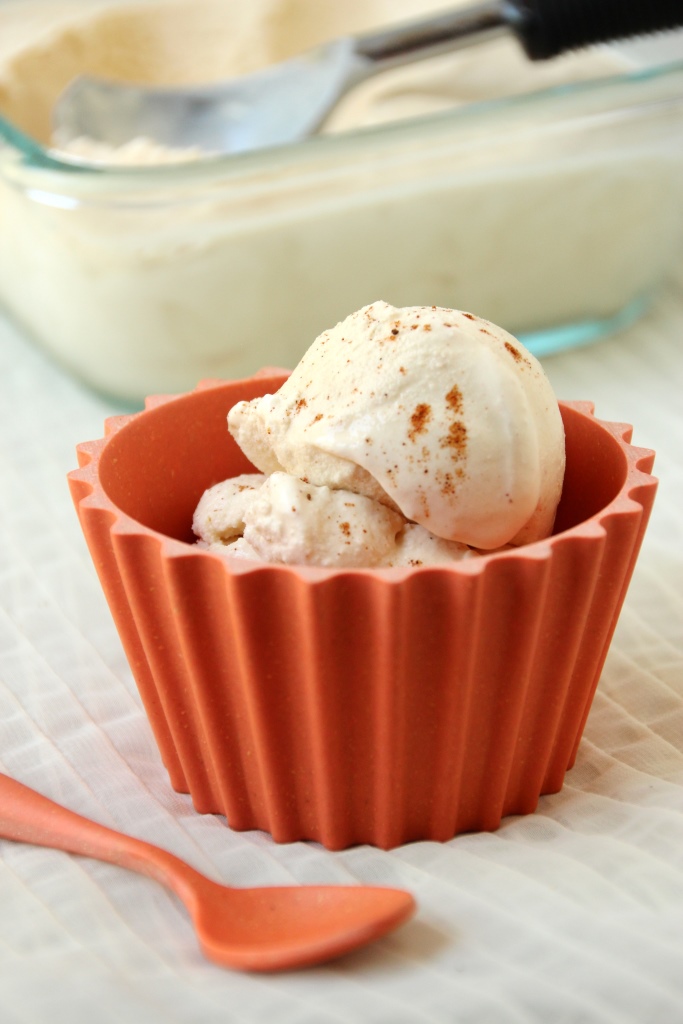
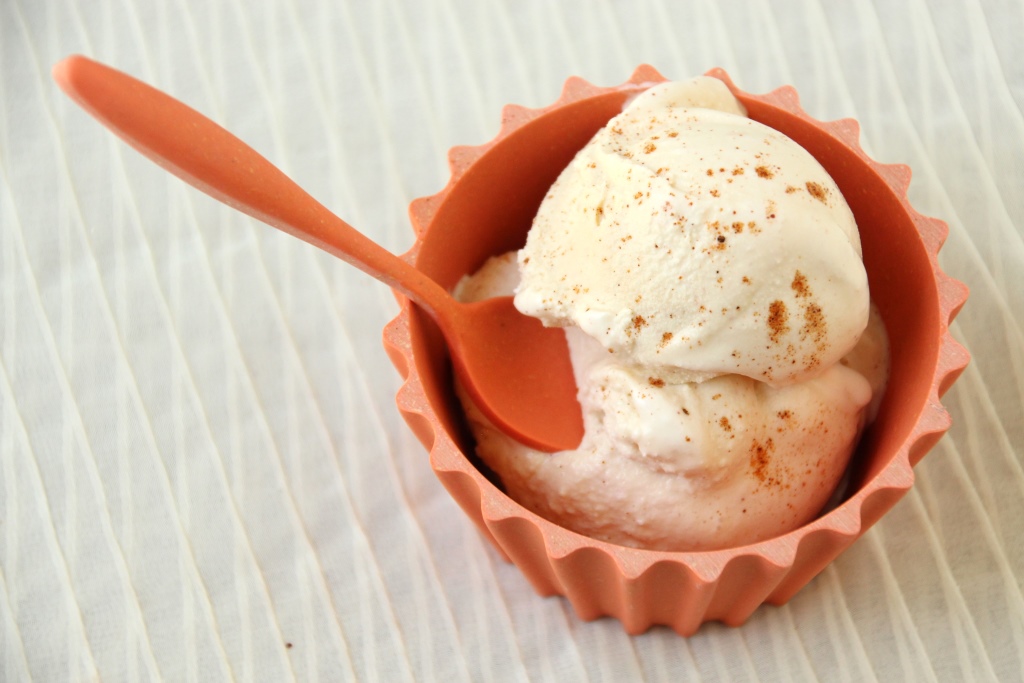
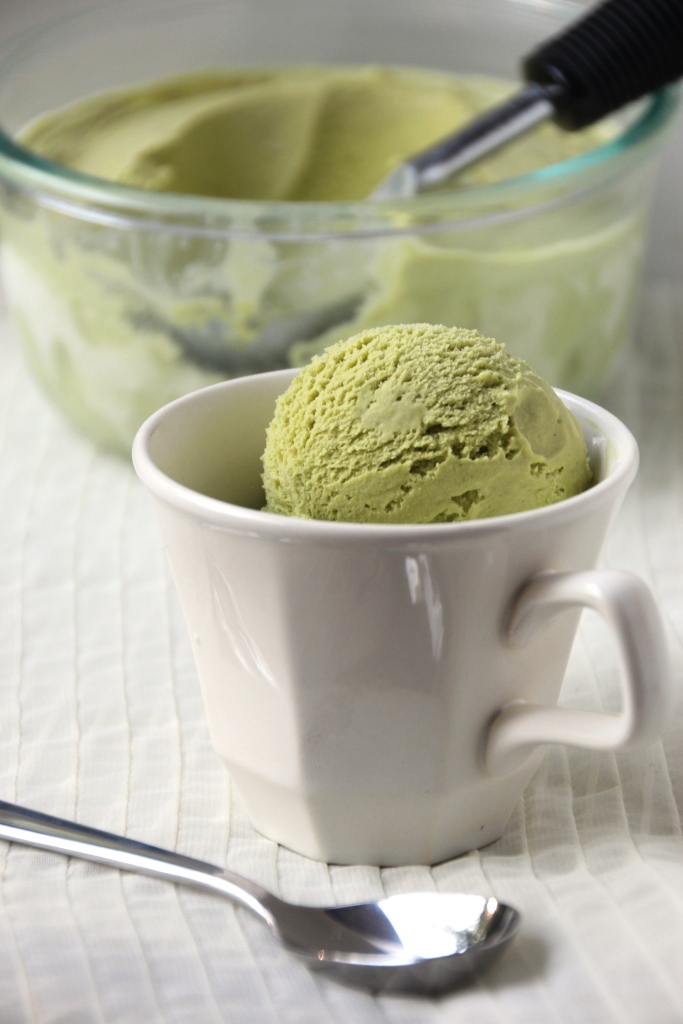
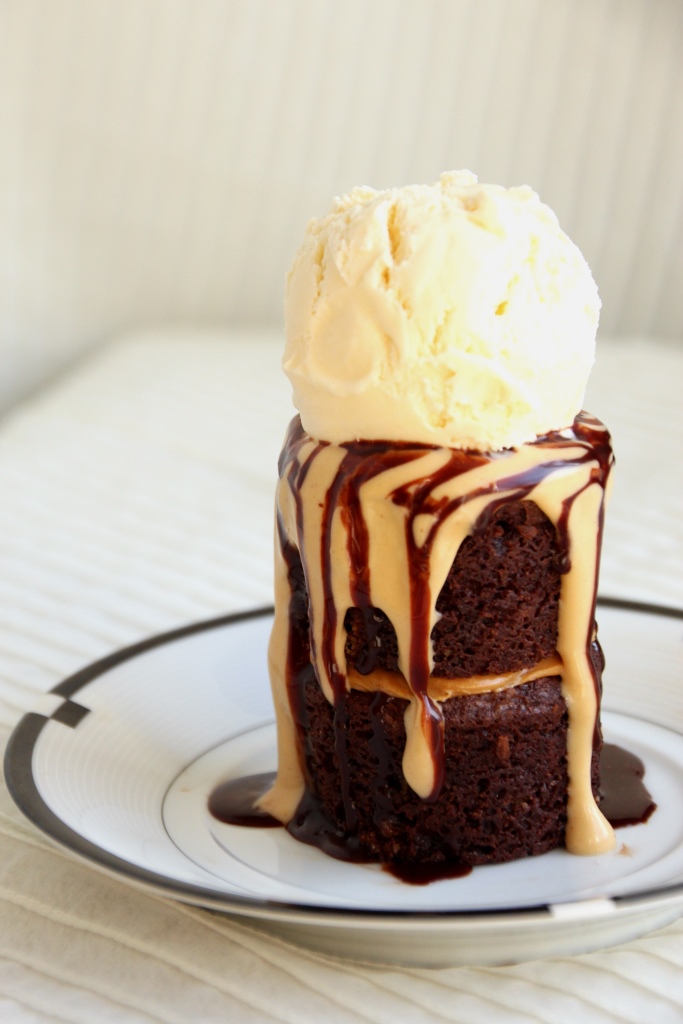
Intensely chocolatey and riddled with peanut butter flavor, these tortes are drizzled with more of both because, well, why not? Topped with a scoop of vanilla ice cream to round out the experience, it’s an immensely rich dessert and high in presentation points.

Mini Peanut Butter Torte a la Mode {{Baking Bytes}}

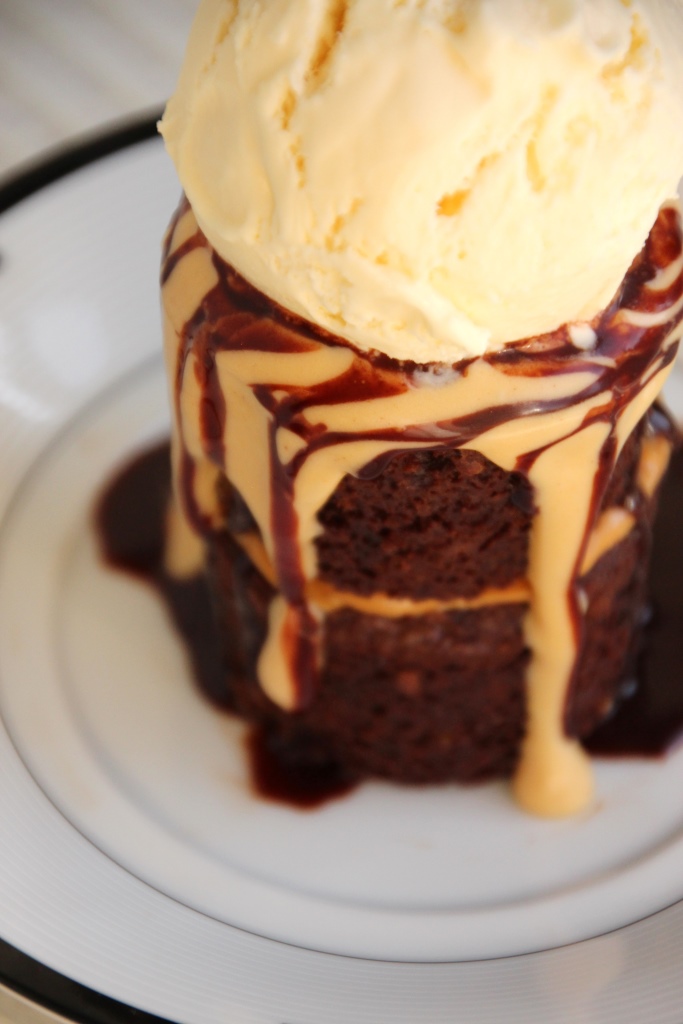
Fudgy chocolate cake interspersed with chopped Reese’s, the tortes on their own are a wonderful treat, made extra decadent by sandwiching a spread of peanut butter, and drizzled with a peanut butter glaze and chocolate sauce. Smooth vanilla ice cream tones down the decadence just a tad, and makes for a lovely creamy and fudgy juxtaposition. (The sauces also make great ice cream toppings on their own.)

Mini Peanut Butter Torte a la Mode {{Baking Bytes}}

For an extravagant dessert experience bring out the big guns and make these layered tortes a la mode as directed below. For maybe a slightly more tame dessert endeavor, just top each mini torte with a little peanut butter glaze and chocolate sauce, and call it a day. Whichever route you take, or perhaps a hybrid of the two, your peanut butter chocolate lovers are sure to be thrilled.

Mini Chocolate Peanut Butter Torte a la Mode

Adapted from My Baking Addiction
Makes 6 or 12 servings

Ingredients

Cake
1/2 cup butter, melted
1/2 cup unsweetened cocoa powder

1 cup sugar
2 eggs

1.5 tsp vanilla
1/2 cup flour
1/4 tsp kosher salt

5 Reese’s cups, chopped

Filling
peanut butter, heated if necessary for spreading

Glaze
2 Tbsp creamy peanut butter
1/4 cup powdered sugar
1/4 tsp vanilla
2 – 4 Tbsp heavy cream

2 Tbsp prepared chocolate sauce

vanilla ice cream

Directions

  1. Preheat oven to 350 degrees Fahrenheit. Liberally coat a mini cheesecake pan with cooking spray. (A muffin tin will also work.) If you’re using anything besides silicon or mini springform pans, line the bottoms with parchment paper.
  2. In a medium bowl, whisk melted butter and cocoa powder until completely combined.
  3. Stir in the sugar 1/4 cup at a time, mixing well between each addition (use a spatula).
  4. Repeat with eggs, 1 at a time.
  5. Add vanilla, flour, and salt, and stir until there are no streaks of flour.
  6. Fold in chopped Reese’s.
  7. Divide batter evenly between mini cheesecake (or muffin) wells, about 3 Tbsp each.
  8. Bake 18-25 minutes, until tops are matte and a toothpick comes out mostly clean, similar to brownies.
  9. Let cool completely.
  10. Run a knife around the edges of your pans and remove all cakes.
  11. Spread peanut butter on half of the cakes (I used about 1 tsp each), then top with another cake. Transfer to a platter, cake plate, or individual plates (or whatever you plan to serve from). Alternatively, for 12 smaller servings you can carefully cut each cake in half, spread peanut butter on the bottoms, and replace the tops.
  12. Whisk together additional peanut butter, powdered sugar, vanilla, and 2 Tbsp heavy cream until smooth. If you want a thinner glaze, add additional heavy cream in small amounts at a time until desired consistency is reached. (If you are making 12 servings and want ample glaze, you may want to double the amounts.)
  13. Carefully top each mini cake with 1-2 tablespoons of glaze, letting it drip slightly down the sides.
  14. Drizzle with melted chocolate chips or chocolate sauce.
  15. Just before serving, top each stack with a small scoop of vanilla ice cream.
  16. Enjoy!

Notes

I recommend you use a sweeter peanut butter like Jif or Skippy which probably doesn’t need to be heated, but if you insist on using a natural peanut butter it might need to be warmed a little in order for it to be easily spreadable.

I used homemade chocolate sauce I already had on hand; Hershey’s or similar would work great, or melted chocolate chips are always a good option. If you are concerned with presentation, I recommend putting the chocolate sauce in a piping bag and cutting off a very small tip so you have good control over your drizzle.

Chocolate Chip Zucchini Bread

With summer coming to a close tomorrow, perhaps your garden is overflowing with things to use or store. Although we only have a small garden, I did get an excitingly abundant harvest given its size. The raspberries were proliferous for several weeks (some are in the freezer to bake with this winter), green beans galore, a few delicious broccoli heads, a decent amount of potatoes, giant zucchini (hopefully still some more in the coming weeks), and for the first time ever, carrots!

This is the third year in a row I’ve tried growing fingerling carrots, and the first year they grew bigger than my baby thumbnails. Planting them on the very edge so they weren’t overgrown by the beans seemed to be the key, and I’m excited to eat them. I planted two rows so likely will chop some up for the freezer. Roasted vegetables are my favorite and I’m sure we’ll be eating many panfuls in the coming weeks.

Chocolate Chip Zucchini Bread {{Baking Bytes}}

My zucchini plant was not as abundant as some, likely due to the lack of sunlight my garden gets, but it still produced quite a few and there should be some more to pick if the weather doesn’t turn super cold right away. If, like many people, you have more zucchini than you know what to do with, then this is definitely the recipe for you.

Chocolate Chip Zucchini Bread {{Baking Bytes}}

I see recipes for zucchini bread, muffins, scones, pancakes, waffles, etc, all over the place, but many of them are heavy on the sugar and chocolate. Although this is delicious, it somewhat ruins the health factor of the zucchini if you’re basically eating dessert bread.

Chocolate Chip Zucchini Bread {{Baking Bytes}}

I recently came across this recipe on Pinterest (as usual) and loved that the chocolate was only in chip form, and the sugar content relatively low. I made some modifications like I always do, and it resulted in a very tasty but much less sweet variation.The zucchini flavor is mild but the bread is warm and inviting with cinnamon and nutmeg throughout. It’s sweetened with honey and a few chocolate chips, but maintains a much less decadent flavoring than your typical sugary quickbreads. You can obviously increase the chocolate chips if you want, but I felt this amount was plenty. Even with 30% less sugar than the original recipe, it still functions just as well as a dessert as it does for breakfast or an afternoon snack.

Chocolate Chip Zucchini Bread {{Baking Bytes}}

Krista’s recipe called for walnuts, but I never put nuts in baked goods as I don’t care for the textural juxtaposition of soft bread and crunchy nuts if I’m not emotionally prepared for it. However, this time I chopped a few walnuts and sprinkled them on top, and it was a wonderful, crunchy addition to the bread. It’s a method I may use in the future for banana or pumpkin bread to give it a little something extra. If you don’t like walnuts, pecans or sliced almonds would work great too, or you can leave them off entirely, of course.

Chocolate Chip Zucchini Bread

Adapted from Joyful Healthy Eats
Makes 1 loaf (12 slices)

Ingredients

1 3/4 cups whole wheat flour
2 tsp cinnamon
1 tsp baking powder
1/2 tsp baking soda
1/2 tsp salt
1/2 tsp ground nutmeg

1/3 cup raw honey
1/3 cup coconut oil

1/2 cup applesauce
1 egg
2 tsp vanilla

1 1/4 cup grated zucchini
1/3 cup + 2 Tbsp chocolate chips, divided

1/4 cup chopped walnuts (optional)

Directions

  1. Preheat oven to 350 degrees Fahrenheit. Grease (butter, coconut oil, PAM, whatever) and flour a loaf pan, shaking out excess flour. Set aside.
  2. If you haven’t already, use a cloth or paper towels to squeeze as much excess water from your zucchini as possible. Get your upper body workout here, if your zucchini is drier your bread is less likely to have wet spots in the middle. Set aside.
  3. In a medium bowl, whisk together flour, cinnamon, baking powder, baking soda, salt, and nutmeg. Set aside.
  4. In a separate microwave-safe bowl, combine honey and coconut oil. If they are not already liquid, heat 20-30 seconds and whisk until smooth. It’s okay if there are some small bits of coconut oil still solid.
  5. Add applesauce, egg, and vanilla, and whisk until completely combined.
  6. Slowly pour wet ingredients into dry ingredients, stirring (I used a rubbed scraper) until completely combined.
  7. Fold in zucchini and 1/3 cup chocolate chips, then pour into prepared loaf pan.
  8. Sprinkle with remaining chocolate chips and walnuts, if using.
  9. Bake 50 minutes, or until a toothpick comes out clean.
  10. Let cool most of the way in baking pan, then run a knife along the edge and turn out onto a cooling rack to cool completely, or slice and serve pronto because it smells way too delicious to wait.
  11. Store completely cooled leftovers in an airtight container on the counter.

Cookie Fruit Pizza

Just in case you still need an a quick and easy dessert for any Labor Day Weekend festivities, I am posting this a week early. Although I generally avoid mixes and pre-made desserts, everyone needs a couple quick go-to recipes for those impromptu barbecues and summer parties. Usually I make brownies because the Ghirardelli mixes are fantastic, but when I want to bring a lighter or non-chocolate dessert and don’t have the time for cupcakes or lemon pie spoons, I’ll tend towards fruit pizza or (peanut butter Cheerio treats). Made with a store-bought cookie dough, the longest step is preparing the fruit. It can be put together in less than an hour, assuming you have all the ingredients, and is a great crowd pleaser.

Cookie Fruit Pizza {{Baking Bytes}}

Although any fruit can be used, my favorite options are strawberries, kiwis, raspberries and blueberries. The first two can be sliced easily whereas the latter two options require no cutting. I usually opt for a combination of fruits as it’s both delicious and prettier. In general I just use what I have on hand or what looked good at the store, which this time happened to be kiwi, blueberries, and mandarins. You really can’t go wrong other as long as you are careful to either not choose fruit that browns quickly, or to serve everything promptly. Think of the pizzas as your palette and choose whatever flavor combinations you like best.

Cookie Fruit Pizza {{Baking Bytes}}

I did all mine the same, but you can certainly do each slice differently if you don’t have enough of a fruit, or just to allow people to pick their flavors. Since the cookies are pre-sliced, it’s easy to lay out each one identically or differently, and they’ll be ready to serve right away. Clearly you could also use a pizza pan for the normal round shape and slice into wedges, but I find the squares are easier to handle, less inclined to break, and just as pretty.

Despite most fruit pizzas being topped with some kind of glaze over the fruit, I never add one. The cookies and cream cheese frosting are already plenty sweet and the fresh fruit really shines if it isn’t drenched in extra sugar and fruit juice. It also saves an extra several minutes of prep time which is great since this is supposed to be a quick dessert.

Cookie Fruit Pizza {{Baking Bytes}}

Although I kept it simple this time, another delicious option is to add a spice to your cream cheese frosting. I keep it relatively low sugar since the cookies have plenty on their own, but the addition of some cinnamon, cardamom, nutmeg, chipotle, or whatever you think would blend with your fruit selection would be an awesome way to add a little pizzazz. Start with 1/8 – 1/4 teaspoon and then add more as necessary.

Cookie Fruit Pizza {{Baking Bytes}}

And if you’re not pressed for time, you can absolutely substitute your own sugar cookie recipe!

Cookie Fruit Pizza

Adapted from Pillsbury’s Fanciful Fruit Pizza
Makes 12 servings (1 quarter-sheet pan)

Ingredients

1 roll (16.5 oz) Pillsbury® Create ‘n Bake® refrigerated sugar cookies (or about 2 cups of your own recipe)1

4 oz cream cheese, room temperature2,3 
2 Tbsp sugar
1/4 tsp vanilla

1 1/2 cups fresh fruit (strawberries, blueberries, raspberries, kiwis, peaches, etc)

Directions

  1. Wash and slice the fruit (if necessary) laying it on paper towels to soak up excess water.
  2. Preheat oven to 350 degrees.
  3. Spray the edges of a quarter or half cookie sheet (ideally one with a lip) with cooking spray, then line with parchment paper, allowing the paper to overhang the long edges of the pan.
  4. Press dough evenly in the bottom of the pan (if you’re using a normal-sized cookie sheet, it will only fill half the pan), use a rolling pin to smooth at the end.
  5. Bake about 20 minutes or until golden brown, then cool completely.
  6. Run a butter knife along the edges of the pan, then use the parchment paper to gently lift the whole batch out onto a cutting board (or the counter).
  7. Use a pizza cutter or a sharp knife to trim the raised edges (optional, but it makes it easier to spread the frosting).
  8. At medium speed, beat cream cheese, sugar, and vanilla with an electric mixer until light and fluffy, and spread evenly over cooled crust.
  9. Using a knife or plastic pizza cutter, cut the crust into 8-12 servings3, or whatever size you want. If your pan is lipped, make sure you specifically cut the edges as a pizza cutter won’t reach there.
  10. Arrange the fruit on top4, keeping with in the guidelines for easy serving.
  11. Pro tip: use the parchment paper to move the cookies all at once back to your pan or your serving platter, then cut the extra paper away so it doesn’t show.
  12. Fruit pizza is just fine on the counter for a few hours, but cover and refrigerate leftovers overnight. The cookies are best on day one as they will get much softer in the fridge. For a make-ahead option, bake the cookies and leave them on the counter, make the frosting and store it in the fridge, slice and drain the fruits and store them in the fridge, then assemble the next day.

Notes

This is enough to fill a quarter-sheet pan. I love having this size around and am actually thinking I’d like to have two. If you only have half-sheet pans (normal size), then just press the dough into half of the pan, or double the recipe to make 24 servings.
Lower fat (or fat-free) cream cheese will work just fine.
This makes enough frosting for a thin coating, so if you like lots of frosting you may want to double it.
You don’t have to pre-cut the sections (say, if you want to make an American flag pattern) but it makes it much easier and less messy to serve and eat later.
If you’re using very juicy fruit, avoid putting it on more than a couple hours in advance if possible.

Maple Chipotle Ice Cream {National Ice Cream Month}

 [Welcome to Frozen Friday! In honor of National Ice Cream Month, I am sharing a new ice cream recipe each Friday morning. In case you missed them, be sure to check out the previous recipes, s’moresmimosablueberry cardamom cheesecake, and matcha!]
 

My final Frozen Friday flavor is inspired by Biga Pizza in Missoula, MT. Last April I spent a Saturday with a couple coworkers and a bunch of middle school girls doing a STEM workshop. Since we are software engineers, we had the girls write down a “program” telling us how to build s’mores, and then we acted as computers and ran the program. The results were quite delightful and it was a lot of fun, despite being a long day.

Maple Chipotle Ice Cream {{Baking Bytes}}

In any case, we arrived the night before (it’s a 3-hour drive) in time for dinner, and opted to get pizza at a popular local spot. The one we chose was sweet potato, bacon, hazelnut, something else I’m forgetting, and topped with a maple chipotle drizzle. The sweet potato + maple + chipotle combo really stuck with me and I’ve been using the trifecta quite a lot recently. (Related post pending…still practicing to make it pretty enough for pictures.)

Maple Chipotle Ice Cream {{Baking Bytes}}

Although I have a very low spice tolerance, it turns out that maple and chipotle are a beautiful, delicious combination and I am super glad I was introduced to it. During one of my practice rounds at the aforementioned post-in-the-making, I had the idea that it might work well as an ice cream flavor, and promptly did a bit of research on how to make it work. Last May my mom randomly gifted me an awesome book of ice cream recipes and though I’ve still yet to specifically make any of them, I recalled maple being a flavor in there. That recipe calls for maple extract, so I immediately ordered some off Amazon and impatiently waited for it to arrive.

Maple Chipotle Ice Cream {{Baking Bytes}}

Fantastically, my first attempt turned out perfect for me. Smooth and creamy, full of maple flavor and with an unexpected chipotle kick, this ice cream is unusual without being too crazy (like matcha). It reminds me of Mexican hot chocolate, in that it’s a fun twist on an otherwise standard treat.

I used a half teaspoon of ground chipotle which was perfect for me, but it is easily tailored to your personal spice preferences. The maple extract is optional, but it does really boost the maple flavor and I highly recommend using it. I always use pure extracts, but I’ll only judge you a little if you go the imitation route. (They are admittedly much less expensive.)

Maple Chipotle Ice Cream {{Baking Bytes}}

As a bonus, this ice cream is less sugary than other flavors, being purely sweetened by the maple syrup. If you’d prefer a sweeter experience, feel free to add a couple of tablespoons of brown sugar to the mix, although I think it’s perfect as is.

Kick your summer up a notch and make a batch of this spicy ice cream for your next Taco Tuesday!

Maple Chipotle Ice Cream 

Inspired by Molly Moon
Makes ~6 cups

Ingredients

2 cups heavy whipping cream
1 cup half and half
1 cup pure maple syrup
1/2 cup egg substitute
1 tsp maple extract (optional but highly recommended)
1/4 – 1 tsp ground chipotle

Directions

  1. Whisk together all ingredients, starting with 1/4 tsp chipotle. Taste and add additional spice to your preference. (I used 1/2 teaspoon and I thought it was perfect, but I also have a pretty low spice tolerance.)
  2. Transfer container to the fridge until completely chilled, or overnight.
  3. Freeze according to your ice cream maker’s directions, then place in a freezer-safe bowl to freeze for an additional three hours, or overnight.
  4. Serve plain or topped with a sprinkle of extra chipotle powder.

Matcha Ice Cream {National Ice Cream Month}

 [Welcome to Frozen Friday! In honor of National Ice Cream Month, I am sharing a new ice cream recipe each Friday morning. In case you missed them, be sure to check out the previous recipes, s’moresmimosa, and blueberry cardamom cheesecake!]

Okay so it’s not Friday, but since I missed the first Friday of July, here is my make up post. Hopefully you’ll forgive me.

Five years ago (can’t believe it’s been that long) I went on a 6-week trip to Japan through my university. It was a fantastic experience and I would love to go back someday. The beautiful shrines, friendly people, amazing food, and historic sites make it a wonderful country to visit.

Shrine in Japan {{Baking Bytes}}

The things I most wish America (that includes you, Canada) would adopt from Japan are the vending machines full of coffee instead of soda, and the rice bowl fast food you order by pressing a button and then wait for them to bring you freshly made food. Amazingly delicious, super cheap, and perfect for those annoying tourists (me) that don’t speak more than about 8 words of Japanese.

I was there during the spring and early summer, and when I wasn’t wandering around the shops and festivals, I was probably eating something. The food scene there is, obviously, substantially different from the United States and it was super fun to try things. Often I had no idea what I was eating but it was almost always super delicious. As the weeks passed and the summer grew hotter, one of the things I enjoyed the most was the abundance of soft-serve ice cream stands. Giant sugar cones heaping with glorious flavors you never see here like white peach, black sesame, and flavors that to this day I still have not identified. I rarely chose a “normal” flavor like chocolate or vanilla, opting instead to try all the exotic flavors you don’t see around here.

Ice Cream in Japan {{Baking Bytes}}

One of my favorites, and one I ordered several times, was matcha ice cream. Admittedly, it sounds pretty terrible. Matcha in tea form is incredibly bitter and definitely an acquired taste that I am still not convinced even the Japanese have mastered. Seriously terrible stuff. However, mixed with cream and sugar and frozen, it becomes a surprisingly amazing dessert.

Matcha Ice Cream {{Baking Bytes}}

With its distinctive green color, this ice cream won’t be mistaken for anything else. It reminds me of the spinach smoothies I often make for breakfast, except obviously it doesn’t have quite the health factor. Smooth and creamy texture punctuated by matcha green tea, it’s unlike quite any other ice cream flavor I’ve tried. It is almost savory instead of the overwhelming sweetness often associated with frozen desserts.

Matcha Ice Cream {{Baking Bytes}}

Mine is fairly strong (and ergo quite green), but you can easily tailor it to your preferences. Start with a teaspoon, and just blend in a little bit more at a time. It does strengthen as it chills in the fridge and so the flavor will be decently stronger once it’s in ice cream form. It is probably better to error on the side of subtlety if you’re new to the flavor, and make a note to yourself to add a little more next time.

Matcha Ice Cream {{Baking Bytes}}

I hope you give this unusual flavor a try, and definitely let me know what you think!

Matcha Ice Cream 

Makes ~6 cups

Ingredients

1 cup sugar
2 cups heavy whipping cream
1 cup half and half
1/2 cup egg substitute
1-3 tsp culinary grade matcha powder

Directions

  1. Add all ingredients to a blender, and blend until mixture is smooth.
  2. Transfer blender container to the fridge until completely chilled, or overnight.
  3. (If you don’t have a blender, use a hand mixer or KitchenAid; whisking by hand will not properly integrate the matcha powder.)
  4. Freeze according to your ice cream maker’s directions, then place in a freezer-safe bowl to freeze for an additional three hours, or overnight.
  5. Serve in small portions for a sweet treat.

Notes

1 I used 3 tsp the first time, and 2 tsp the second time. I enjoyed both versions but the latter is definitely more subtle and probably a good place to start.