Rhubarb Pie

Happy Labor Day! Today’s post is short and sweet so you can get right to the part where you decide to make it, pronto. =)

While I was home in Alaska, my mom made a delicious rhubarb pie. Back in Montana a couple of weeks later, a discussion with a coworker about the best flavors of pie (he was all wrong) prompted me to make another.

Rhubarb Pie

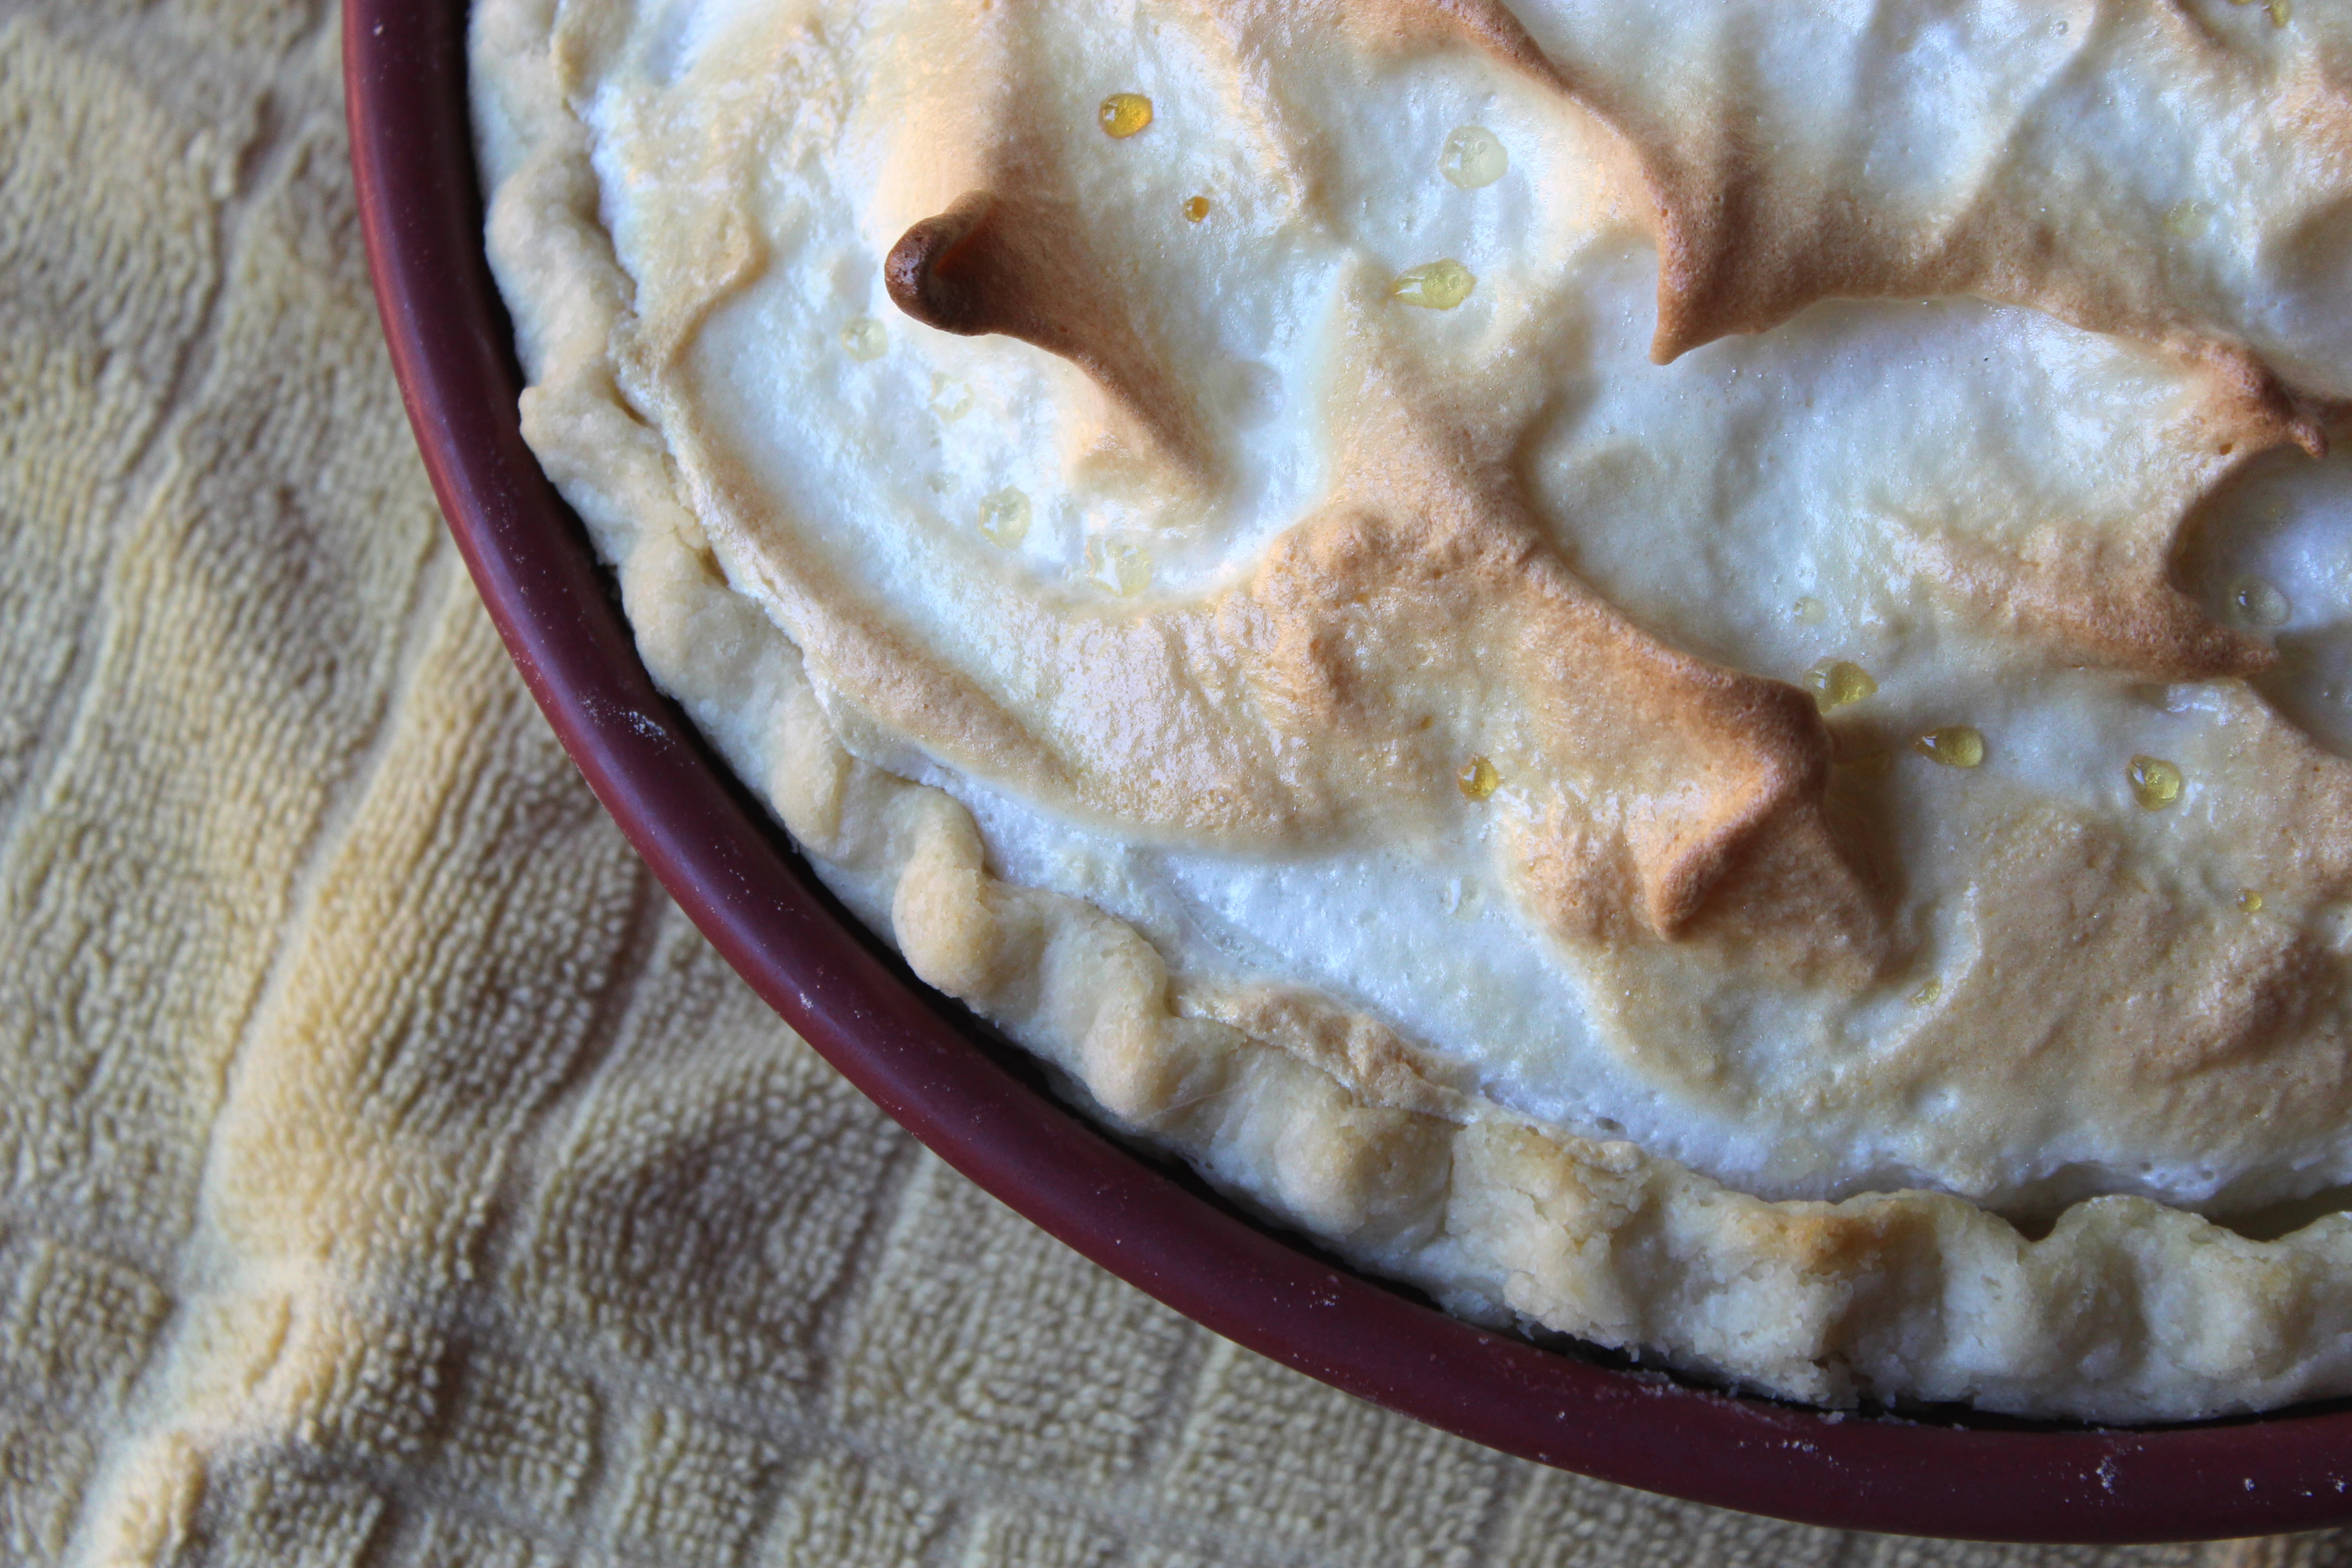
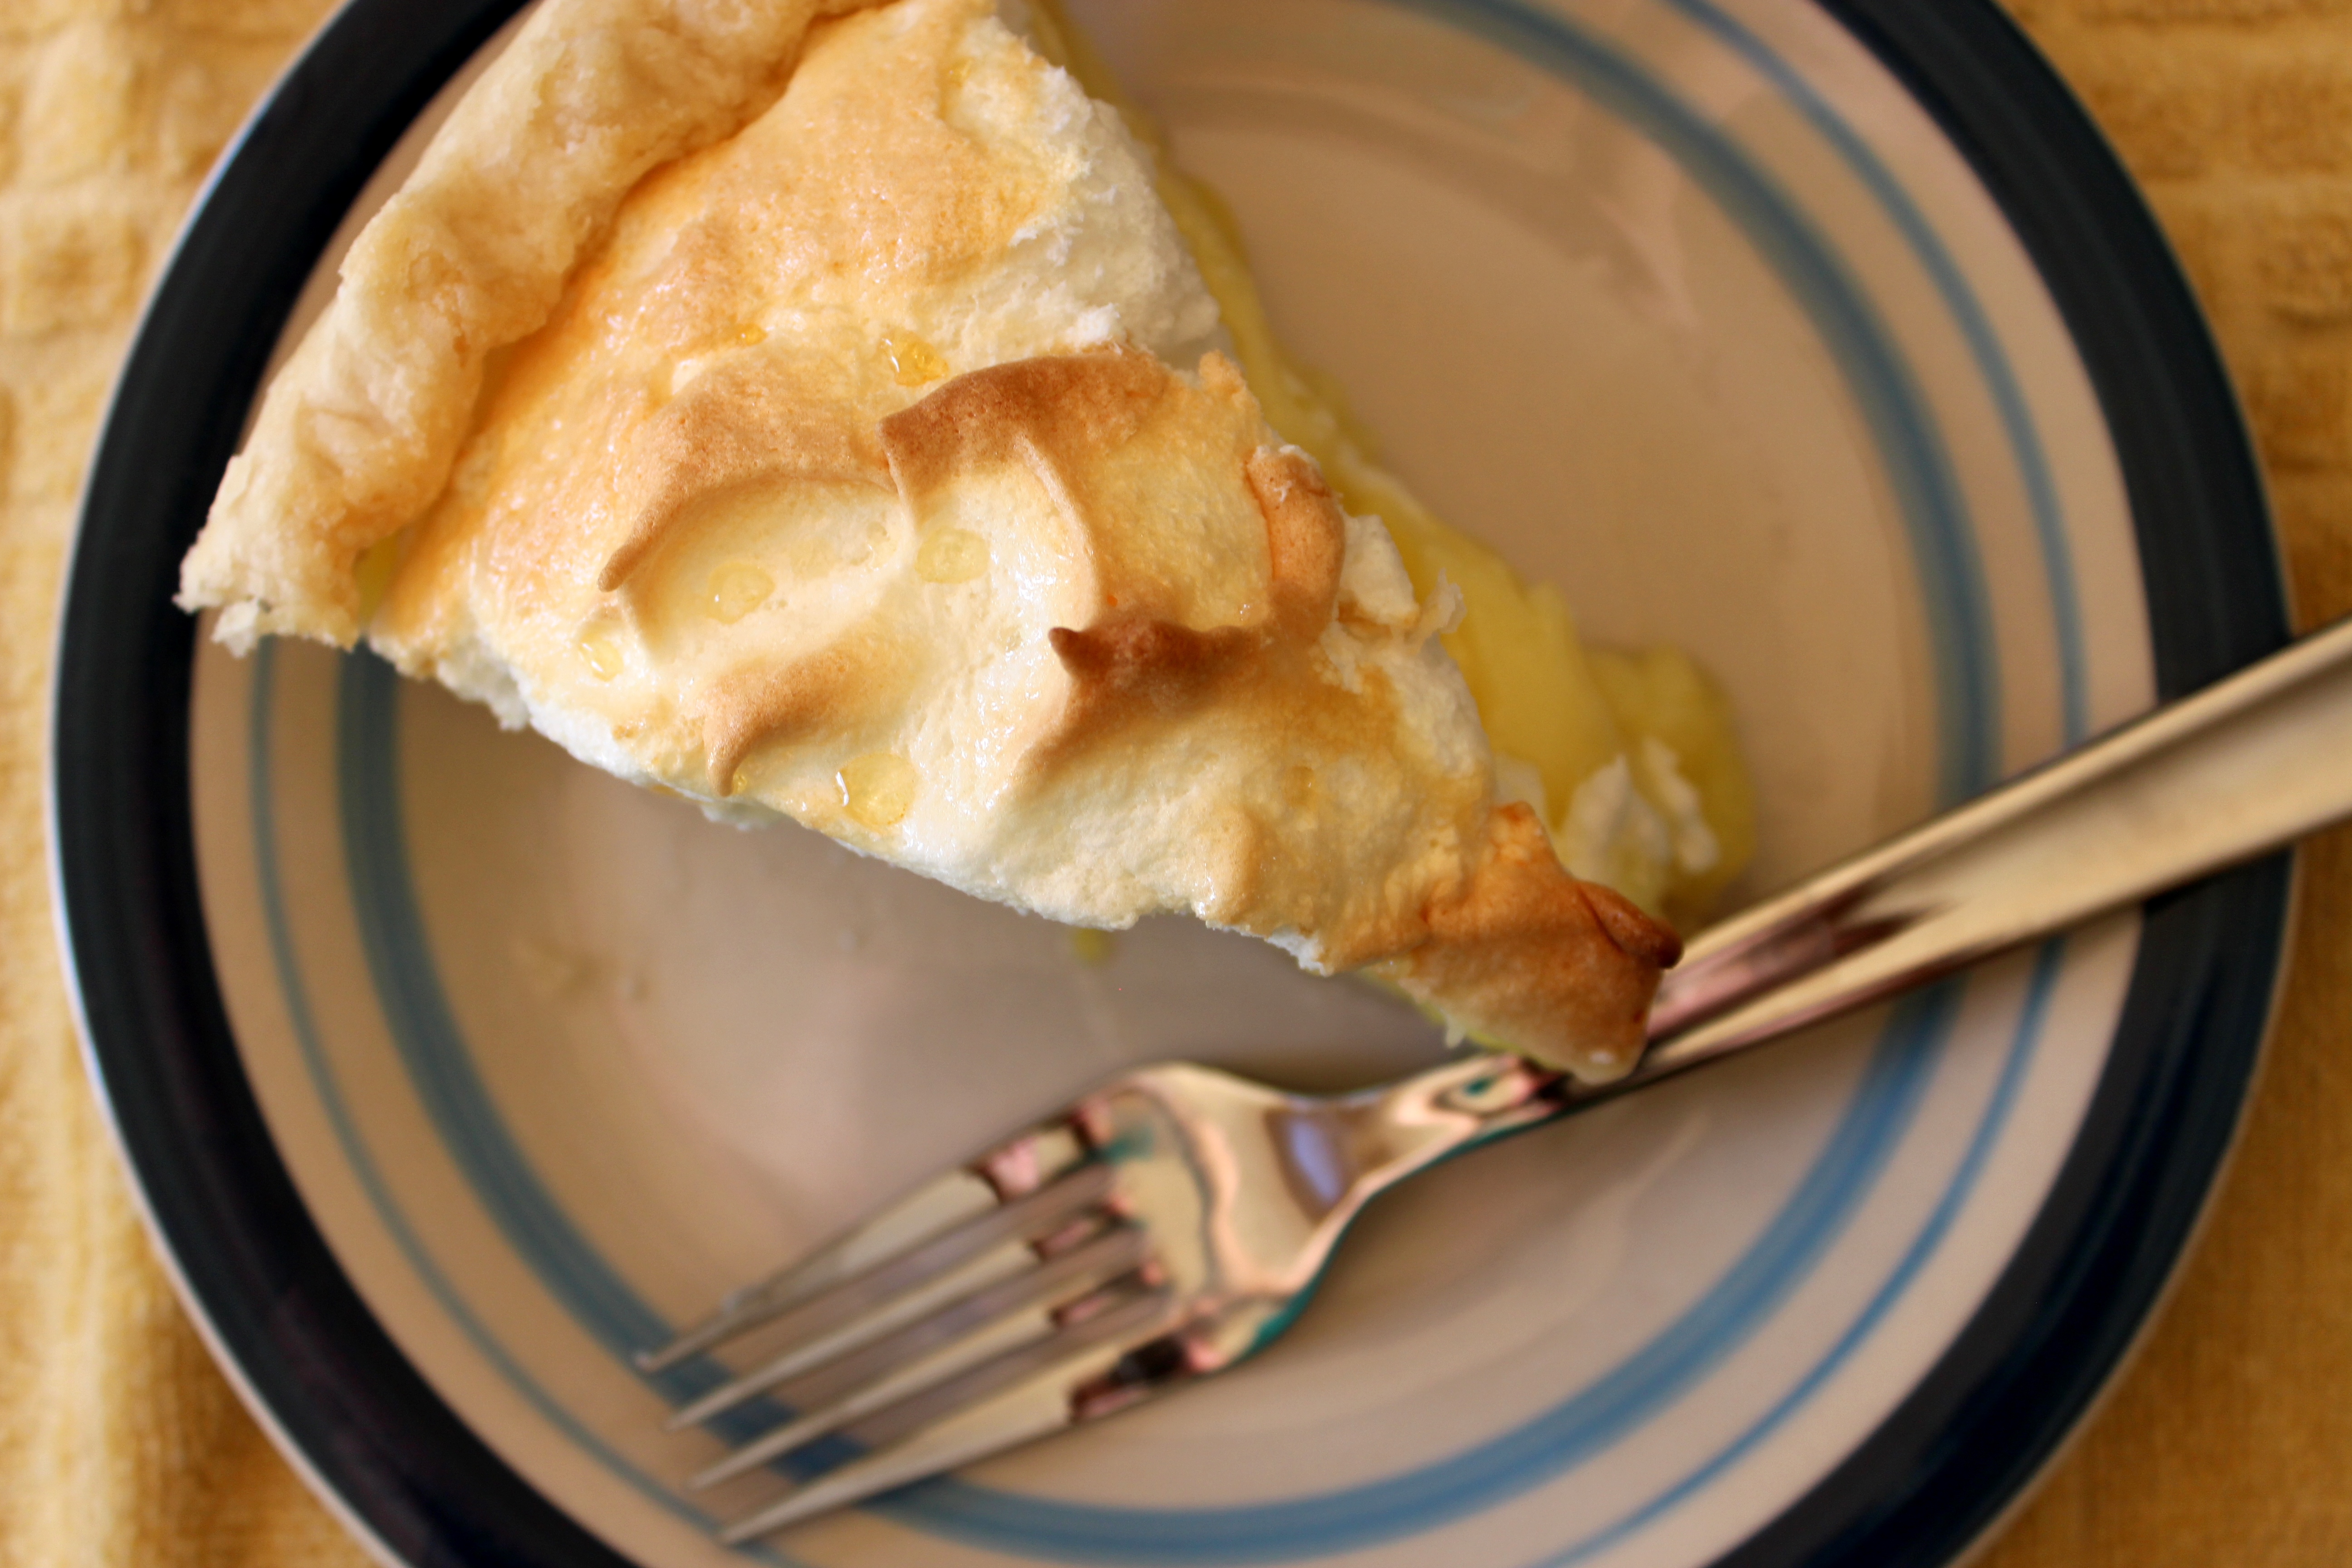
Unlike most rhubarb pies, this one contains no competing nor complimentary flavors. Purely rhubarb (and sugar, of course) it’s quite tart, very filling, and incredibly delicious. On its own for breakfast, or with ice cream for dessert, this pie is great both warm or cold and doesn’t taste nearly as sugary as the standard fruit pies. Furthermore, as the filling isn’t at all runny, it produces beautiful slices for plating.

Rhubarb Pie

Since there’s no peeling involved, if you’re using a bag of chopped rhubarb out of the freezer (as I did) this is possibly the easiest summer pie you can make. And even if you’re using this year’s rhubarb harvest, chopping rhubarb never seems to be as much work as peeling and slicing apples or peaches. Especially if you “cheat” and use a pre-made crust, as that’s probably the most time-consuming part of the process. (I won’t judge you…much.) Its simplicity makes it my new go-to summer pie, although I’m sure I’ll make it all year around.

It keeps well on the counter for several days and is sure to please any palate that likes rhubarb. If you’re looking for a particularly easy summer pie, this one is a fabulous option.

Rhubarb PieRhubarb Pie

Adapted from Carol
Makes one 9″ pie

Ingredients

Pastry for a 9″, double-crust pie

3/4 cup flour
1.5 cups sugar

5 cups chopped rhubarb (1/2″ pieces)1

Cinnamon & sugar, to taste (optional)

Directions

  1. Move your oven rack to its lowest position and preheat the oven to 450 degrees Fahrenheit.
  2. Layer the bottom crust in a pie plate and trim the edges to 1″ larger than the plate.
  3. In a small bowl, whisk together flour and sugar. Layer 1/4 of the flour mixture on top of the pie crust.
  4. Heap the rhubarb into the pie plate and cover with the remaining flour/sugar mixture.
  5. Cover with the top crust, sealing the edges and crimping, if desired. Cut vents in crust to allow steam to escape and sprinkle generously with the cinnamon and sugar.
  6. Bake (on the lowest rack) for 15 minutes, then reduce the oven to 350 degrees Fahrenheit and continue to bake for 45 minutes.
  7. Serve warm or cold, with whipped cream and/or à la mode, for breakfast or dessert. =)

Rhubarb Pie

Notes

Frozen rhubarb works beautifully in this pie, just let it thaw (at least mostly) and drain before you place it in the crust.

Chocolate Peanut Butter Chip Cookies

Apologies for missing most of August; I spent ten days gallivanting around Juneau, Alaska with my family, followed closely by a week in Iowa for work. Despite a major rope burn courtesy of my mom’s dog (which is temporarily destroying my half marathon training), it was a wonderful trip and I hope to not go another eight months before visiting again.Juneau, Alaska

Having always lived in places that at least had mountains in the distance, the sheer flatness of Iowa is very weird, my brain can’t quite comprehend that there aren’t any mountains anywhere in sight. A very strange experience for this Rocky Mountains girl.

Today, however, I have a decadent cookie recipe to share. I’m not going to lie, these cookies are a little bit of a pain to make. They will never be a “go to” recipe for me, but for when I want a richer treat these are a great option. If you’re a chocolate and peanut butter fan, these cookies are right up your alley. (If not, check back next week for a pie that might be a little more your style.)

IMG_1072

The dough is really more like a brownie batter, and chock-full of peanut butter chips. Chilling time is *required* for these cookies, since you won’t be able to form a ball without it. However, if you chill them too long (say, overnight, as I did), the “dough” becomes ridiculously hard and takes what seems like forever to soften enough for scooping. If you can swing it, check the dough after it’s been in the fridge a half an hour. If it’s firm but still moldable, you’re good go to. If not, check back in another 15 minutes or so.

Chocolate Peanut Butter Chip CookiesDespite the mildly temperamental dough, these cookies taste amazing. Chocolate and peanut butter is a flavor combination that rarely goes wrong, and these cookies are no exception. Rich, soft, and chocolatey, they seem more like a brownie in a cookie shape than your typical chocolate cookie. Peanut butter chips seemed like the natural pairing to me, but feel free to substitute whatever you like. I’ll likely try mint chips sometime in the future.

So if you have some time, some peanut butter chips, and a chocolate craving, give these cookies a shot. I guarantee they won’t disappoint.

Chocolate Peanut Butter Chip Cookies

Chocolate Peanut Butter Chip Cookies

Mildly adapted from Sally’s Baking Addiction
Makes 4-5 dozen

Ingredients

8 oz semi-sweet chocolate, chopped (I used 1 cup of Kirkland chocolate chips)

1 cup flour
1/4 cup unsweetened cocoa powder
1 tsp baking powder
1/4 tsp salt

2 eggs
1 tsp vanilla extract

5 Tbsp unsalted butter, at room temperature
3/4 cup light brown sugar
1/4 cup white sugar

1 bag (10 oz) peanut butter chips

Directions

  1. Melt the chocolate for 30 seconds in the microwave, stir. Repeat until chocolate is completely smooth (about 90 seconds total). Set aside.
  2. Whisk together flour, cocoa powder, baking powder and salt in a small bowl. Set aside.
  3. Lightly whisk together the eggs and vanilla in another small bowl. Set aside.
  4. Using an electric mixer, beat the butter on medium-high speed until smooth and fluffy.
  5. Add the sugars, beating until combined. Scrape the sides often if your paddle attachment doesn’t do this for you.1 (Mixture will be crumbly.)
  6. Add eggs and vanilla and mix until combined. Beat in the chocolate.
  7. On slow speed, mix in the dry ingredients. Fold in the peanut butter chips, being careful not to over mix. It should look like delicious brownie batter at this point.
  8. Chill dough until firm but moldable; at least 30 minutes.
  9. Preheat oven to 350 degrees Fahrenheit.
  10. Scoop 1 Tbsp balls on a cookie sheet lined with a silicon mat or parchment paper.2 3
  11. Bake for about 8 minutes, or until cookies are matte in color but still very soft.
  12. Cool on the baking sheet for at least 5 minutes, and then transfer to a wire rack to cool completely. If they are cool enough, you shouldn’t need a spatula for the transfer.
  13. Enjoy a handful with a tall glass of milk.Chocolate Peanut Butter Chip Cookies

Notes

This is my favorite Kitchen Aid paddle attachment. It is seriously the best thing ever.
These cookies barely spread. I could very comfortably fit 15 on a sheet instead of the usual 12.
I almost always bake small cookies because I like to be able to eat a lot of them. This particular recipe is quite rich, so I think they work well in the small size. However, if you prefer a more substantial snack, roll 2 Tbsp of dough into a ball, flatten slightly onto the cookie sheet, and bake for approximately 11 minutes. At this size, the recipe will yield just over two dozen cookies.

Bacon Baked Beans

Okay everyone, don’t panic, but I didn’t make dessert this week. I know, I know. *GASP* But don’t worry, I’m sure next time we’ll return to our regular scheduled programming.

This week, however, I stepped slightly outside my forte into the world of real food and made baked beans. Granted, I still used the oven, and there was bacon involved, so I guess it wasn’t that far outside my comfort zone after all.

I’m still counting it.

This recipe comes from my mom, who got it from her mom, who got it from a friend of hers. It’s the family favorite for taking to potlucks and barbecues and my mom is asked for the recipe every time. A plethora of beans and bacon with the taste of brown sugar results in a fabulous and filling side dish sure to complement any barbecue.

Baked Beans

Admittedly, I did not like this dish as a kid. It wasn’t till a few years ago that I had another taste and suddenly understood why family friends always raved about my mom’s baked beans. This past weekend I took a pan to a pig roast and didn’t bring any home. In the words of my mom, this recipe is “too delicious not to share.” I’m definitely inclined to agree.

But don’t take our word for it. Make it yourself and let me know what you think. Your family will thank me.

Baked BeansBaked Beans

Makes a shallow 9″x13″ pan

Ingredients

1 can (15 oz) lima beans
1 can (15 oz) butter beans
1 can (15 oz) kidney beans
1 can (28 oz) pork ‘n’ beans

1/2 lb bacon
1 medium-large onion, diced
2 cloves garlic, minced

3/4 cup brown sugar
1/4 apple cider vinegar
1/2 tsp ground mustard

Directions

  1. Preheat oven to 325 degrees Fahrenheit.
  2. Drain lima, butter and kidney beans.
  3. Slice the bacon into roughly 1″ pieces.
  4. In a large bowl (at least 3 quarts), combine drained beans, pork ‘n’ beans, bacon, onion and garlic.
  5. In a small bowl, whisk together brown sugar, vinegar and mustard.
  6. Pour sauce into beans and mix gently, but thoroughly.
  7. Pour beans into a 9×13 baking dish, cover tightly with aluminum foil, and bake for two hours.
  8. Remove the foil, stir gently, and bake for another hour or so, stirring every
    15-20 minutes. Beans should be nicely browned and not too runny when done.
  9. Remove from the oven and allow to cool slightly before digging in.

Baked Beans

Notes

  • This is a very forgiving recipe. Likely it will look pretty runny when you remove the foil, but it will thicken up during the uncovered baking time. If it looks too thick, you can always stir in a little water.
  • If you double the recipe use a deep dish lasagna pan OR one 9×13 pan and one 8×8 pan. Bake them at the same time but switch sides of the oven after you remove the foil.
  • In a little bit of a hurry? Raise the temp up to 375 and cut the covered baking time to 90 minutes. Uncovered time will likely be closer to 45 minutes but keep an eye on them.
  • Taking them to a potluck? Use a slow cooker to keep them warm for serving.
  • If needed, you can use regular white vinegar, but apple cider vinegar is best.
  • I love bacon, so I used the thick cut variety.
  • You can easily make this vegetarian by getting the “vegetarian” labeled pork ‘n’ beans, and leaving out the bacon.

Lemon Meringue Pie

LemonsThis week we return to the lovely summery flavor of lemon, since I successfully created a lemon meringue pie this time. As both a citrus flavor and a chilled dessert, it makes for a great summertime treat, although it’s equally delicious any other time of year.

Lemon meringue pie was the favorite of my maternal grandmother, and I made it for her birthday a couple of the years I was there to celebrate with her. Her birthday conveniently falls on Pi Day, the day before my own birthday, which make a lovely two days of meringue pie (lemon for her, chocolate for me.) Although she passed away last year, I still intend to celebrate Pi Day with lemon meringue for many years to come.

Lemon Meringue PiePerhaps the most easily screwed-up pie I’ve ever made, lemon meringue can be a daunting task for even an experienced pie baker. The easiest way to screw it up is to not cook the filling long enough, causing it not to set correctly in the fridge. It’s extremely important to heat the filling to a full rolling boil and then cook and stir for another minute or so; if in doubt go an extra thirty seconds just to be safe.

The instruction list is fairly long, but I have laid it out in the order I find to be most successful for me. I recommend reading through the entire list before starting to make sure you have everything easily accessible. The success of this pie relies somewhat on timing, and taking too long (or not long enough) between certain steps can result in a liquid filling or the meringue completely separating from the crust.

Lemon Meringue Pie

Lemon Meringue Pie

Adapted from argostarch.com
Makes 1 deep dish pie

Ingredients

Pastry for single-crust pie

1 1/2 cups sugar
1/3 cup heaping corn starch
2 cups water
5 egg yolks, lightly beaten
1/2 cup lemon juice
1 tablespoon lemon zest
2 tablespoons butter

5 egg whites
1/2 cup sugar
1 tsp corn starch

Directions

  1. Preheat oven to 450 degrees Fahrenheit.
  2. Place pastry in pie dish being careful not to stretch the dough. Trim and crimp edges.
  3. Prick pastry GENEROUSLY with a fork, all over the bottom and sides of the pan.
  4. Bake for 8-10 minutes, or until golden brown, and then cool on a wire rack.
  5. Reduce oven heat to 375 degrees, and move oven rack to bottom third.
  6. Using an electric mixer on high speed, beat egg whites until soft peaks form.
  7. Gradually add the sugar and corn starch, mixing between each addition to medium peaks. Leave in mixer bowl and start the pie filling.
  8. In a medium saucepan, whisk together sugar, cornstarch, water and egg yolks.
  9. Heat over medium heat, whisking nearly constantly until mixture thickens and reaches a boil.
  10. Continue cooking, vigorously whisking until mixture is very thick and smooth, approximately 1 minute.
  11. Remove from heat and stir in butter, zest and lemon juice until smooth.
  12. Pour hot filling into pie crust, being careful to leave room for the meringue (it weighs more than you might think!)
  13. Return to your egg whites and beat on high speed until stiff peaks form. (Tips stay straight.)
  14. Gently place the meringue over the hot filling, carefully sealing the edges completely. Swirl the meringue into peaks using a spatula or the back of a spoon.
  15. Bake for 10 minutes or until peaks of meringue are lightly browned.
  16. Cool at room temperature for about thirty minutes, and then place in the fridge for at least 3 hours before serving.

Lemon Meringue PieNotes

  • I don’t like long strings of zest in things, so I generally chop it pretty fine before adding it to anything.
  • Pricking the crust before baking helps keep it from shrinking, so don’t be afraid to stab excessively.
  • Egg whites whip best at room temperature, and make VERY certain there is no water in the bowl or on the whisk/beaters before starting.
  • It is very important to cook the filling well. If you don’t, it will look thick when you pour it in the crust, but end up as liquid after it chills. Make sure to keep stirring and heating for another 60 seconds after it boils.
  • The sooner you can get the meringue onto the hot filling, the less likely separation will occur later. (Mine always separates which drives me insane.)
  • Unfortunately, this pie will not keep long so invite some people over to help you finish it the day of baking. (It will keep one day in the fridge alright but after that the meringue doesn’t keep its light and fluffy consistency.

Honey Vanilla Greek Frozen Yogurt

Continuing my effort of finding some healthier evening desserts, I knew I needed a fast staple to replace (or more likely, supplement) my favorite French vanilla ice cream recipe. With the honey vanilla Greek yogurt being my favorite flavor, it only made sense to make a sweeter, frozen version as a slightly healthier ice cream alternative.

Honey Vanilla Greek Frozen Yogurt - closeupEven simpler than ice cream, this recipe takes only a few minutes of active preparation making it ideal to make while cleaning the kitchen (my usual method) or cooking dinner. It’s easy to serve and, to me, tastes like summer. While there is no getting around the fact that it’s frozen yogurt, I love the tangy but sweet combination. It definitely won’t be confused with ice cream, but it a wonderful addition to your frozen dessert collection.

I generally enjoy it plain, but is also delicious with fruit topping such as a handful of raspberries or a drizzle of strawberry syrup.

Honey Vanilla Greek Frozen YogurtHoney Vanilla Greek Frozen Yogurt - cup

Makes 4-5 cups

Ingredients

32 oz honey vanilla Greek yogurt
3/4 cup sugar

Directions

  1. Whisk yogurt and sugar together until thoroughly mixed.
  2. Chill in the fridge for half an hour, and then freeze according to your ice cream maker’s instructions. (Also place your freezer-safe bowl in the freezer during this time.)
  3. Transfer to a freezer-safe bowl, and allow two hours in the freezer before serving.

Honey Vanilla Greek Frozen YogurtNotes

  • I pretty much only buy the Greek Gods brand of Greek yogurt, but I imagine other brands will work just fine.
  • If, like me, you accidentally buy honey flavored yogurt instead of honey vanilla flavored yogurt, just add 2-3 tsp vanilla extract and carry on as usual.
  • You can use more or less sugar to taste, but I wouldn’t advise using less than 2/3 cup, as it could result in a much firmer texture that is hard to dish.