Hello my lovely readers, I hope the beginning of the new year is going smoothly for everyone. (If you want to get straight to the recipe, feel free to skip to the non-italicized text.) With regards to resolutions, this year I’ve decided to do something a little different. Alongside my usual set of running/baking/professional goals, I’ve decided to set a theme: mindfulness. Each month I am going to focus on being more mindful about something in my life. After reading the cookbook Run Fast, Eat Slow I have been inspired to make January’s theme into Mindful Eating.
This doesn’t mean counting calories or following a list of restricted items, but it’s more about improving my relationship with food. It’s easy to feel guilty about eating (or not eating) certain things, to rush through meals in order to move onto something else, to just make things because they’re easy and fast and not because I’m particularly excited to eat them. This month I’m going to focus on food in a way that makes me happy, both mentally and physically: taking the time to make things from scratch as well as actually slowing down and enjoying what I’m eating; having fewer meals in front of a screen; enjoying decadent items as treats not cheats; focusing on what makes me feel happy and energetic and ready for the days to come.
This is intended to be a long-term change in the way I really think about food. Although I’m not one to be exacting about my diet, I do often feel restricted by what society is touting as healthy these days. Healthy doesn’t necessarily mean low-fat or low-calorie, carbs are not the devil and sugar isn’t the end of the world. Certainly I am going to be mindful of eating unnecessary added sugar, but I already know a low-carb diet doesn’t work that great for me, fats are important for flavor and staying power, and I want every calorie I eat to come from something I enjoy. I will no longer be describing anything as “guilt-free” because food should not be inherently shameful. I would love to hear your thoughts on this endeavor, should you be willing to share them. (Also I highly recommend the book, and you can expect to see some of those recipes on here in the coming months.)
In light of that, today we have another recipe that I made mostly out of curiosity. Consistent readers (and anyone that knows me in real life) will know that I don’t bake anything dairy-free, gluten-free, flourless, or vegan with any amount of regularity because these are not food traits I personally find important. I am, however, often intrigued by such recipes and will make them on occasion just for funsies.

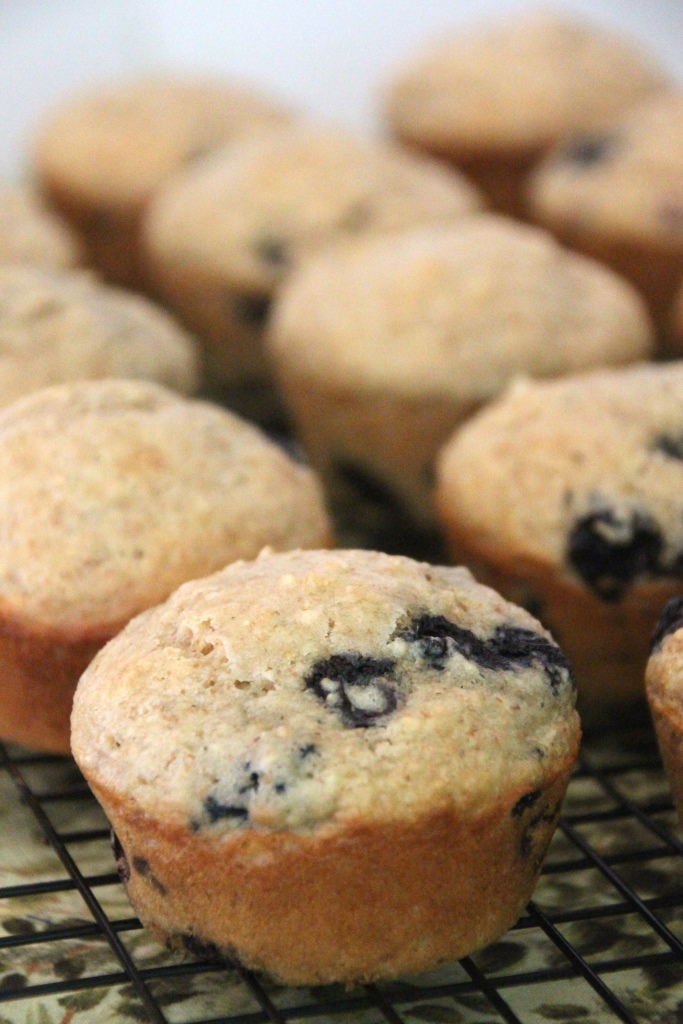
The original recipe called for things I don’t buy, like self-raising flour, coconut sugar, and almond meal, but I followed her modification suggestions and made a few of my own to tailor the recipe for myself. I replaced some of the flour with ground oatmeal for a heartier flavor, nixed the almond meal in favor of chia seeds, and used regular ole’ brown sugar instead of coconut sugar. I cut the sugar way back since I was figuring the banana adds a fair amount of sweetness (and because I already have my favorite sweeter scones) and added some whole oatmeal for texture.

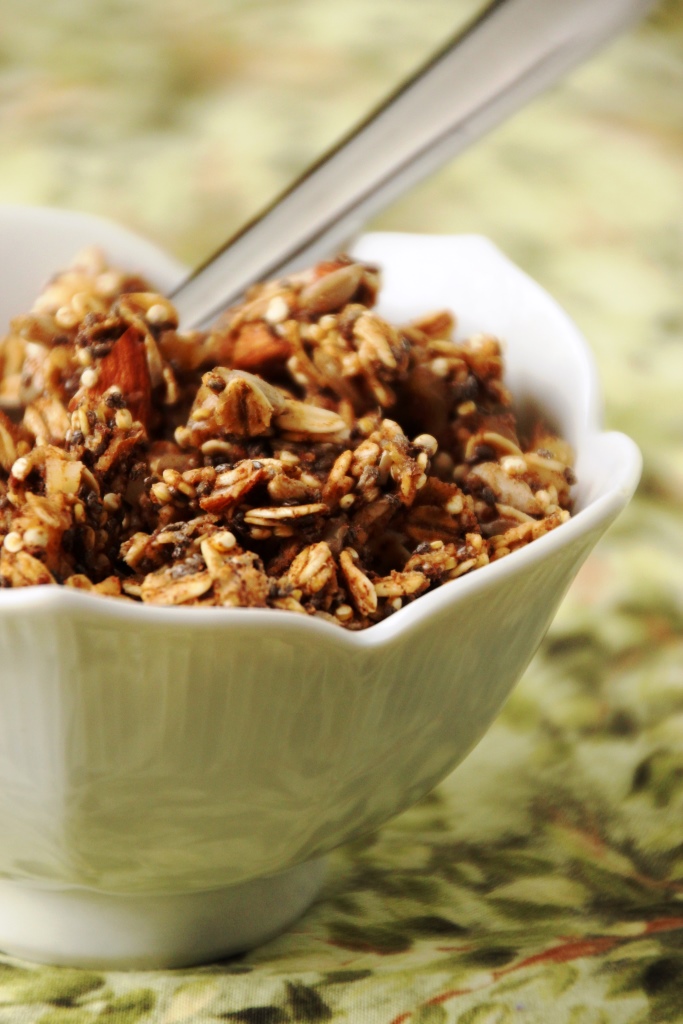
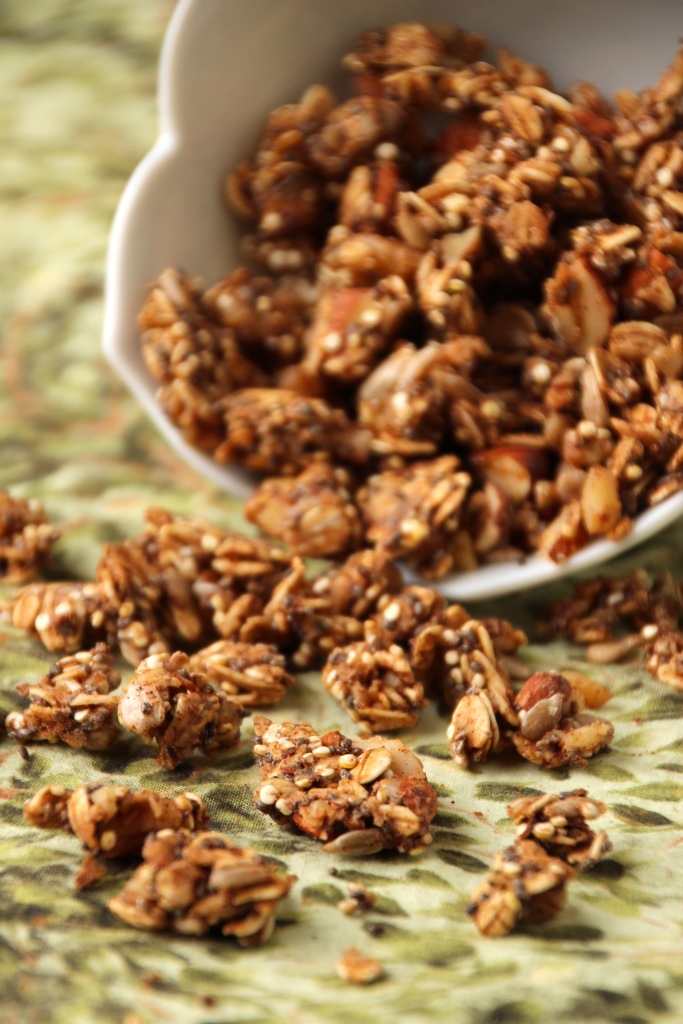
A few weeks ago I found some cacao nibs on massive clearance, and bought two of the bags. They were a great addition to these scones, no extra sugar but a little bit of chocolate flavor to enhance the banana. However they are definitely not cheap so feel free to leave them out or use mini chocolate chips as a more decadent replacement.
These scones are fairly dense but soft and moist and delicious. They are also pretty healthy, with low amounts of added sugar and a little bit of protein and good carbs from the oatmeal. Probably you shouldn’t eat three of them, but one is a perfect light-ish breakfast, especially when paired with a cup of coffee.

I made these a few times and below is my favorite of those iterations. It can be baked into regular size or mini scones, depending on your preferences and whether you plan to serve them solo or as part of a fuller breakfast. They’re also easily portable and a great brunch option, although I think they’re best slightly warmed.
The banana and oatmeal combination is delicious by itself or topped with any number of toppings. Jam or butter and cinnamon sugar were my favorites, but mostly I ate them plain. I especially like the less sweet version if it’s going to be spread with a sweet topping anyway, but you can definitely increase the sugar here if you prefer.

Give these a try and let me know what you think, and if any of your friends could guess they were vegan.
PS – These can be made gluten-free by using gluten-free flour and uncontaminated oats, and they are vegan/dairy-free unless you use normal chocolate chips, although I’m sure there are vegan/dairy-free versions of those out there you could substitute with.
Banana Scones
Adapted from OmNomAlly
Makes 12-16 mini or 6-8 large scones
Ingredients
2 large, overripe (~300g) bananas
1/2 cup (120 mL) coconut oil, melted
1/4 – 1/3 cup (40-60g) lightly packed brown sugar1
2 Tbsp (20g) chia seeds
1 tsp vanilla
1 1/4 cups (190g) all-purpose flour (use almond flour for gluten-free options)
1 1/2 cups oatmeal (120g), finely ground2
1/2 cup (40g) oatmeal, whole
1 Tbsp baking powder
3/4 tsp salt
1/4 cup cacao nibs, optional3
Directions
- Preheat oven to 400 degrees Fahrenheit. Line a baking sheet with a silicon mat or parchment paper.
- In a large bowl, mash banana completely. Add coconut oil (microwave briefly if it’s not already mostly liquid), brown sugar, chia, and vanilla. Whisk until well combined, then let rest at least 3 minutes, or until chia seeds have softened.
- Add flour, both ground and whole oatmeal, baking powder, salt, and cacao nibs (or chocolate chips), and stir until completely combined. Mixture will be a little loose and quite sticky, but should be solid enough to hold its shape.
- Pour onto prepared baking sheet and shape into rounds about 1″ tall. Use two rounds for mini scones, or one for large scones. Use a pizza cutter or a sharp knife to cut rounds into 6 or 8 wedges.
- Bake until golden on top and slightly browned on the bottom, about 20 minutes. Be careful not to over bake; they are better slightly too moist than slightly too dry.
- Serve warm. Great plain, with butter and cinnamon sugar, or your favorite jam. Store leftovers in an airtight container on the counter up to 3 days, but they are best on day one.
Notes
1 For sweeter scones, especially if you’re going to enjoy them plain, use the larger amount, or up to 1/2 cup. For less sweet scones, especially if you’re going to doctor them with jam, use the smaller amount. I personally like 1/4 cup best even plain, but the masses may prefer a sweeter option.
2 Use a blender to grind 1 1/2 cups of the oatmeal into a powder. Leave 1/2 cup as normal for texture. =)
3 Cacao nibs are a great way to add a little chocolate flavor without the sugar and calories of chocolate chips. They are quite mild but delicious in baked goods. However for a more decadent treat, or if you don’t have cacao nibs on hand, you can substitute mini chocolate chips for delicious results, or leave them out entirely.