
Happy July! In addition to my usual series for National Ice Cream Month, I am also bringing to you a simple series on cold brew coffee: how to make it and ways to use it. The recipes will be quick but I hope they will become staples in your future! Check back each Wednesday for a quick coffee endeavor, and follow up on Friday with the latest ice cream adventure. Hope you enjoy!
About two years ago I discovered the glorious world of cold brew coffee. Admittedly, I took forever to board the train for this latest fad largely because I don’t drink a ton of iced coffee and even to this day I always see cold brew served cold, especially in restaurants. If you, too, have been skeptical on the awesomeness of this adventure, I am here to entice you into joining. It feels a bit silly posting something so easy as a 4-part series, but hopefully what I’ve learned along the way makes it that much easier for you to get started.
For years I have rarely consumed more than one cup of coffee per day, possibly two on some truly exhausting occasions. Since M is not a coffee fan, making standard drip coffee for one started to feel inefficient and wasteful. Resigning to try this fancy shmancy cold brew thing, I gave it a shot.
As it turned out, I *loved* that coffee. No bitterness, extremely smooth, and with the discovery that I could make a super strong concentrate and combine it with boiling water for my usual hot morning beverage, I finally boarded the cold brew coffee train. However, the process was messy, time-consuming, and honestly just kind of exhausting. Coffee filters were too small to use in the quantities I was making, and straining the ground afterwards through paper towels and coffee filters was tedious and slow and not something I wanted to do every couple of weeks.
After trying a mesh filter for my pitchers with mediocre results1 (it didn’t have great circulation, and I still had to strain out the silty texture), I discovered my new best friend: the CoffeeSock. With stellar reviews and a pretty inexpensive price, I quickly ordered one to try out. Nearly two years later, it’s still a perfect fit.
Easy, reusable, perfectly strained, and consistently delicious results make this one of the best things I’ve ever bought. It takes only a few minutes active time to set a batch brewing, and even less to finish the process a few days later. I love that there’s no disposable waste and that it doesn’t allow a strange texture to seep through the cloth. And, of course, it makes great tasting coffee.
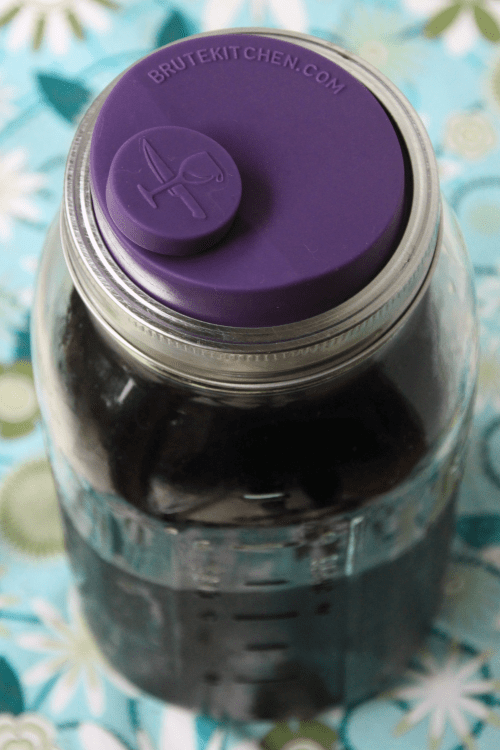
If you’re interested in cold brew I highly recommend this product, and for ease of pouring later these silicon jar lids are fantastic. They make it way easier to pour out of the large jar and keep everything nice and fresh for as long as it lasts in your fridge. For me, this size batch typically lasts about 3 weeks so I can vouch for freshness for at least that long.
Using cold brew is pretty straightforward but just for fun I’m going to split my favorites out into their own posts. Get a batch brewing in your fridge then check back next Wednesday for my most-used “recipe”!
PS – I don’t get anything if you purchase those products; I just really love them!
Cold Brew Coffee 101
Makes about 1.5 quarts
Ingredients
6 oz ground coffee (about 2 cups, regular drip grind or slight coarser)
Cold water
Suggested Equipment
2-quart CoffeeSock Kit
Brew Armor lid
Directions
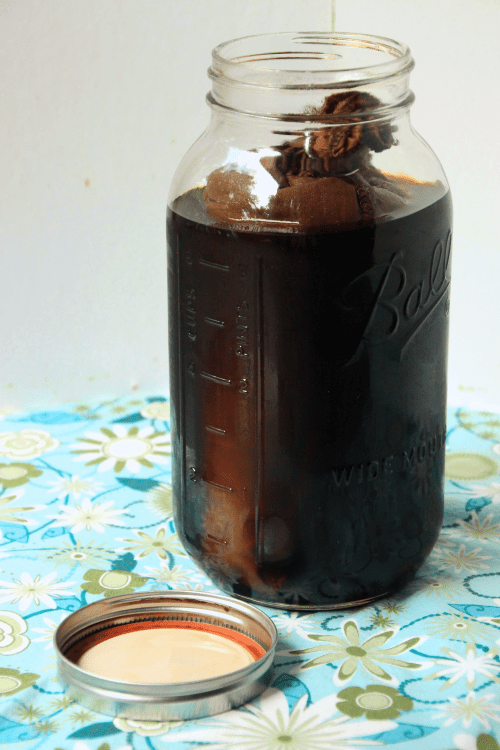
- Drape a CoffeeSock over the edge of your Mason jar and fill with 6 oz of ground coffee.
- Slowly stream cold water through the grounds until the jar is full. Do not try to do this quickly, just let it slowly soak through the coffee.
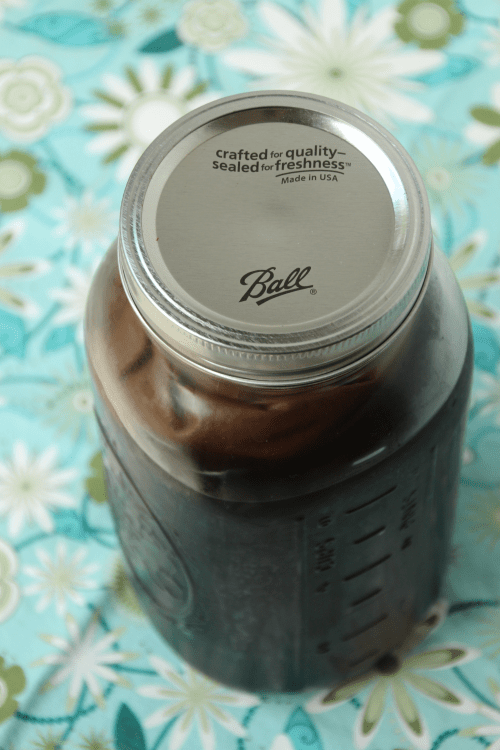
- Tie off the CoffeeSock (or cheesecloth) so the grounds stay contained, then put the lid on the Mason jar.
- Place in the fridge for 2-4 days, I like to put a sticky note with the date I started brewing onto the jar. Occasionally flip the jar upside down to better circulate the water inside.
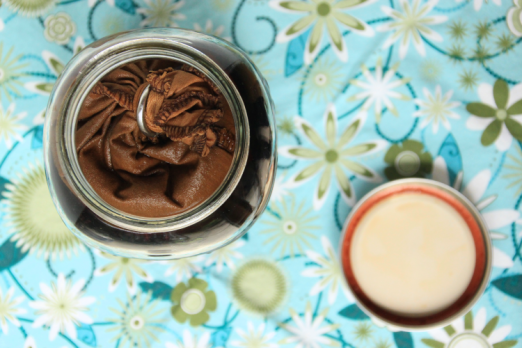
- When coffee has reached your desired strength (I usually do around 3 days, sometimes as many as 5 depending on how full life is at the moment), remove the CoffeeSock from the jar and squeeze to get as much of that extra strength coffee back into your jar as you can.
- Discard grounds into the trash (or your garden), thoroughly rinse the cloth, and hang to dry.
- Return coffee to fridge until ready to enjoy. Recommend a Brew Armor lid or similar for easy pouring!
Notes
1 Works great for sun tea though!

Great blog I enjoyed reeading
Pingback: Maple Latte Ice Cream | Baking Bytes
Amazing..thank you for sharing
Visit my blog please ❤️❤️
Pingback: chocolate coffee latte – Best kopi
Pingback: Coffee Concentrate by Baking Bytes – Cooking Up a Storm With Miss Polly
Pingback: Cold Brewed Coffee: “Latte” | Baking Bytes
Pingback: Cold Brewed Coffee: Vanilla Iced | Baking Bytes
Pingback: Cold Brewed Coffee: Served Hot | Baking Bytes