Choose Your Own Adventure Scones

Blackberry Dark Chocolate Chip Scones {{Baking Bytes}}Welcome to May, my lovely readers. Apologies for the April hiatus, I got busy and blah blah all the usual excuses. However, I’ve been working on some new recipes for the summer and I’m excited to share them with you over the coming months.

Raspberry White Chocolate Chip Scones {{Baking Bytes}}

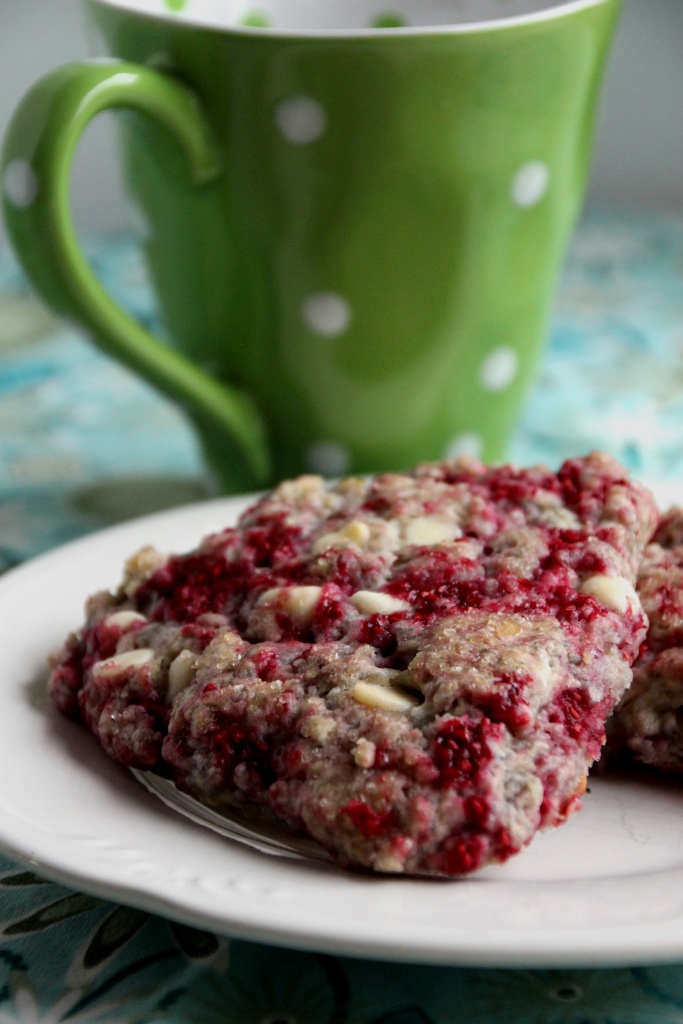
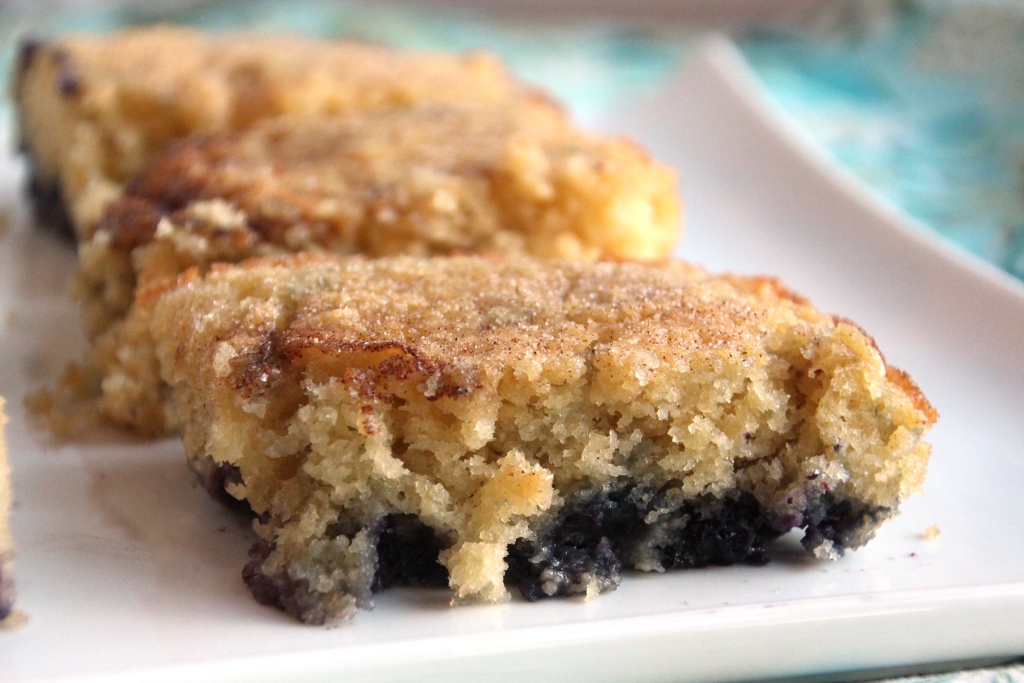
In the meantime, I’ve been craving scones lately and wanted to get some berry action given the unseasonably warm weather we’ve been having here in Montana. I hopped over to Pastry Affair since I was pretty sure she’d have a great recipe, and boy was I right. Incredibly moist, bursting with berries, and boasting the added delight of white chocolate chips, these scones were exactly what I was looking for. Perfect for dessert, breakfast, or snack, they’re delicious at any time of day. Serve them solo with coffee as the main event, or in conjunction with eggs and sausage for a fuller breakfast.

Blackberry Dark Chocolate Chip Scones {{Baking Bytes}}

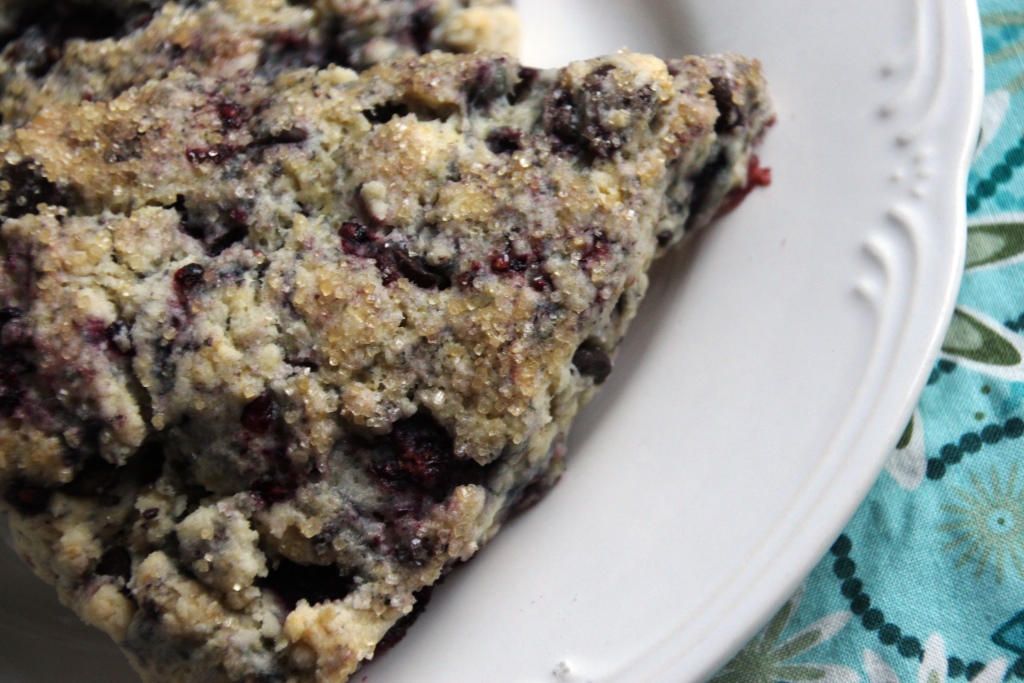
As fragile as raspberries are, even my frozen ones became somewhat muddled in the dough, but I think this only adds to the aesthetic as well as resulting in a perfect raspberry flavor in every bite. (The lovely pink color would make them extra adorable for Valentine’s Day, if you’re in to that sort of thing.) The dough was annoyingly sticky, I’ll admit, but an extra hand washing is well worth it in the end. In fact, I enjoyed them so much that the next day I made another batch with blackberries and dark chocolate chips. I think they’d be awesome with many combinations of berries and baking chips, so play around with the flavors and report back with your favorites.

Blackberry Dark Chocolate Chip Scones {{Baking Bytes}}

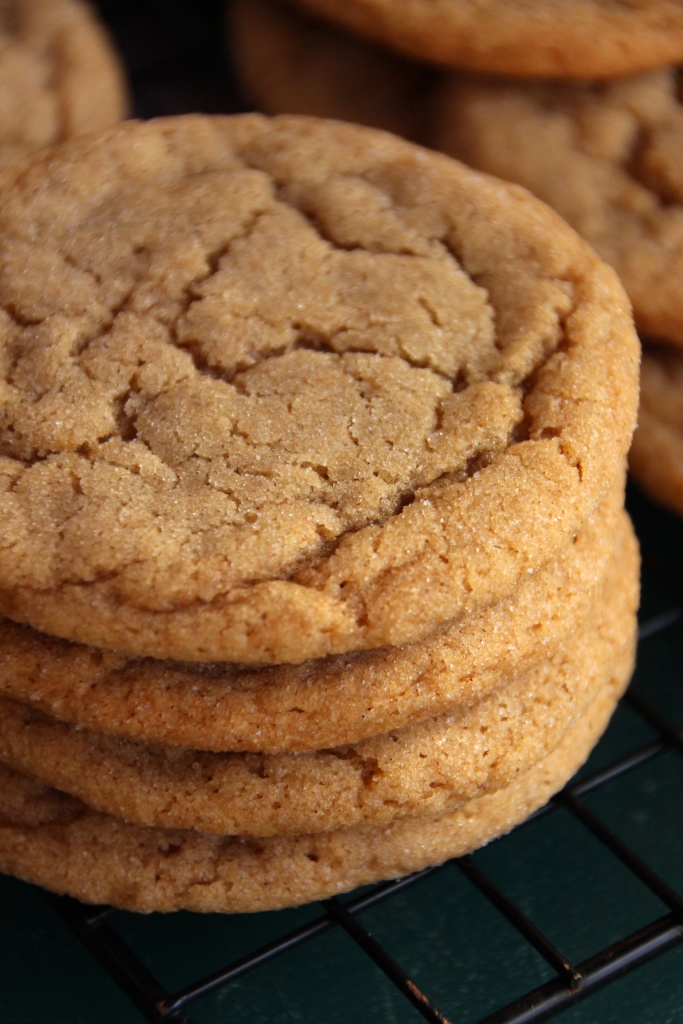
Scones are something I never much enjoyed until I went to Scotland in 2009, and it was shortly after that when I found my go to recipe for cinnamon sugar scones. I love that recipe because it’s simple and super quick, but this one will definitely be added to the repertoire for a “berrylicious” alternative.

Raspberry White Chocolate Chip Scones {{Baking Bytes}}

As you are likely aware, Mother’s Day is this coming Sunday. As I eat these scones, and write this post, I think about my mom and how much she has molded me and helped me throughout my life. Even now, she graciously proofreads all my posts and offers her own opinions and tweaks when she tries the recipes. I am so grateful for her being such an amazing person in my life and I wish I could bring her some of these scones to start off a day of celebrating her. But since we’ll be about a thousand miles apart this weekend, I guess a phone call will have to do.

Blackberry Dark Chocolate Chip Scones {{Baking Bytes}}

Thanks Mom. =)

Raspberry White Chocolate Chip Scones {{Baking Bytes}}

Choose Your Own Adventure Scones

Borrowed from Pastry Affair
Makes 8 scones

Ingredients

2 cups all-purpose flour
2 Tbsp sugar
1 Tbsp baking powder
1/2 tsp salt

6 Tbsp butter, softened

1 rounded cup frozen berries (do not thaw)1
1/2 cup baking chips (white chocolate, chocolate, etc)2

1/3 cup heavy cream
1 tsp vanilla
1 large egg

raw or granulated sugar for topping

Directions

  1. Preheat oven to 350 degrees Fahrenheit. Line a baking sheet with a silicon mat and lightly dust with flour. Set aside.
  2. Whisk together flour, sugar, baking powder, and salt in a large bowl.
  3. Use your fingers to mix in butter until well distributed and texture is like fluffy but damp sand.
  4. Gently stir in berries and chips. Set aside.
  5. Whisk together remaining ingredients in a small bowl. Pour over dry mixture and gently mix until combined. You will likely need to use your hands and it will be very sticky – this is annoying, but normal and oh so worth it.
  6. On your lightly floured silicon mat, flatten dough into a circle about one inch thick. If you like, sprinkle on some raw sugar.
  7. Cut into eight wedges (I like to use a pizza cutter) and gently spread to at least one inch apart on the baking sheet using a spatula dipped in flour. Wipe up extraneous flour if there’s a lot of extra.
  8. Bake 25-30 minutes. Scones should no longer look wet and the bottoms will be lightly browned. Cool at least a few minutes before serving; they are also delightful at room temperature.
  9. Store covered but unsealed at room temperature. (If you seal them they will get sticky. I promise they will stay moist overnight. If you have pets or bugs you can cover them with a cloth or lid – just not anything airtight.)

Notes

Raspberries and blackberries have both been awesome. I cut some of the larger blackberries in half but that’s not strictly necessary. Blueberries or cranberries would also be great.

The full half cup makes the scones quite sweet, so feel free to use a smaller amount (or leave them out entirely) if you don’t want quite as much sugar.

Blueberry Boy Bait (two ways)

Spring has definitely sprung over here with a high of 72 yesterday (followed by a couple inches of snow this morning), and the warm weather has gotten me thinking about the berry pies and lemony goodness that become more popular in the coming season. I decided something blueberry was definitely in order and perused my bookmarks and Pinterest boards in hopes of seeing something that piqued my interest.

Blueberry Boy Bait {{Baking Bytes}}

It didn’t work (ha) but I did ultimately remember a fabulous blueberry dish I made at home several years ago called Blueberry Boy Bait. The name has always made me giggle and the dish is amazing. A quick Google search brought me right to the lovely post from Smitten Kitchen I so fondly recalled.

Before we get much further, please bear in mind there is absolutely nothing healthy about this. It’s cake. I know there’s no frosting, but it’s like 90% butter (slight exaggeration) and 100% delicious and you should definitely make some. Just know that this is not a health food, and if you’re looking for one of those you should bake some Blueberry Oatmeal Muffins instead.

Blueberry Boy Bait {{Baking Bytes}}

Still here? Excellent. Rich and buttery, fluffy and moist, brimming with blueberries, and topped with a cinnamon & sugar coating I always adore, it’s hard to have just one piece. After making it again, I’m honestly not sure why I waited so long and it will definitely be put in a more regular baking rotation. It pairs equally well with a cup of coffee for breakfast or snack, and a glass of milk for dessert. Or a handful straight from the cooling rack to your mouth because you “accidentally” didn’t grease the pan well enough and had to hide the evidence.

Blueberry Boy Bait {{Baking Bytes}}

The blueberries do always sink to the bottom for me, but I consider this a feature rather than a problem, as it results in a perfectly proportioned cake-to-blueberry ratio with every bite. The cake is somewhat fragile, so be careful removing it from the pan. If you’re concerned about presentation, you could bake them in a muffin tin with paper liners instead, but I have not personally tried this.

Blueberry Boy Bait - Lemon {{Baking Bytes}}

Since spring was in the air, I tried a lemony version as well. I definitely prefer the original, but this is a nice alternative if you’re in the mood for it.

Blueberry Boy Bait

Adapted from Smitten Kitchen
Makes 8×8″ dish

Ingredients

1/2 cup unsalted butter, room temp
1/4 cup packed brown sugar
1/4 cup white sugar

1 cup flour
1 1/2 tsp baking powder
1/2 tsp salt

1 egg

1 cup whole milk (2% worked great)

1/4 cup blueberries, fresh or frozen (do not thaw)
1 Tbsp flour

1/4 cup sugar
1/2 tsp ground cinnamon
1/4 cup blueberries, fresh or frozen (do not thaw)

Directions

  1. Preheat oven to 350 degrees Fahrenheit. Grease an 8×8″ baking dish and line the bottom with parchment paper. Grease the paper too.
  2. Add butter and sugars to the bowl of an electric mixer and beat for about two minutes on medium-high speed until light and fluffy.
  3. Meanwhile, whisk together flour, baking powder, and salt in a small bowl. Set aside.
  4. Add eggs to butter mixture one at a time, mixing until just incorporated and scraping the bowl between each one.
  5. Alternate adding flour (1/3 at a time) and milk, starting and ending with flour.
  6. Toss 1/4 cup blueberries with remaining one tablespoon flour and fold into batter. (It won’t look like enough, but I promise it doesn’t need more.)
  7. Spread into prepared pan and sprinkle additional 1/4 cup blueberries onto the batter. Mix together sugar and cinnamon and sprinkle about half over the top.
  8. Bake about 35 minutes or until a toothpick comes out clean and the top doesn’t look super wet.
  9. Immediately sprinkle with additional cinnamon & sugar topping (optional but recommended). Cool at least 20 minutes in the pan before serving.
  10. Attempt to not eat the entire pan in one sitting, but fail deliciously.

Blueberry Boy Bait - Lemon {{Baking Bytes}}

Lemon Blueberry Boy Bait

Make as above except substitute 3 tablespoons of milk with lemon juice. Omit cinnamon sugar topping. Whisk 3/4 cup powdered sugar with 1-2 tablespoons lemon juice and use to lightly glaze cooled cake.

Mint Grasshopper Brownies

For my first two years of college I lived on campus, which meant living off dining hall food. For the most part this was just fine because we had unlimited eating and entries, and a pretty wide variety of things to eat. I’ll admit some things were less edible than others and the menu got very repetitive after a while, but overall it was great. There are definitely days where I wish someone else was in charge of what I eat for dinner. (Excepting dessert I am a pretty lazy cook, if you’re new here.)

Grasshopper Brownies {{Baking Bytes}}
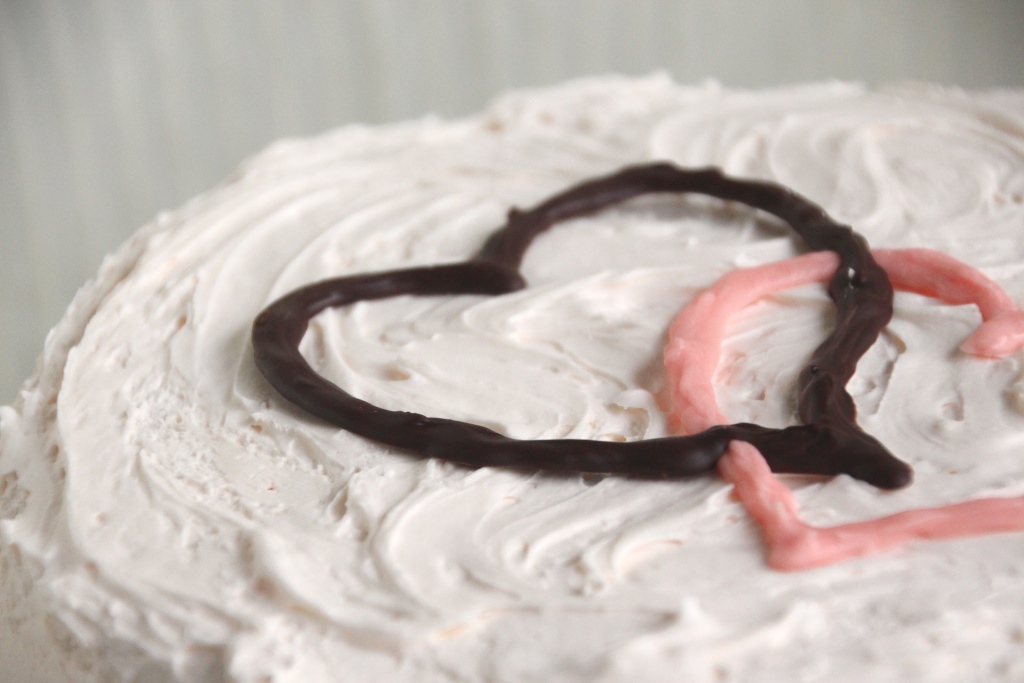
In any case, one thing they did great was dessert. In particular, mint brownies. These were hands down the favorite of M and he used to watch the menu for Mint Brownie Day (as he called it) so he could be sure to have as many as possible. I will admit they were quite delicious even though I’m not normally a fan of frosted brownies.

I have since tried several recipes in an attempt to recreate them, and while I’ve not been 100% successful, this recipe is pretty dang good. Chocolatey brownie, creamy mint, shiny ganache, and best of all: no melting anything on the stove. I’m very lazy when it comes to brownies because there’s really nothing that beats the Ghirardelli box mixes in taste, texture, or convenience. But I decided to do the from-scratch thing on a whim because it’s good to remind myself I can actually make brownies for real.

Grasshopper Brownies {{Baking Bytes}}The first recipe I tried was kind of a pain in the butt. All three pieces required melting chocolate and/or butter on the stove and, well, ain’t nobody got time for that. The mint filling was also a bit less dense than I was looking for so I decided to try a new recipe. (The brownie portion was, however, extremely delicious when frozen so if you’re in a mood for melting chocolate, head on over to Love and Olive Oil.)

Grasshopper Brownies {{Baking Bytes}}Two weeks later, after searching Pinterest high and low, I Frankensteined together my own recipe from three separate ones. Dense chocolatey brownie, creamy mint frosting, and that same shiny ganache come together in a delightful combination with no stove required. The lazy baker in me is thrilled about that last bit.

Below find the recipes for each layer with my adaptations. These freeze great so make a batch, pop in the freezer, and enjoy at your leisure. They are pretty rich so likely they’ll last you awhile, but I certainly won’t judge you if they don’t.

Grasshopper Brownies {{Baking Bytes}}Grasshopper Brownies

Adapted from Your Cup of Cake (brownie), How Sweet Eats (mint filling), and Love and Olive Oil (ganache)
Makes 16 brownies (8×8 pan)

Ingredients

Brownies
1/2 cup unsalted butter, melted
3/4 cup sugar
1/4 cup cocoa powder
1 tsp vanilla

2 eggs

3/4 cup flour
1/4 tsp salt

1/4 cup mini chocolate chips (optional)

Mint Filling
1 cup powdered sugar
1/4 cup unsalted butter, melted
1 tsp vanilla
1-2 Tbsp Crème de menthe

Chocolate Ganache
1/3 cup chocolate chips
1/4 cup unsalted butter

Directions

  1. For the brownies: Preheat the oven to 350 degrees Fahrenheit. Line an 8×8″ pan with parchment paper and spray with cooking spray. Set aside.
  2. Combine butter, sugar, cocoa, and vanilla in the bowl of a stand mixer. Stir together on low until well combined.
  3. Add eggs one at a time and mix well after each one. Mixture should be pretty smooth.
  4. Add flour and salt and mix until just incorporated. Stir in chocolate chips, if desired.
  5. Spread evenly into prepared pan and bake for 25 minutes, checking a few minutes early to make sure they don’t over bake. A toothpick should come out a teensy bit wet.
  6. Let brownies cool completely before frosting.
  7. For the mint filling: In the bowl of your stand mixer, combine powdered sugar, butter, and vanilla. Mix until completely combined and fluffy.
  8. Add desired amount of Creme de menthe, mixing well on high speed each time. Filling should be fluffy and somewhat lightened in color when it’s ready (this will take a minute or two).
  9. Spread on top of cooled brownies and place in the freezer while you make the chocolate ganache.
  10. For the ganache: Put chocolate chips and butter in a microwave-safe bowl, heat for 30 seconds, stir, and repeat 3x or until mixture is completely smooth.
  11. Pour chocolate topping over the mint frosting and gently tilt the dish to coat entirely. Let sit on the counter (or in the freezer) until chocolate has set. Cut and serve immediately or cover and return to the freezer for storage.
  12. For pretty slices: Gently cut forward and back until you are through the ganache, then press firmly down, wiping off the knife if anything sticks to it. This will prevent the chocolate from cracking. Photography tip: Pick up from the sides to avoid fingerprints.

Champagne Layer Cake

Champagne Cake {{Baking Bytes}}I hope you cherished or survived your Valentine’s Day, depending on where you stand with the so-called holiday. My anniversary with M happens to fall on this overly Hallmarked date and on that Saturday we celebrated six years together. We celebrated with a bike ride given the ridiculous lack of winter but it was a wonderful day nonetheless. M makes dinner (usually Swedish meatballs; yum) and I make a layer cake.

Champagne Cake {{Baking Bytes}}

I’ve made chocolate and raspberry and peanut butter and chocolate, as well as other delicacies not featured on this blog, and all were very delicious. This year, however, I was looking for something different. I perused Pinterest and implored the masses on Facebook, and happened across a scrumptious-sounding champagne cupcake on Sprinkle Bakes. Obviously I was looking to build a layer cake and not cupcakes, but the recipe looked easily adaptable. Just in case, I questioned Heather, the brilliant author of SB. Not only is she a brilliant blogger, but she’s a delightful person and promptly assuaged my very minimal doubts. Next step: buy champagne!

Champagne Cake {{Baking Bytes}}

I chose a bottle of Barefoot Bubbly Pink Moscato Champagne, because I like Barefoot wine and a sweet champagne seemed like a solid plan. As a bonus, the reduced champagne in the frosting tinted it a very pale pink which I felt was appropriate given the occasion. Although it seems like a lot of steps, each part of this cake came together easily and could definitely stand on its own. Together, however, they create a supremely champagne experience without feeling like you’re getting drunk off dessert. (Not that getting drunk off dessert is necessarily a bad thing. Pudding shots, amiright?)

Despite having nearly the entire bottle within the various pieces, it’s still a fairly light cake. The taste of champagne is definitely prominent but not overwhelming, and I felt it was a welcome change to the usual chocolate confections. I think M was a little disappointed it’s not the kind of cake you pair with ice cream, but I promised to make it up to him on his birthday.

Champagne Cake {{Baking Bytes}}

A soft crumb and a custard filling enveloped in a fluffy frosting make for a textural dream in addition to the totally different but amazing flavor. It would be an especially lovely ending for a dinner party if you’re a classy folk but would be great for any special occasion. If you’re looking to switch it up from all the usual flavors, this is the cake for you.

Champagne Cake {{Baking Bytes}}

Champagne Cake

Adapted from Sprinkle Bakes
Makes one 9″ cake

Ingredients

1 cup butter, room temp
2 cups granulated sugar

4 eggs
2 tsp vanilla

3 1/2 cups flour
1 tsp baking soda
1/2 tsp baking powder
1/2 tsp salt

1 cup sour cream
1 cup champagne

Directions

  1. Preheat oven to 350 degrees Fahrenheit. Butter and flour two 9″ cake pans, lining the bottoms with parchment paper. (Butter and flour the paper as well).
  2. Cream  together butter and sugar in the bowl of a stand mixer until light and fluffy.
  3. Add eggs one at a time, mixing completely after each one. Mix in vanilla.
  4. In a medium bowl, whisk together flour, baking soda, baking powder, and salt. Set aside.
  5. In another bowl, whisk together champagne and sour cream. Mixture will be fizzy.
  6. Starting and ending with the flour, alternate adding it and the sour cream mixture to the stand mixer. Batter will be thick.
  7. Divide evenly between prepared cake pans (about 3.5 cups of batter per pan) and bake for 30-35 minutes. Cake will brown but that’s okay! Allow to cool for 10 minutes in the pan, then remove to a wire rack to cool completely. Freeze completely cooled cake layers for 30 minutes or until ready to use.

Champagne Cake {{Baking Bytes}}

Champagne Cream Filling

Makes about 2 cups

Ingredients

1/4 cup heavy cream
1/2 cup champagne
1/4 cup + 1 Tbsp sugar

1/4 cup heavy cream
2 Tbsp cornstarch
1 egg + 2 egg yolks

2 Tbsp unsalted butter
1 tsp vanilla

Directions

  1. Combine 1/4 cup heavy cream, champagne, and sugar in a medium sauce pan. Bring to a boil over medium-high then remove from heat.
  2. In a small bowl, whisk together 1/4 cup heavy cream and cornstarch, then mix in the eggs and egg yolks.
  3. Slowly stream in one third of the hot champagne mixture, whisking constantly so the egg doesn’t cook.
  4. Bring the remaining champagne and heavy cream mixture to a boil again, then stream in the egg mixture, whisking constantly until it thickens to a pudding-like consistency.
  5. Remove from the heat and stir in butter and vanilla.

Champagne Cake {{Baking Bytes}}

Champagne Buttercream Frosting

Makes just enough for one 9″ double-layer cake

Ingredients

1 cup champagne

1 cup butter, room temp
2 1/2 cups powdered sugar

1 Tbsp champagne

Directions

  1. In a small saucepan over medium-high heat, reduce 1 cup of champagne to 2 tablespoon. Pour into a small bowl and allow to cool.
  2. Add butter and sugar to the bowl of a stand mixture and mix briefly by hand to incorporate the sugar.
  3. Cream together with the whisk attachment until mixture is well combined and fluffy, scraping the bowl once or twice as necessary.
  4. Mix in reduced champagne and additional tablespoon of champagne from the bottle.

Assembly Instructions

Ingredients

2 champagne cake layers
1 batch champagne filling
1 batch champagne buttercream frosting

Directions

  1. Prepare a cake board, trimming if necessary.
  2. Level cake layers. Place a small amount of frosting on the cake board and gently press one cake layer on top.
  3. Evenly spread desired amount of filling on the cake (I used the whole batch), then gently press the second layer on top (cut side down) making sure it’s level. Then use a spatula (or your finger) to ensure the edges are smooth.
  4. Spread and/or pipe the frosting on the cake, and decorate as desired.

Notes

This was barely enough frosting to spread on the cake. If you intend to do any piping or you like a lot of frosting, I recommend making 1.5 batches.

Cinnamon Brown Sugar Cookies

Hello friends, hope you’ve successfully made the switch to February. Bozeman leaped right passed it into April as we continue to have weather in the 50’s. As someone who actually enjoys winter, and skiing, and cold-weather running, I find this very depressing. I also am hoping this does not mean we have a hellish summer ahead of us or I think I’ll move back to Alaska for July.

In any case, cookies. With Valentine’s Day quickly approaching, Pinterest and the rest of the internet has been overrun with pink and chocolate. I decided to ignore all of these things and make something completely different this weekend.

Cinnamon Brown Sugar Cookies {{Baking Bytes}}

These cookies are soft and have a wonderful brown sugar flavor spiced with cinnamon. Kind of a cross between snickerdoodles and gingersnaps, they are a simple pleasure and a delightful treat for any time of year. They do require a couple hours of chilling, but I expect I’ll be making these pretty often in spite of that. Bonus: for those of you without a stand mixer, these cookies are mixed by hand – no electricity required.

Cinnamon Brown Sugar Cookies {{Baking Bytes}}

The original recipe called for dark brown sugar but I only had light on hand. They are delicious regardless but I imagine they’d be extra flavorful if you’ve got the dark option lying around.

As a fall or winter refreshment these go great with coffee or hot chocolate. If you’re looking to cool them down for summer activities, they are awesome as ice cream cookie sandwiches. Just put a scoop of softened ice cream on a cookie, and press another cookie on top until the ice cream is spread out to the side. Serve immediately or store in the freezer, but pull them out a few minutes early before serving. Yum!

Cinnamon Brown Sugar Cookies {{Baking Bytes}}

Cinnamon Brown Sugar Cookies

Adapted from Sally’s Baking Addiction
Makes about 22 cookies

Ingredients

2 1/4 cups all-purpose flour
1 tsp baking soda
1 1/2 tsp cornstarch
1/2 – 1 tsp cinnamon (I used a whole tsp)
1/4 tsp salt

3/4 cup unsalted butter, melted
1 1/4 cups brown sugar, lightly packed
1 egg, room temp
2 tsp vanilla

2 Tbsp white sugar

Directions

  1. In a medium bowl, whisk together flour, baking soda, cornstarch, cinnamon, and salt. Set aside.
  2. In a small-medium bowl, whisk together melted butter and brown sugar until completely combined. Add eggs and vanilla and whisk thoroughly.
  3. Add wet mixture to dry and use a rubber spatula to stir until completely mixed. Dough will be wet and soft but should be thick. Cover and chill for at least 2 hours.
  4. Pour 2 Tbsp sugar into a bowl or deep plate. After dough has chilled, roll 2 Tbsp dough into a ball, then roll in the sugar to coat. Repeat with remaining dough.
  5. Return dough balls to the refrigerator, preheat oven to 325 degrees Fahrenheit, and line baking sheets with silicon baking mats or parchment paper.
  6. Bake cookies for 12-16 minutes. They will look soft and puffy but should not look super wet in the cracks. For extra soft cookies, use the lower end of the range; for a slight crunch on the outside, use the upper end.
  7. Cool on baking sheets for a few minutes, then remove to a wire rack.
  8. Cookies stay soft for several days in an airtight container on the counter…assuming you haven’t eaten them all already.

Notes

To quickly bring an egg to room temperature, place it in a cup of warm water for 5-10 minutes.