
Week three already, can you believe it? This week we are diving headfirst into decadence with a peanut butter and chocolate confection. Regular readers have probably noticed that peanut butter is something I consider to be a staple food. I eat it at least once a day, usually spread atop an English muffin with a dusting of cinnamon and sugar (my standard breakfast), or as a dip for a sliced apple sprinkled with cinnamon (my go-to work snack). I never grow tired of peanut butter, whether I’m eating it straight out of the jar or in a more complicated creation. I even took my own jar of Jif when I spent six weeks in Japan, having learned from my Scotland semester abroad that peanut butter is not quite as common in other parts of the world. (My mom saved the day by mailing me a jar to Scotland so I could eat all the PB&J I wanted, much to the confusion of my British flatmates and friends.)
In any case, peanut butter is a big deal here in the home of Baking Bytes. M almost always tops his preferred flavor of vanilla ice cream with chocolate sauce, peanut butter, and a banana. (According to him, the banana makes it healthy.) I thought this week I’d try combining some of those flavors into one sweet treat, namely peanut butter ice cream with a chocolate ripple.
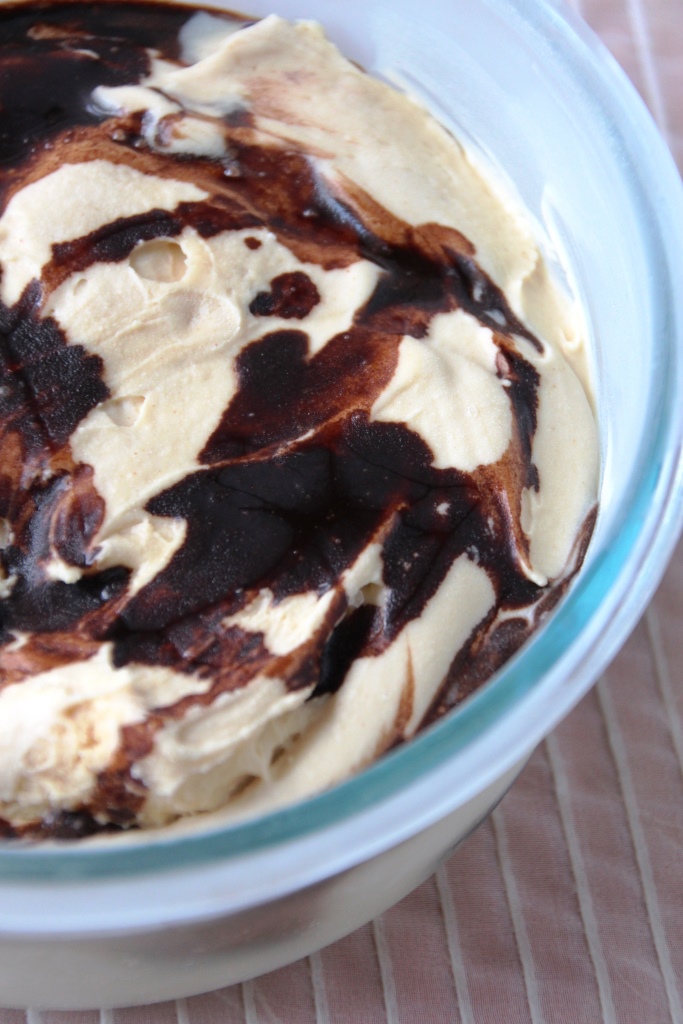
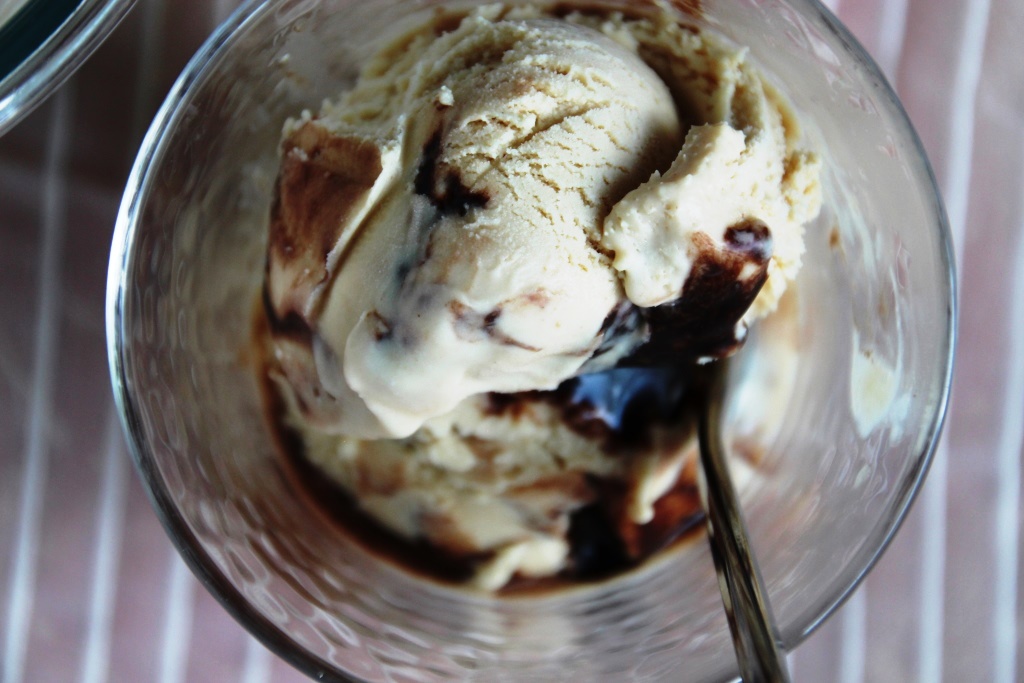
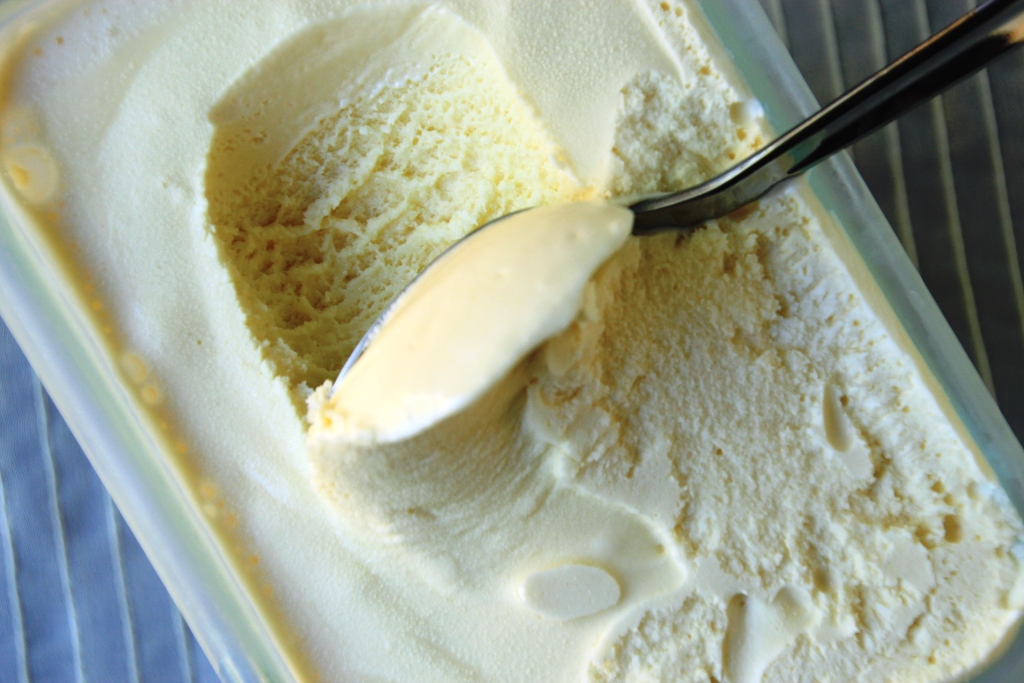
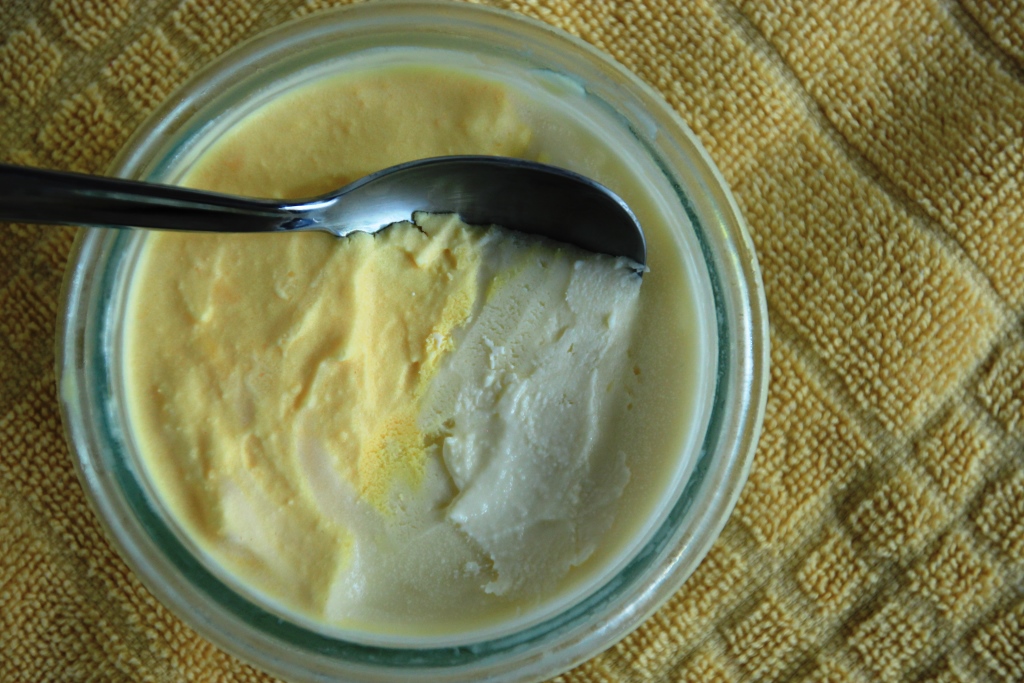
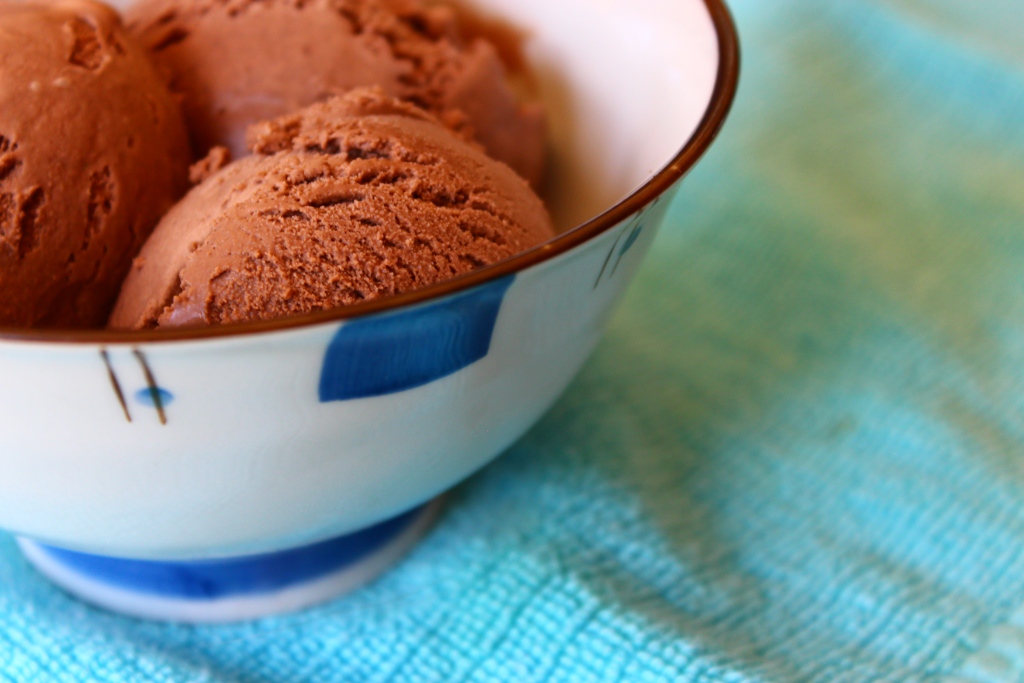
My first attempt had way too much peanut butter (like that’s even a thing) and ended up more like extra fluffy peanut butter than an ice cream. I toned it down for my second attempt and in addition to not freezing hard as a rock, it’s definitely ice cream. Smooth and very peanut buttery, the chocolate ripple breaks up the thickness of the flavor. I’d never tried a ripple before, but it turned out to be very easy. If a mix-in isn’t really your style, just top it with your favorite chocolate sauce or keep it plain; it is certainly delicious all on its own.
Below find my recipes for peanut butter ice cream and a chocolate ripple, as well as instructions for combining the two. Keep in mind this is not a hot fudge recipe, it is meant to stay soft in the freezer as a mix-in, rather than be served on top, so it is very thin at room temperature – this is normal. Just make sure you chill it in the fridge before you add it to the ice cream or it may blend in too much.
Peanut Butter Ice Cream
Makes ~6 cups
Ingredients
3/4 cup sugar
2 cups heavy whipping cream
1 cup half and half (or milk)
1/4 – 3/4 creamy peanut butter1
1/2 cup egg substitute
1 tsp vanilla
Directions
- Mix all ingredients in a blender until smooth and completely combined; mixture will be somewhat thick.
- Cover bowl and chill in the refrigerator at least 4 hours, or overnight.
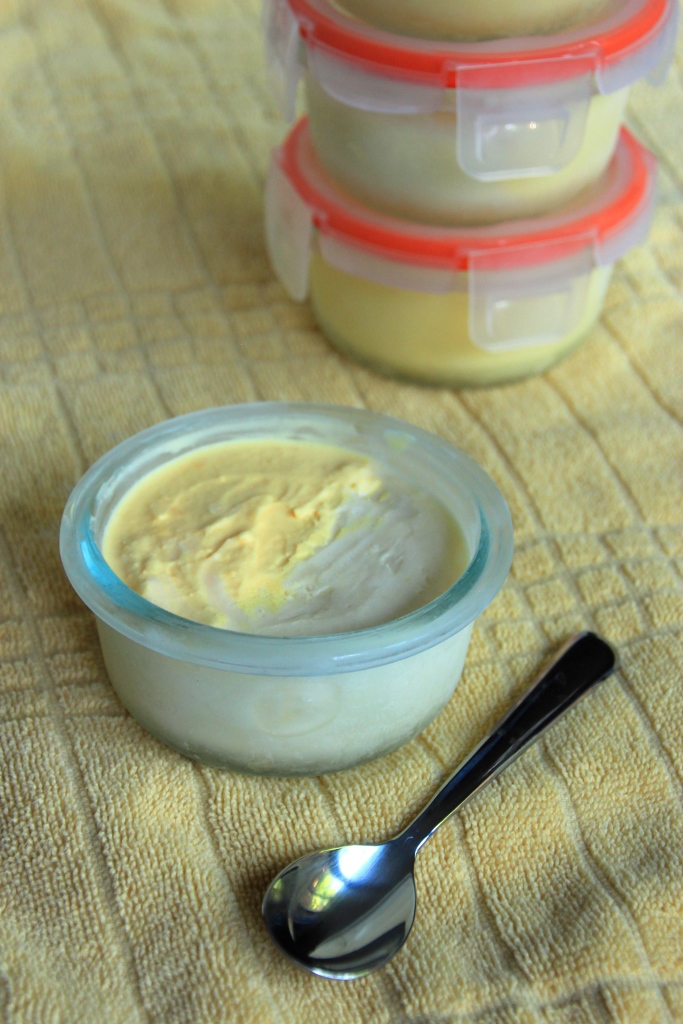
- Freeze according to your ice cream maker’s directions, then place in a freezer-safe bowl to freeze for an additional three hours, or overnight.
Notes
1 You could use chunky if you want, although likely the texture will still be pretty smooth after blending. The more peanut butter you add, the harder the ice cream will be. I like to use about 1/2 or 2/3 cup, which results in a strong flavor but still stays fairly soft. If you’re looking for a more subtle peanut butter flavor, I’d cut that amount in half.
Fudge Ripple
Borrowed from Brown Eyed BakerMakes about 1.5 cups1
Ingredients
½ cup sugar
1/3 cup light corn syrup
½ cup water
6 tablespoons unsweetened cocoa powder2
½ teaspoon vanilla extract
Directions
- In a medium saucepan, whisk together all ingredients except vanilla. Cook over medium heat, whisking often, until the sauce comes to a low boil.
- Continue cooking for another minute, whisking almost continuously.
- Remove sauce from the heat, stir in the vanilla, and let cool in the pot for several minutes.
- Chill in the fridge for at least 30 minutes before using in ice cream.
Notes
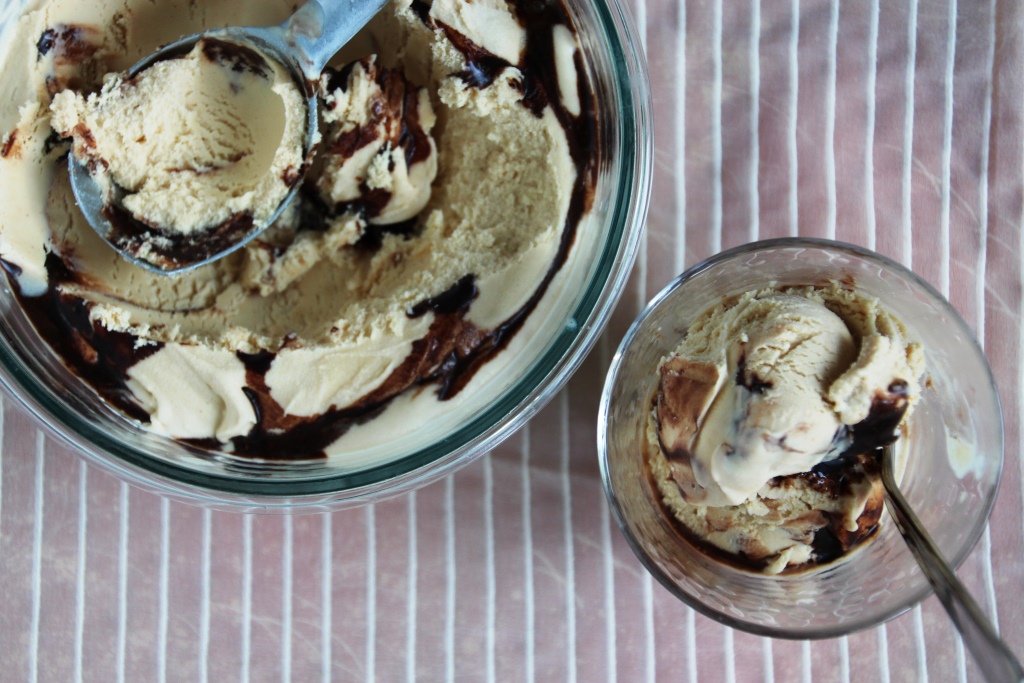
1 I did not use near this amount in my ice cream, so I’m storing the leftovers in the freezer to use in another recipe. Depending on how much fudge ripple you like, you may end up with extra. I used about a third to half of the recipe, and I would probably use a little more next time to make sure the ripple permeates every bite.
2 The original recipe calls for Dutch-processed cocoa powder but I just used Hershey’s because that’s what I always have on hand. I used one tablespoon dark cocoa powder and the rest regular.
Fudge Ripple Ice Cream
Ingredients
1 recipe ice cream of choice, chilled but not churned
1 recipe of fudge ripple (above), chilled
Directions
- If you haven’t already, place a freezer-safe bowl in the freezer.
- Freeze ice cream according to your ice cream maker’s directions.
- Remove bowl from freezer, and drizzle some chocolate sauce on the bottom.
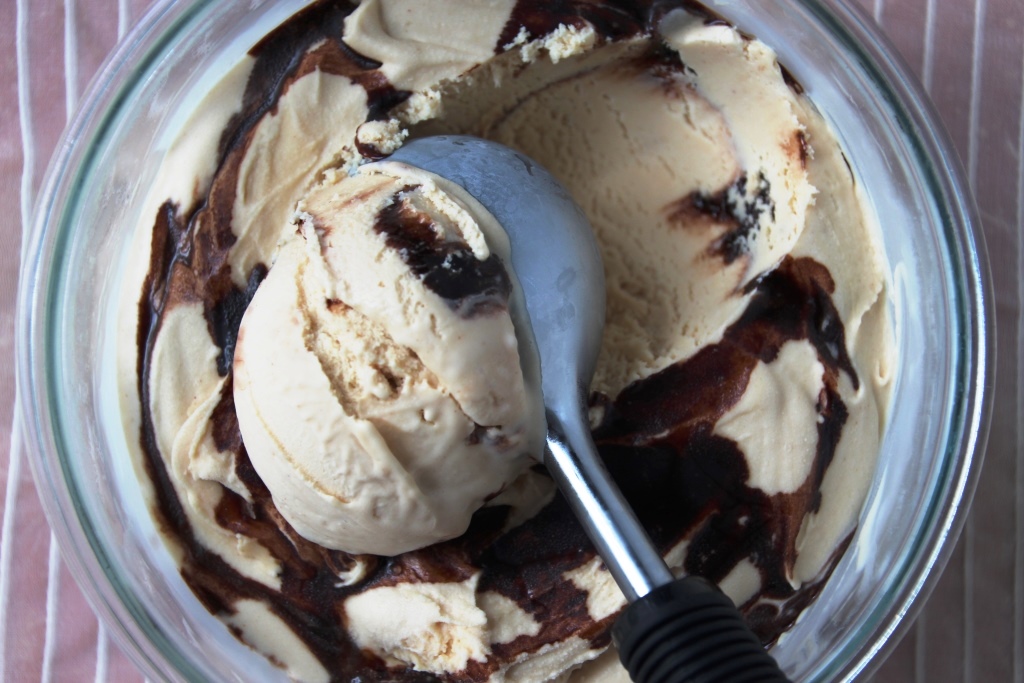
- Gently spread about one cup of ice cream into the bowl, and top with another drizzle of chocolate sauce. Avoid stirring or the ice cream will look muddy. Repeat with remaining ice cream (you may have sauce leftover), finishing with a sauce drizzle on top.
- Return bowl to freezer for about 3 hours, or until ice cream is firm (or serve immediately if desired firmness is already there.)


 Pumpkin Mudslide Milkshake
