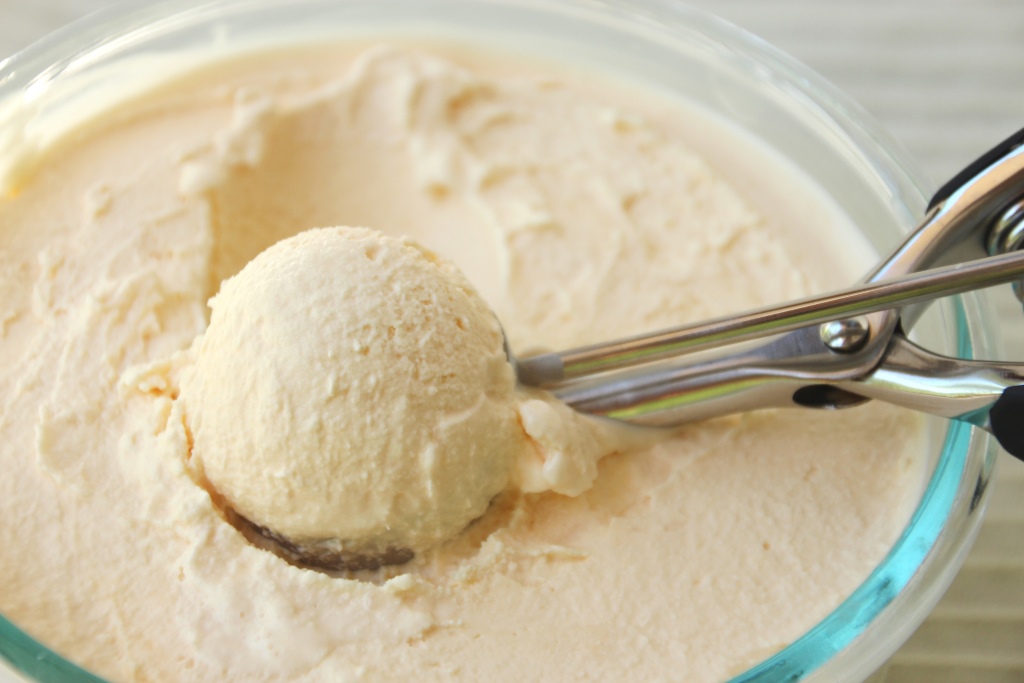
[Welcome to Frozen Friday! In honor of National Ice Cream Month, I am sharing a new ice cream recipe each Friday morning. In case you missed them, be sure to check out the previous recipes, s’mores and mimosa!]
Is it just me, or is July flying by? I feel like May was only a few weeks ago and here it is with August right around the corner. Insane. At least until I take the weather into account. Montana has been met with somewhat of a heatwave this week, and I’m super grateful we don’t get much humidity along with it.

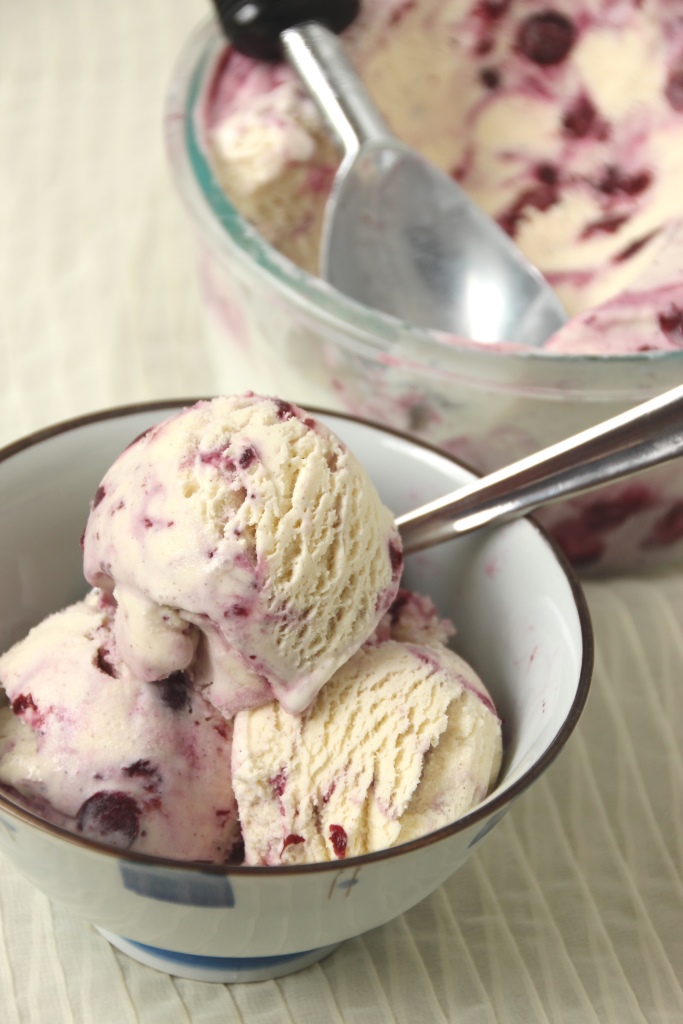
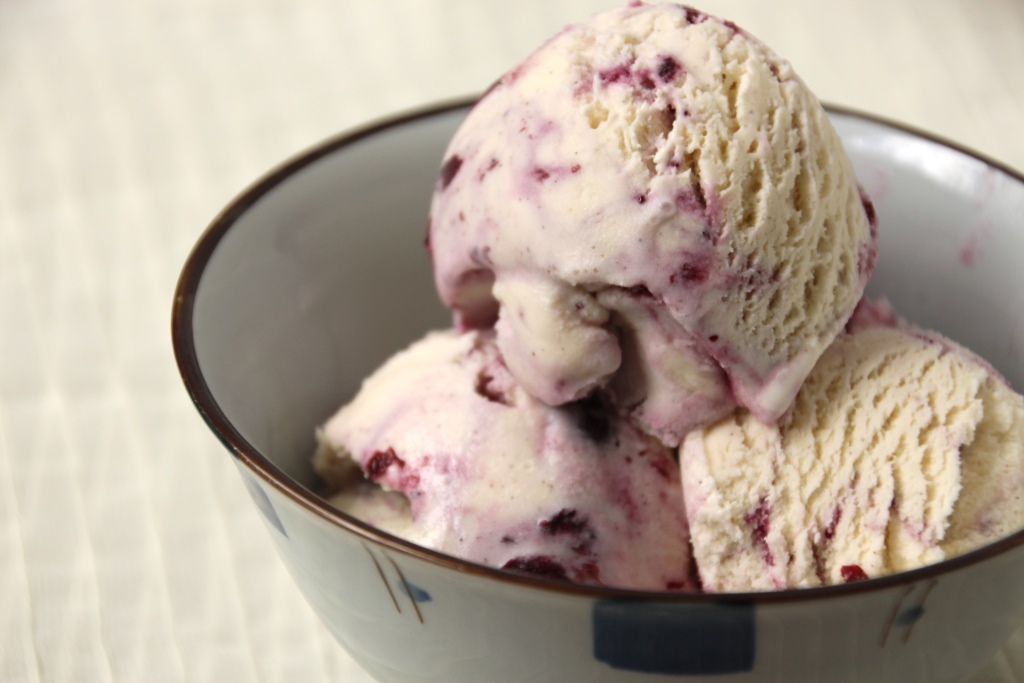
With hot weather comes extra cravings for cold treats, so hopefully you’re ready for a new flavor. The world is full of cheesecake ice creams, usually strawberry, and today we’ll had one more to the mix. I chose blueberry due to the abundance in my freezer, but you could definitely substitute blackberry, strawberry, raspberry, or whatever your favorite is.

The ice cream itself is a mild cheesecake flavor made more interesting with the addition of cardamom. Although I actually really love the flavor of cardamom, it rarely occurs to me to use it outside of my Christmas krumkake-making sessions with my family. It’s a wonderful spice with a bit more intrigue than cinnamon, and is ready to up the ante in your baking adventures. A few years ago I discovered cardamom cream cheese frosting, and I’ve been a fan ever since.

This is a pleasantly spiced and cream cheesy ice cream to add to your repertoire, and is excellent on its own. The blueberry sauce swirl not only adds wonderful flavor, but a gorgeous color as well. You can stir it in as much or as little as you like, depending on whether you prefer it streaky or entirely purple.
Although cheesecake ice cream often contains a Graham cracker crust component, I opted not to add one. Personally it adds a level of sweetness I am not looking for, and it alters the texture as well. If you’re missing it, however, you can certainly crumble your favorite Graham cracker crust into the ice cream, or use it as a topping.

I’ve included recipes for both cardamom cheesecake ice cream and a blueberry sauce below. If you’re in a bind, you can substitute canned blueberry pie filling, but I promise this sauce is quite simple to make, just remember to allow for chilling time. You likely will not have any leftover sauce, so make an extra batch (with extra cornstarch! see note) if that saddens you. Not a fan of cardamom? Substitute cinnamon or nutmeg, or leave it out entirely. If you’re looking to pump up the cream cheese flavor, you can try adding extra cream cheese to the base, or you can add a tablespoon or two of dry Cheesecake-flavored instant pudding mix.

This is a lovely recipe for these hot summer days, and I hope you enjoy it as much as I have!
Cardamom Cheesecake Ice Cream
Makes ~6 cups
Ingredients
3/4 cup sugar
8 oz cream cheese, softened
2 cups heavy whipping cream
1 cup half and half
1/2 cup egg substitute
1 tsp vanilla
1-2 tsp ground cardamom1
1-2 Tbsp dry Cheesecake-flavored instant pudding mix (optional)2
Directions
- Warm cream cheese in the microwave until easily stirred (if it isn’t already), about 30 seconds.
- Add all ingredients to a blender, and blend until mixture is smooth.
- (If you don’t have a blender, use a hand mixer. Alternatively, mix cream cheese and sugar first, then slowly whisk in liquids until completely combined and smooth. Whisk in vanilla and cardamom.)
- Cover bowl (or keep it lidded in the blender container) and store in the refrigerator until completely chilled, or overnight.
- Freeze according to your ice cream maker’s directions, then place in a freezer-safe bowl to freeze for an additional three hours, or overnight. Or, follow Blueberry Cheesecake Ice Cream recipe below.
- Top with crushed Graham crackers or Graham cracker crust for extra flair and crunch.
Notes
1 I used 1.5 tsp, but I think I’ll use 2 next time because I like a pretty strong flavor. If you don’t like cardamom, you can leave it out or substitute cinnamon or nutmeg, adjusting quantities to your preference.
2 I did not add this, but if you want it super cream cheese tasting, this is the easiest way to pump up the flavor.
Blueberry Sauce3
Borrowed from My Baking Addiction
Makes about 2 cups
Ingredients
2 cups blueberries (fresh or frozen)
1/2 cup water
1/2 cup sugar
2 Tbsp lemon juice
1 Tbsp cornstarch
1 Tbsp cold water
1/2 tsp vanilla
Directions
- Combine blueberries, 1/2 cup water, sugar, and lemon juice in a saucepan. Cook over medium heat, stirring often, until mixture comes to a low boil.
- Mix cornstarch and 1 Tbsp cold water until completely combined. Slowly stream into the blueberries, stirring constantly but gently, and simmer until mixture thickens, about 5 minutes.
- Remove from the heat and stir in vanilla and zest, mashing blueberries a little.
- Serve on your favorite French toast, pancakes, waffles, ice cream, or mix in to Blueberry Cheesecake Ice Cream (below).
- Store leftovers in the fridge and reheat slightly as necessary.
Notes
3 This is the same recipe I use for topping waffles and Overnight French Toast, but with less cornstarch for a thinner sauce, which keeps it smoother when frozen in the ice cream. If you want to make it as a topping, use 2 Tbsp cornstarch and 2 Tbsp cold water.
Blueberry Cheesecake Ice Cream
Ingredients
1 recipe cheesecake ice cream, chilled but not churned (or *just* churned)
1 recipe of thin blueberry sauce, chilled
Directions
- If you haven’t churned the ice cream already, place a freezer-safe bowl in the freezer.
- Freeze ice cream according to your ice cream maker’s directions.
- Remove bowl from freezer, and drizzle some blueberry sauce on the bottom.
- Gently spread about one cup of ice cream into the bowl, and top with another drizzle of blueberry sauce. Avoid stirring if you don’t want your ice cream to be completely blue/purple. Repeat with remaining ice cream and sauce. If desired, gently swirl with a table knife.
- Return bowl to freezer for about 3 hours, or until ice cream is firm.
- Serve solo or topped with extra sauce and crushed Graham crackers (or crust.)